
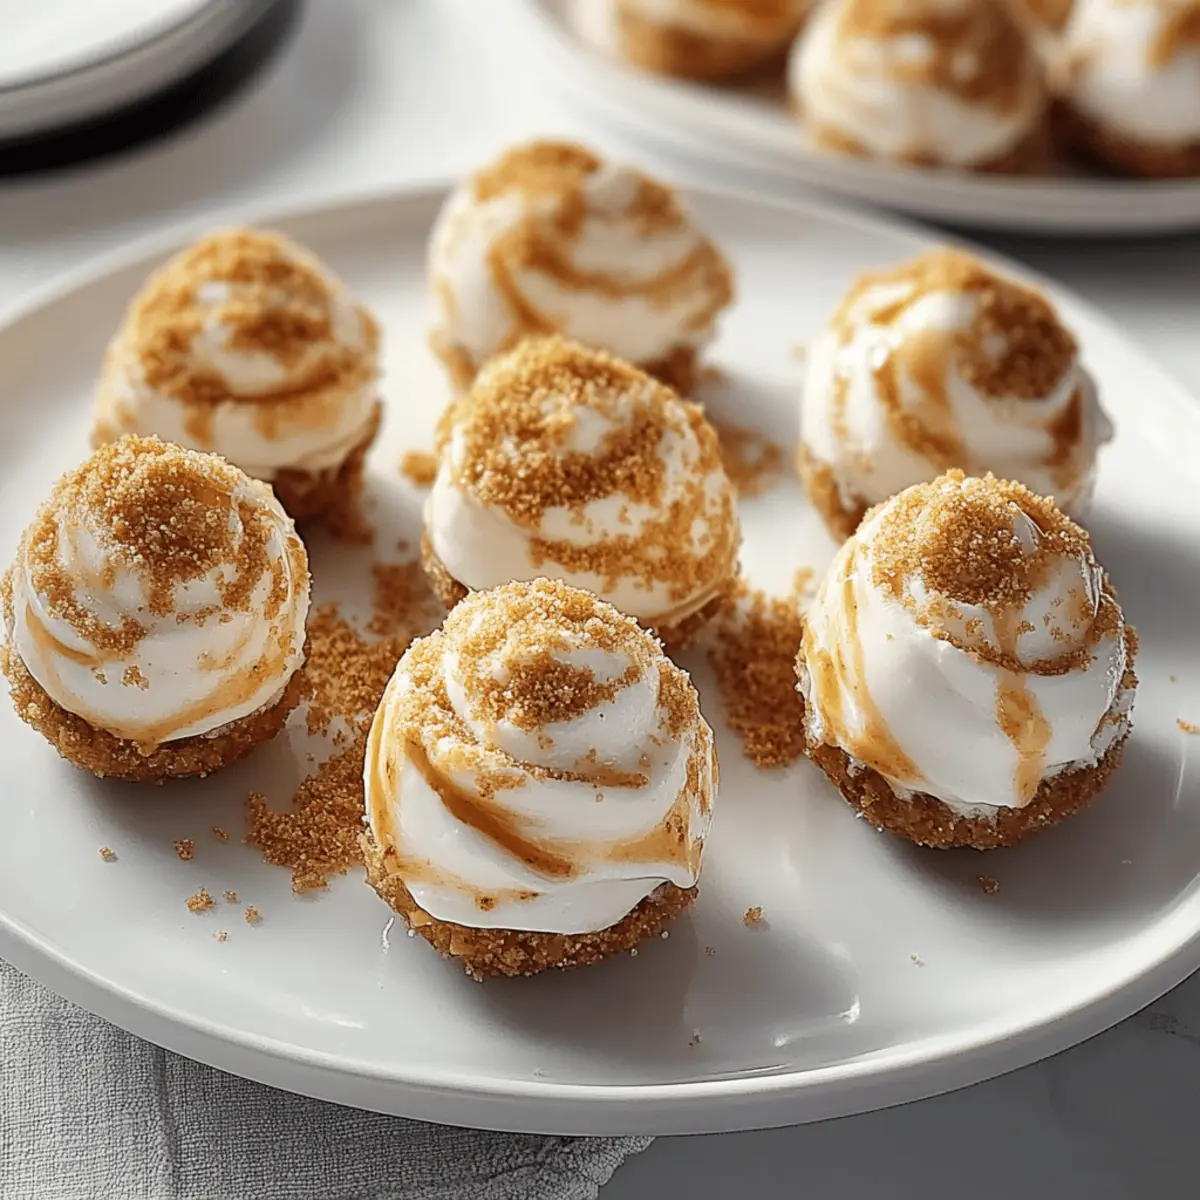
The scent of autumn fills the air, and my kitchen transforms into a cozy haven as I whip up these No Bake Pumpkin Cheesecake Balls. With their creamy texture and delightful spice, they embody the essence of the season. This easy recipe is not only a breeze to prepare but also a crowd-pleaser for family gatherings or those unexpected visitors who stop by for a cup of cider. These wonderfully portable bites offer all the comforting flavors of traditional pumpkin cheesecake without the oven fuss. Plus, they’re kid-friendly, making them the ideal treat for little hands to help make and enjoy. Ready to discover how to bring these delightful morsels to life in your own kitchen? Let’s dive in!

Why Are These Cheesecake Balls Unforgettable?
Irresistible Flavor: The rich combination of cream cheese and pumpkin puree creates a decadent, creamy indulgence that melts in your mouth.
No-Bake Convenience: These cheesecake balls require zero baking time, making them the perfect treat for busy days or spontaneous gatherings.
Kid-Friendly Fun: Involve the little ones in the kitchen—rolling these balls is a fun activity that sparks creativity!
Versatile Treats: Enjoy them as a sweet dessert at your next holiday party or pair them with warm apple cider for cozy autumn afternoons. Want to impress your guests? Try accompanying them with a slice of Salted Honey Pie for a complete fall-themed dessert spread!
Delightfully Portable: These bite-sized goodies are easy to transport, ensuring you can share the joy of fall flavors wherever you go.
Pumpkin Cheesecake Balls Ingredients
For the Cheesecake Mixture
- Cream Cheese – This provides a rich, creamy base; use full-fat for the best results.
- Pumpkin Puree – Adds moisture and distinct pumpkin flavor; consider using homemade or canned options without added sugar.
- Powdered Sugar – Sweetens the mixture and helps achieve a smooth texture; granulated sugar can be used but may alter the texture slightly.
- Vanilla Extract – Enhances flavor depth; opt for pure vanilla extract for superior quality.
- Pumpkin Pie Spice – Infuses the mixture with classic fall spices; substitute with a mix of cinnamon, nutmeg, and ginger if you’re out.
For Coating the Balls
- Graham Cracker Crumbs – Used for rolling the balls to provide delightful texture; substitute with crushed cookies or gluten-free crackers for dietary needs.
Step‑by‑Step Instructions for No Bake Pumpkin Cheesecake Balls
Step 1: Prepare the Creamy Base
In a mixing bowl, beat 8 ounces of softened cream cheese with an electric mixer on medium speed until smooth, about 1 minute. Next, gradually add in 1 cup of pumpkin puree, ½ cup of powdered sugar, 1 teaspoon of vanilla extract, and 2 teaspoons of pumpkin pie spice. Mix until everything is well combined and creamy, creating a luscious base for your No Bake Pumpkin Cheesecake Balls.
Step 2: Chill the Mixture
Cover the bowl with plastic wrap or a lid and place it in the refrigerator for at least 1 hour. This chilling process helps to firm up the mixture, making it easier to roll into balls later. You’ll know it’s ready when the mixture feels more solid to the touch and holds its shape well.
Step 3: Form Balls
Once the mixture has chilled, use a small cookie scoop or a tablespoon to scoop out portions of the creamy filling. Roll each portion between your hands to shape them into 1-inch balls. As you work, keep in mind that the cream cheese mixture may stick a little, but the more you roll, the smoother they’ll become.
Step 4: Coat the Balls
Place about 1 cup of graham cracker crumbs on a plate. Take each ball you’ve formed and roll it gently in the crumbs until fully coated. This adds a delightful crunch and enhances the appearance of your No Bake Pumpkin Cheesecake Balls, making them look as good as they taste.
Step 5: Final Chill
Once all the balls are coated, transfer them to a lined baking sheet and pop them back into the refrigerator. Allow them to chill for at least 30 minutes to help the coating set and keep the filling firm. After chilling, your Pumpkin Cheesecake Balls will be ready to serve as a delicious treat for any occasion.
What to Serve with No Bake Pumpkin Cheesecake Balls
As the autumn chill sets in, create a heartwarming meal that perfectly complements these delectable, creamy treats.
-
Spiced Apple Cider: The warm, inviting flavors of spiced apple cider enhance the cozy vibe of your dessert. This beverage warms the soul and pairs beautifully with pumpkin’s natural sweetness.
-
Ginger Snap Cookies: These crunchy, spiced cookies add texture and a hint of sweetness that complements the pumpkin and cream cheese. The festive flavors create a delightful tasting experience.
-
Pecan Pie Bites: For a festive twist, serve these nutty bites alongside the cheesecake balls. The rich, buttery pecans bring crunch and decadence to your table.
-
Caramel Drizzle: Drizzle some warm caramel sauce over the cheesecake balls for an indulgent touch. The creamy sweetness elevates the flavors and adds a luscious finish.
-
Mini Pumpkin Muffins: Light and fluffy, these muffins mirror the flavors of the pumpkin cheesecake balls. Their tender crumb offers a lovely contrast to the creamy texture.
-
Hot Chocolate: A rich cup of hot chocolate makes for a cozy pairing. Think melted marshmallows topping off this chocolatey goodness as you enjoy your fall treats.
-
Creamy Mashed Sweet Potatoes: For a savory touch, these sweet potatoes serve as a beautiful balance to the sweetness of your dessert. Their velvety texture provides a satisfying bite.
-
Chai Latte: This aromatic spiced tea warms the heart and soul. The chai’s complexity works wonderfully as it complements the gentle spices in the cheesecake balls.
-
Apple Crisp: Serve a warm apple crisp alongside your dessert for an irresistible dessert duo. The crunchy topping and tender apples harmonize beautifully with pumpkin flavors.
Elevate your cozy fall gatherings with these delightful pairings, making every bite unforgettable!
How to Store and Freeze Pumpkin Cheesecake Balls
Fridge: Store your pumpkin cheesecake balls in an airtight container in the refrigerator for up to one week. This will keep them fresh and ready to enjoy!
Freezer: For longer storage, freeze the pumpkin cheesecake balls by placing them in a single layer on a baking sheet until solid, then transfer to a freezer-safe container. They will stay good for up to three months.
Thawing: When you’re ready to enjoy your frozen cheesecake balls, transfer them to the refrigerator and let them thaw overnight.
Reheating: These no-bake treats are best enjoyed cold, so there’s no need to heat them—simply serve straight from the fridge for a refreshing bite!
Make Ahead Options
These No Bake Pumpkin Cheesecake Balls are a fantastic choice for meal prep, allowing you to delight your family or guests with minimal last-minute effort. You can prepare the creamy filling up to 24 hours in advance by following the initial steps—mix the ingredients, chill the mixture for at least 1 hour, and then store it in an airtight container in the refrigerator. Additionally, you can roll the balls and coat them in graham cracker crumbs up to 3 days ahead of time. Just keep them in the fridge, ensuring they are neatly arranged to maintain their shape. When you’re ready to serve, simply finish with a brief chill of 30 minutes to let them firm up again. This approach guarantees that your Pumpkin Cheesecake Balls will be just as delicious while saving you precious time on busy days!
Pumpkin Cheesecake Balls Variations & Substitutions
Let’s unleash your creativity and make these Pumpkin Cheesecake Balls your own!
- Nutty Crunch: Roll the balls in crushed pecans or walnuts instead of graham cracker crumbs for a delightful crunch and extra flavor.
- Coconut Delight: Substitute graham crackers with shredded coconut for an exotic twist that adds a tropical flair.
- Chocolate Dip: For a decadent treat, dip the formed balls in melted chocolate and let them set. It’s like a two-for-one dessert!
- Spicy Kick: Add a pinch of cayenne pepper or chili powder to the cheesecake mixture for a surprising heat that balances the sweetness beautifully.
- Creamy Add-In: Mix mini chocolate chips or crushed toffee bits into the cheesecake mixture before rolling for a sweet surprise in every bite.
- Autumn Spice Boost: Enhance the pumpkin pie spice with a dash of cardamom for an aromatic and warm flavor twist!
- Healthier Option: Use Greek yogurt in place of cream cheese for a lighter version that’s still rich and delicious.
- Sweetener Swap: If you’re looking to reduce sugar, try maple syrup or honey as a natural sweetener. Just adjust the amount to your taste!
The options are nearly endless! Each variation brings a unique touch, allowing you to customize these delightful treats just as you like them. To elevate your dessert experience even further, why not serve them alongside a slice of Salted Honey Pie for a charming fall-themed dessert spread that everyone will love?
Expert Tips for Pumpkin Cheesecake Balls
- Softened Cream Cheese: Ensure your cream cheese is at room temperature. This allows for easier mixing and a creamier texture in your Pumpkin Cheesecake Balls.
- Chill Time Matters: Don’t skip the chilling steps! Proper chilling helps the mixture firm up, making it easier to roll into perfectly shaped balls.
- Sticky Solution: If the mixture becomes too sticky to handle, chill it for an additional 10-15 minutes. This will make forming the balls much easier.
- Coating Creativity: Feel free to mix up the coatings! Try using crushed nuts, coconut flakes, or even melted chocolate for a unique twist on these Pumpkin Cheesecake Balls.
- Storage Savvy: Keep your cheesecake balls fresh by storing them in an airtight container in the refrigerator. They’ll stay delicious for up to a week!
No Bake Pumpkin Cheesecake Balls Recipe FAQs
How do I choose the right pumpkin puree?
Absolutely! When selecting pumpkin puree for your No Bake Pumpkin Cheesecake Balls, look for 100% pure pumpkin without any added sugars or flavors. Homemade puree can also be a fantastic option—just make sure to strain it well to remove excess moisture, achieving the creamy consistency you want.
How should I store the cheesecake balls?
Store your pumpkin cheesecake balls in an airtight container in the refrigerator for up to one week. Make sure they are well-sealed to prevent them from absorbing any odors. If you want to enjoy them longer, you can freeze them!
Can I freeze the cheesecake balls?
Yes, you can definitely freeze your No Bake Pumpkin Cheesecake Balls! First, place them in a single layer on a baking sheet and freeze until firm. Then, transfer the frozen balls to a freezer-safe container. They’ll keep well for up to three months. When you’re ready to enjoy them, just thaw in the refrigerator overnight.
What should I do if my mixture is too sticky?
If your cheesecake mixture feels too sticky to roll into balls, don’t worry! Simply pop it back in the refrigerator for an additional 10-15 minutes. Chilling will help firm it up, making it easier to handle. You can also dust your hands with a bit of powdered sugar to prevent sticking.
Are there any dietary considerations for these cheesecake balls?
Definitely! If you have allergies or dietary restrictions, you can easily customize this recipe to meet your needs. For a gluten-free option, substitute the graham cracker crumbs with gluten-free cookies or crushed nuts. Also, ensure the cream cheese and powdered sugar you use are suitable for any specific dietary requirements.
Can I use other coatings instead of graham cracker crumbs?
Very much so! If you’re looking to mix things up, you can roll your No Bake Pumpkin Cheesecake Balls in chopped nuts, coconut flakes, or even melted chocolate for an indulgent twist. The possibilities are as delightful as they are endless!
Delicious Pumpkin Cheesecake Balls for Easy Fall Indulgence
Ingredients
Equipment
Method
- In a mixing bowl, beat 8 ounces of softened cream cheese with an electric mixer on medium speed until smooth, about 1 minute. Next, gradually add in 1 cup of pumpkin puree, ½ cup of powdered sugar, 1 teaspoon of vanilla extract, and 2 teaspoons of pumpkin pie spice. Mix until everything is well combined and creamy.

- Cover the bowl with plastic wrap or a lid and place it in the refrigerator for at least 1 hour.
- Once the mixture has chilled, use a small cookie scoop or a tablespoon to scoop out portions of the creamy filling. Roll each portion into 1-inch balls.
- Place about 1 cup of graham cracker crumbs on a plate. Roll each ball in the crumbs until fully coated.
- Transfer the coated balls to a lined baking sheet and chill for at least 30 minutes before serving.
Leave a Reply