
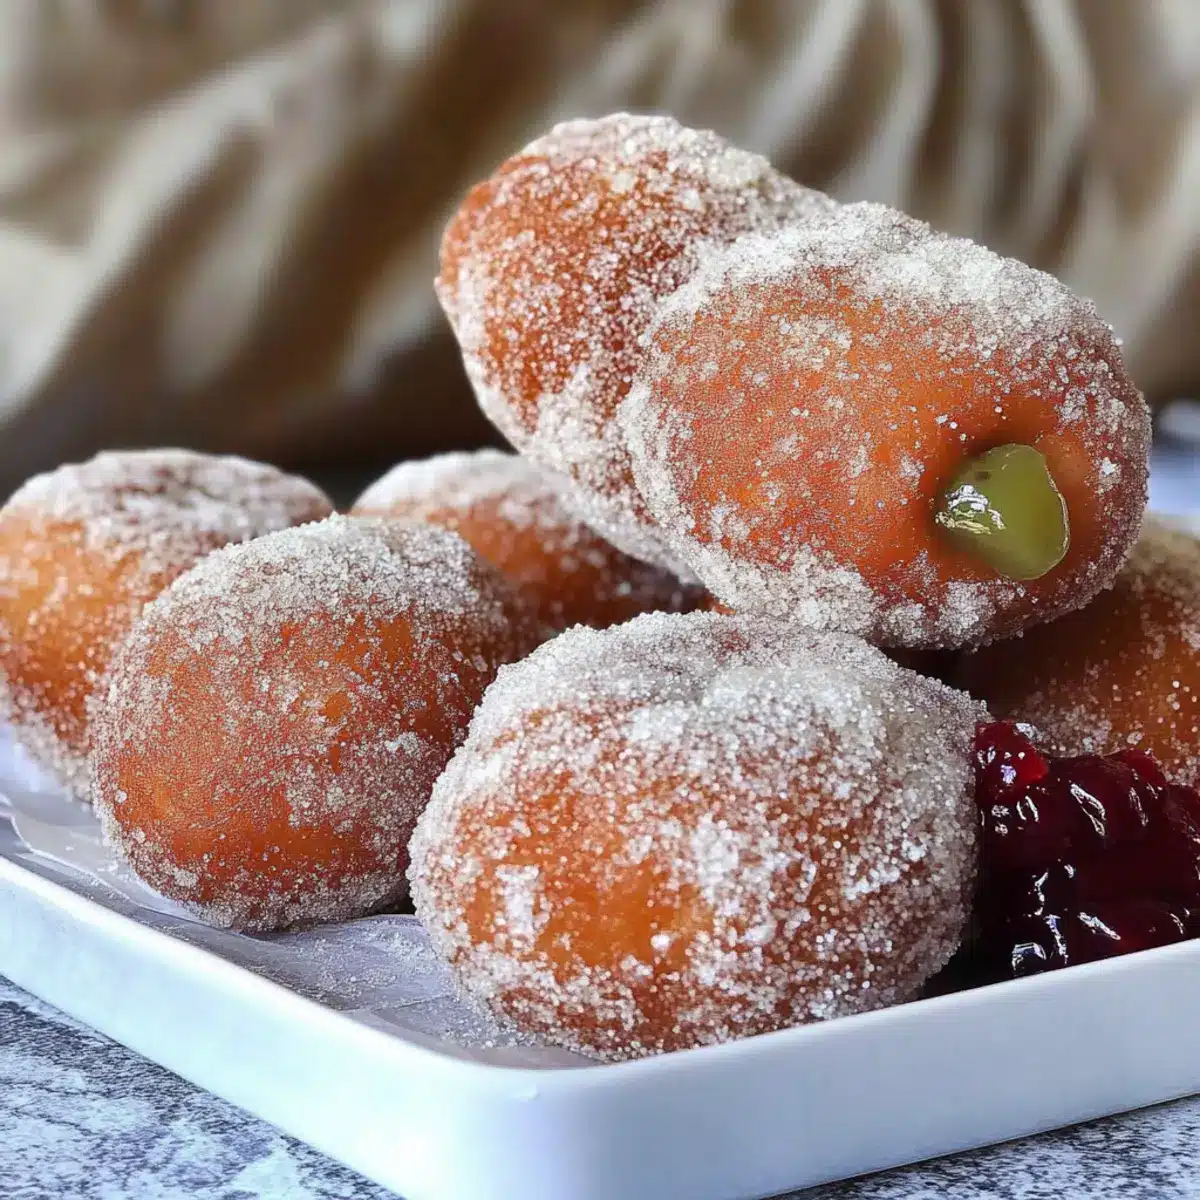
Sinking my teeth into a fluffy, warm doughnut after a long week feels like pure bliss. Picture this: freshly fried, golden-brown gluten-free yeasted doughnuts, their sugary crust hiding a delightful surprise inside. With this recipe for Proper Gluten Free Doughnuts (Yeasted) – Fried to Perfection, I promise you’ll rediscover the joy of indulgent treats without the gluten. Not only are these doughnuts irresistibly soft and airy, but they’re also surprisingly easy to whip up, even for those new to gluten-free baking. Plus, with optional dairy-free twists, everyone can join in on the fun! Ready to find out how you can turn your kitchen into a mini doughnut haven? Let’s dive in!
Why Are These Doughnuts Special?
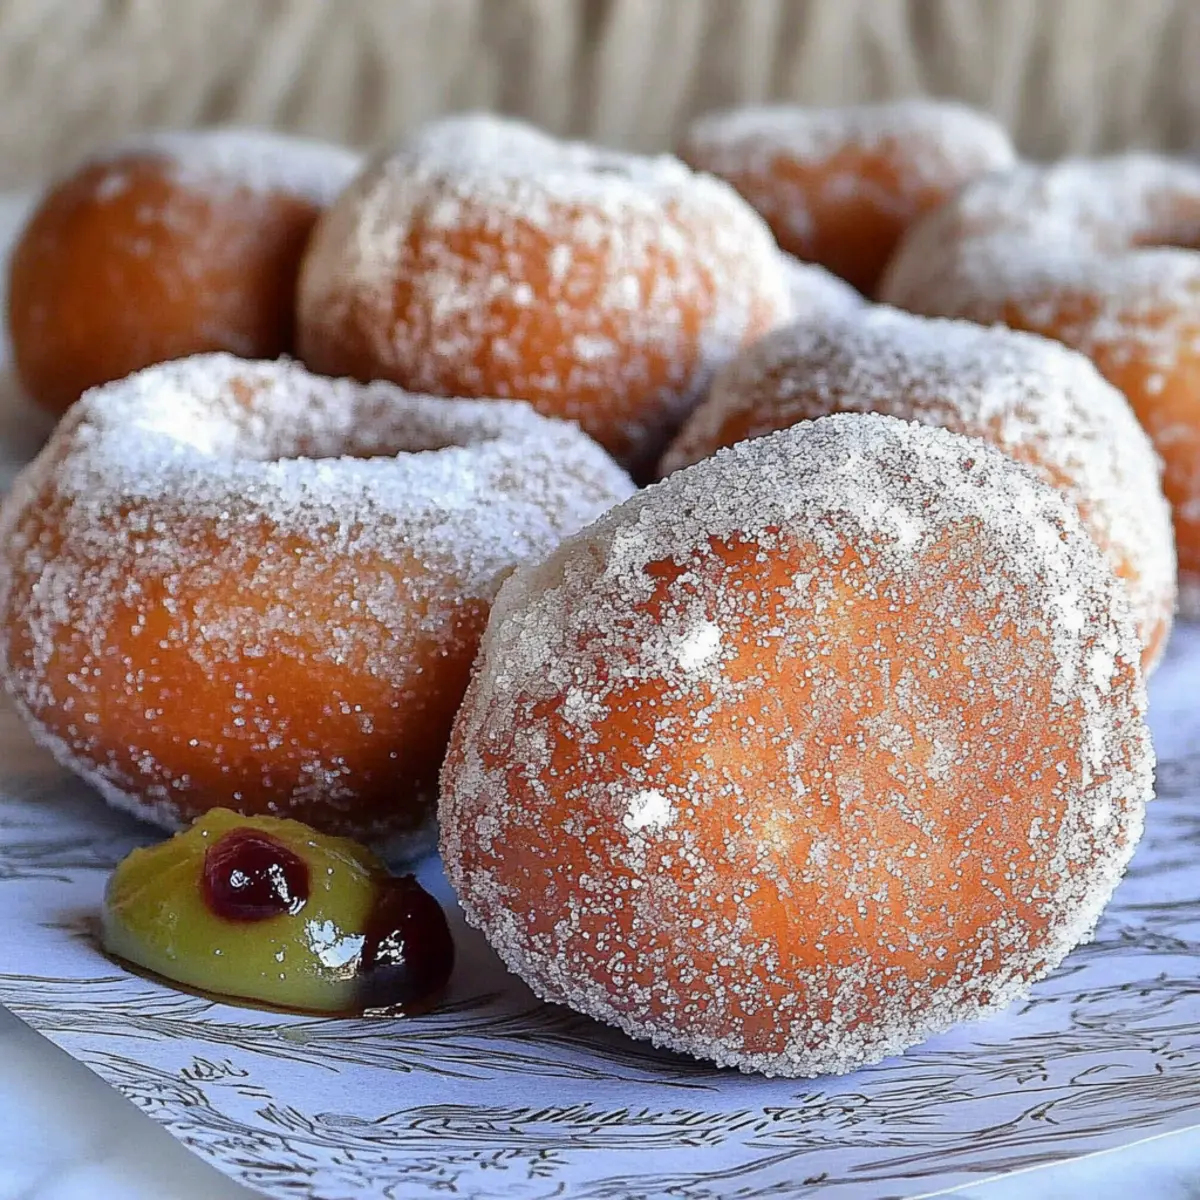
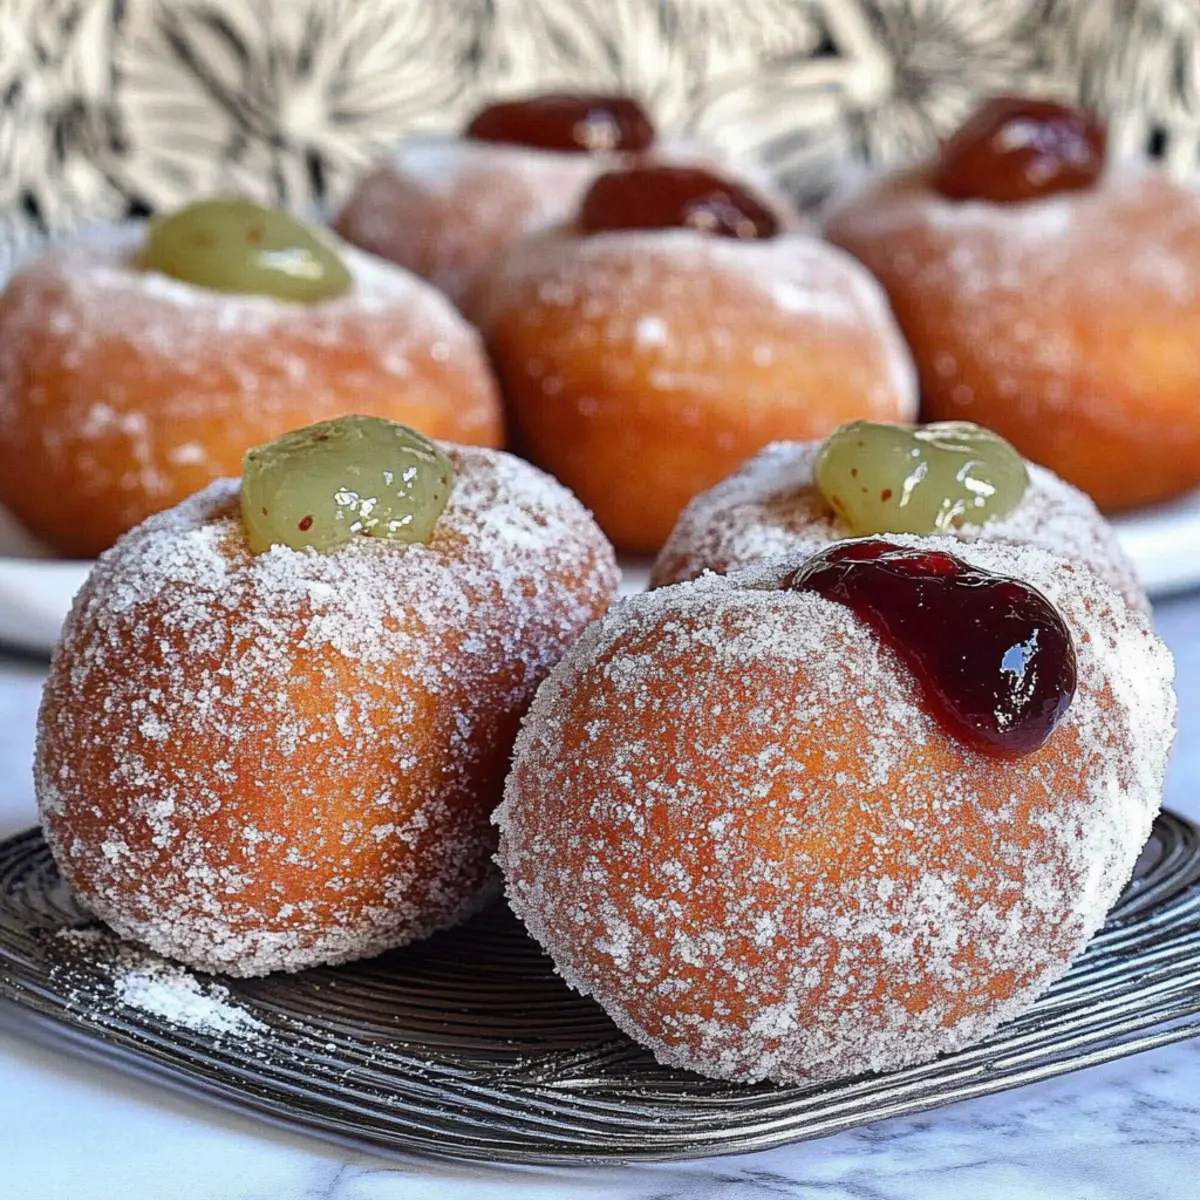
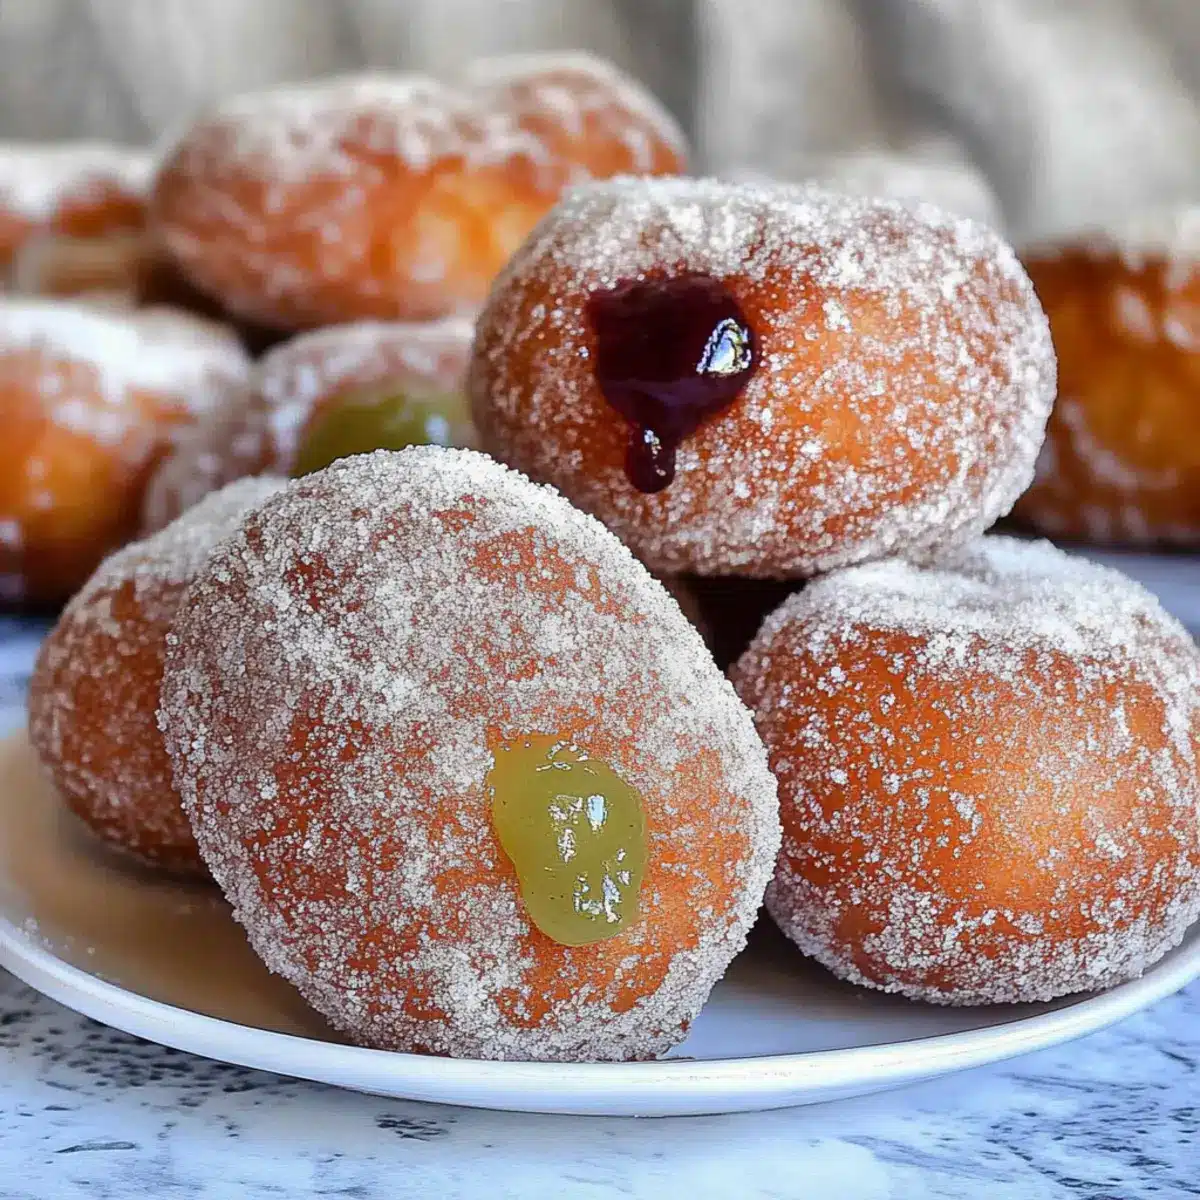
Irresistible Flavor: These gluten-free yeasted doughnuts are packed with an explosion of taste, thanks to their heavenly fillings like seedless jam or chocolate spread.
Soft and Fluffy: Expect a delightful texture that rivals any traditional doughnut, making them a perfect treat any time of day.
Easy to Make: No need for advanced baking skills—this recipe is approachable even for beginners looking to impress friends!
Versatile Variations: Customize your doughnuts with an array of fillings and coatings, from creamy custards to zesty glazes, offering something for everyone.
Crowd-Pleasing: Ideal for gatherings, these doughnuts will be a hit with both gluten-sensitive and gluten-loving guests. Pair them with a soothing cup of coffee or hot chocolate for a match made in heaven!
Perfect for Every Occasion: Have a craving or a celebration? These doughnuts fit the bill—sweet, satisfying, and utterly unforgettable.
Proper Gluten Free Doughnuts Ingredients
For the Doughnut Batter
• Dried Active Yeast – Leavens the dough for that light and airy texture; make sure it’s fresh for the best rise.
• Caster Sugar – Aids in yeast activation and adds subtle sweetness; superfine granulated sugar works as a substitute.
• Warm Water – Activates the yeast; ensure it’s between 39 to 40°C (102 to 104°F) for optimal results.
• Tapioca Starch – Provides essential structure and chewiness; don’t substitute this ingredient.
• Mochiko Flour – Contributes to a unique flavor and stretch; can be swapped with additional tapioca starch if needed.
• Sorghum Flour – Adds a rich flavor and texture; a key ingredient for a well-rounded dough.
• Oat Flour or Buckwheat Flour – For extra flavor and texture—opt for oat flour for a classic doughnut taste.
• Rough-Ground Psyllium Husk – Vital for hydration and structure; avoid replacing with psyllium powder.
• Xanthan Gum – Acts as a binder for fluffiness; no direct substitute if you want to retain texture.
• Fine Sea Salt – Balances the flavors and regulates the yeast activity.
• Baking Powder – Assists in maintaining shape and texture while frying; be cautious if you plan to omit it.
• Warm Milk – Adds richness; use full-fat for best texture or a dairy-free alternative if desired.
• Vanilla Extract – Enhances the flavor depth; optional but highly recommended.
• Large Egg – Provides structure and richness; if vegan, aquafaba can be used as a substitute.
• Unsalted Block Butter – For rich flavor; use vegan alternatives for a dairy-free option.
For Coating and Filling
• Caster Sugar (for coating) – Adds a sweet finish and textured coating to the doughnuts.
• Ground Cinnamon (optional) – Enhances flavor and aroma in the sugar coating; perfect for a cozy touch.
• Seedless Jam or Alternative Fillings – For a delightful surprise inside the doughnuts; ensure fillings are smooth for easy piping.
These Proper Gluten Free Doughnuts are not just a treat, they’re an experience filled with warmth and nostalgia.
Step‑by‑Step Instructions for Proper Gluten Free Doughnuts (Yeasted) – Fried to Perfection
Step 1: Yeast Preparation
In a small bowl, mix together the dried active yeast and caster sugar with warm water around 39 to 40°C (102 to 104°F). Allow this mixture to sit for about 5–10 minutes until it becomes frothy—a sure sign that your yeast is alive and ready to work its magic in these Proper Gluten Free Doughnuts.
Step 2: Dry Ingredients
In a large mixing bowl, combine tapioca starch, mochiko flour, sorghum flour, oat flour (or buckwheat), rough-ground psyllium husk, xanthan gum, fine sea salt, and baking powder. Whisk these dry ingredients together until they are thoroughly blended, creating a smooth foundation for your dough. This blend is essential for structure and texture in your gluten-free doughnuts.
Step 3: Wet Ingredients
Warm the milk slightly and add in the vanilla extract. Then, in a separate bowl, beat the egg until well mixed. Incorporate the warm milk mixture and beaten egg into the bowl of dry ingredients, creating a thick batter. This combination will add richness and moisture, ensuring your Proper Gluten Free Doughnuts turn out soft and fluffy.
Step 4: Dough Mixing
Once the wet ingredients are added, pour in the activated yeast mixture. Mix everything using a sturdy spatula or dough hook attachment on medium speed for about 5–8 minutes. The dough should be sticky yet pliable. This vigorous mixing is crucial to develop the structure needed for those airy doughnuts everyone will love.
Step 5: Chill Dough
Transfer the mixed dough to a greased bowl, ensuring to cover it tightly with plastic wrap. Place it in the refrigerator for 1 to 2 hours. Chilling the dough allows it to firm up and makes it easier to handle. This step is critical for achieving the right texture in your Proper Gluten Free Doughnuts.
Step 6: Shape Doughnuts
After chilling, remove the dough and divide it into equal portions. Shape each piece into a ball and gently flatten it slightly. Arrange the doughnuts on a lined baking sheet. Cover them with a clean cloth and let them proof for about 1.5 hours until they double in size—this is where they’ll develop their lovely airy texture.
Step 7: Fry Doughnuts
In a deep frying pan, heat oil to 165-170°C (329-338°F). Carefully place a few doughnuts in the hot oil, frying them for about 2.5 to 3 minutes per side or until they are golden brown. Monitor the temperature closely for perfect frying because the right heat is essential for that crisp exterior on your Proper Gluten Free Doughnuts.
Step 8: Coat and Fill
After frying, using a slotted spoon, transfer the doughnuts to a paper towel-lined plate to drain excess oil. While they are still warm, toss them in caster sugar mixed with ground cinnamon if desired. Using a piping bag fitted with a Bismarck tip, fill each doughnut with your choice of seedless jam or filling, treating yourself and others to a delightful surprise in each bite.
Expert Tips for Proper Gluten Free Doughnuts
-
Yeast Activation: Ensure your yeast is fresh and activate it properly for the best rise; if it doesn’t foam, start fresh for your gluten-free doughnuts.
-
Temperature Control: Use a kitchen thermometer to monitor oil temperature while frying; too hot will burn the doughnuts, and too cool will make them greasy.
-
Dough Chilling: Don’t skip the chilling step, as it helps firm up the dough, making it easier to shape—key for successful gluten-free doughnuts!
-
Proofing Time: Allow adequate proofing time for the doughnuts; this step is crucial for achieving their signature light and airy texture.
-
Filling Care: When filling, ensure doughnuts are just warm to avoid overflow of the filling; a piping bag with a Bismarck tip is perfect for this purpose.
-
Best When Fresh: For optimal taste and texture, enjoy your gluten-free doughnuts the same day they are made; gently warm leftovers before re-coating in sugar.
How to Store and Freeze Proper Gluten Free Doughnuts
Room Temperature: Keep your gluten free doughnuts at room temperature, lightly covered with a clean kitchen towel to prevent drying. They’re best enjoyed within 1 day for optimal flavor and texture.
Fridge: If you need to store leftovers, place the doughnuts in an airtight container in the fridge for up to 3 days. Gently reheat before serving to revive their fluffiness.
Freezer: For longer storage, freeze the doughnuts individually wrapped in plastic wrap and then in a freezer bag. They can be stored for up to 3 months. Thaw and warm them slightly before re-coating in sugar for best results.
Reheating: To reheat, you can warm the doughnuts in a microwave for 10-15 seconds or place them in an oven at low heat. This will help restore their delightful texture.
Make Ahead Options
These Proper Gluten Free Doughnuts are perfect for meal prep, saving you time on busy mornings or when hosting friends. You can prepare the dough up to 24 hours in advance by following the first four steps, then cover it tightly and refrigerate it. This chilling allows the flavors to develop beautifully. The shaped doughnuts can also be proofed and left to rise in the refrigerator for up to 3 days, but be sure to cover them to prevent drying out. When you’re ready to enjoy, simply fry them from the fridge for a fresh-out-of-the-oil treat that’s just as delicious! Enjoy the ease of having these scrumptious Proper Gluten Free Doughnuts waiting for you!
What to Serve with Proper Gluten Free Doughnuts (Yeasted) – Fried to Perfection
Indulging in these delicious doughnuts kicks your taste buds into overdrive! Let’s explore what pairs perfectly with these sweet fried treats.
-
Freshly Brewed Coffee: The rich, bold flavors of coffee complement the sweetness of the doughnuts, creating a classic pairing that brings joy to every bite.
-
Fluffy Pancakes: Serve pancakes drizzled with maple syrup for a comforting brunch experience, where diverse textures create a feast for the senses.
-
Cinnamon Sugar Apples: Sautéed apples sprinkled with cinnamon add a warm, fruity contrast to the doughnuts, enhancing their delightful sweetness.
-
Chilled Dairy-Free Milkshake: A smooth, creamy shake offers a nostalgic twist that balances the doughnuts’ crispy exterior with a refreshing chill.
-
Homemade Hot Chocolate: Rich and velvety hot chocolate drizzled with whipped cream beautifully complements your doughnut experience, perfect for cozy days.
-
Zesty Lemon Glaze: A light, tangy glaze can elevate the sweetness of the doughnuts, adding a refreshing balance to each bite.
-
Whipped Coconut Cream: Light and airy whipped coconut cream gives a tropical coconut twist to the doughnuts, softening sweetness with a creamy texture.
-
Fresh Berries: A side of tart berries not only looks beautiful but also provides a burst of freshness that cuts through the richness of the doughnuts.
-
Vanilla Ice Cream: An extra-indulgent dessert idea—doughnuts served alongside creamy vanilla ice cream creates a heavenly melty treat to enjoy!
Proper Gluten Free Doughnuts Variations
Feel free to let your imagination run wild with these delightful twists on your doughnut experience!
- Oat-Free: Replace oat flour with an equal mix of extra sorghum and tapioca flour for a lighter, gluten-free option.
- Dairy-Free Delight: Swap warm milk and unsalted block butter for almond or oat milk and coconut oil for a creamy, dairy-free treat.
- Jam Fillings: Try fillings like raspberry jam or lemon curd for a burst of flavor in every bite—perfect for adding a fruity touch!
- Chocolate Indulgence: Use chocolate ganache for filling instead of jam for a rich, decadent dessert that chocolate lovers will adore.
- Cinnamon Sugar Coating: Mix ground cinnamon with caster sugar for a delightful twist on the classic sugar coating—simply irresistible!
- Fun Glazes: Create a simple lemon or chocolate glaze to drizzle on top for an extra layer of sweetness and visual appeal.
- Spicy Kick: Add a pinch of cayenne pepper to your sugar coating for a surprising heat that will tantalize your taste buds.
- Nutty Crust: Roll your warm doughnuts in crushed nuts, like pistachios or almonds, for a crunchy texture and nutty flavor contrast.
For more gluten-free baking inspiration, check out these warm and fluffy recipes: Gluten Free Vegan and Gluten Free Pancakes. Each twist is an adventure waiting to happen, so get ready to share these joyful treats with family and friends!
Proper Gluten Free Doughnuts (Yeasted) Recipe FAQs
How do I know if my yeast is fresh?
To check if your yeast is fresh, mix it with warm water (around 39 to 40°C or 102 to 104°F) and a bit of sugar. If it bubbles and froths within 5-10 minutes, it’s alive and good to use. If not, it’s best to discard it and start fresh to ensure your doughnuts rise beautifully.
What’s the best way to store leftover doughnuts?
Store your gluten-free doughnuts at room temperature, lightly covered with a clean kitchen towel to keep them from drying out. They’re best enjoyed within the day; however, you can refrigerate them in an airtight container for up to 3 days. Just be sure to gently reheat them before serving to restore their fluffy texture.
Can I freeze my doughnuts?
Absolutely! To freeze your Proper Gluten Free Doughnuts, wrap each doughnut individually in plastic wrap, then place them in a freezer bag. They can be stored for up to 3 months. When you’re ready to enjoy them, thaw at room temperature and warm them slightly in the oven or microwave before re-coating in sugar.
What should I do if my doughnuts turn out dense?
If your doughnuts are dense, it might be due to insufficient yeast activation or not allowing enough proofing time. Make sure your yeast is frothy before mixing, and give the dough ample time to rise; about 1.5 hours after shaping should help achieve that light, airy texture.
Are these doughnuts safe for my gluten-sensitive family members?
Yes, these Proper Gluten Free Doughnuts are designed specifically for those with gluten intolerance or celiac disease, making them safe to enjoy. However, always double-check all ingredient labels for potential gluten cross-contamination, especially with brands of flour or fillers that you might be using.
How long will the doughnuts stay fresh after baking?
For the best flavor and texture, it’s recommended to enjoy your gluten-free doughnuts on the same day they are made. If you do need to keep them longer, store them properly in an airtight container in the fridge for up to 3 days, reheating before serving.
Proper Gluten Free Doughnuts (Yeasted) – Fried to Perfection
Ingredients
Equipment
Method
- In a small bowl, mix together the dried active yeast and caster sugar with warm water around 39 to 40°C (102 to 104°F). Allow this mixture to sit for about 5–10 minutes until it becomes frothy.
- In a large mixing bowl, combine tapioca starch, mochiko flour, sorghum flour, oat flour (or buckwheat), rough-ground psyllium husk, xanthan gum, fine sea salt, and baking powder. Whisk these dry ingredients together until thoroughly blended.
- Warm the milk slightly and add in the vanilla extract. In a separate bowl, beat the egg until well mixed. Incorporate the warm milk mixture and beaten egg into the bowl of dry ingredients, creating a thick batter.
- Pour in the activated yeast mixture and mix everything using a sturdy spatula or dough hook on medium speed for about 5–8 minutes. The dough should be sticky yet pliable.
- Transfer the mixed dough to a greased bowl, cover it tightly with plastic wrap, and place it in the refrigerator for 1 to 2 hours.
- After chilling, remove the dough and divide it into equal portions. Shape each piece into a ball and gently flatten it slightly. Arrange doughnuts on a lined baking sheet and let them proof for about 1.5 hours.
- In a deep frying pan, heat oil to 165-170°C (329-338°F). Carefully place a few doughnuts in the hot oil, frying them for about 2.5 to 3 minutes per side or until golden brown.
- Transfer doughnuts to a paper towel-lined plate to drain excess oil. While still warm, toss in caster sugar mixed with ground cinnamon if desired. Fill each doughnut with your choice of seedless jam or filling.
Leave a Reply