
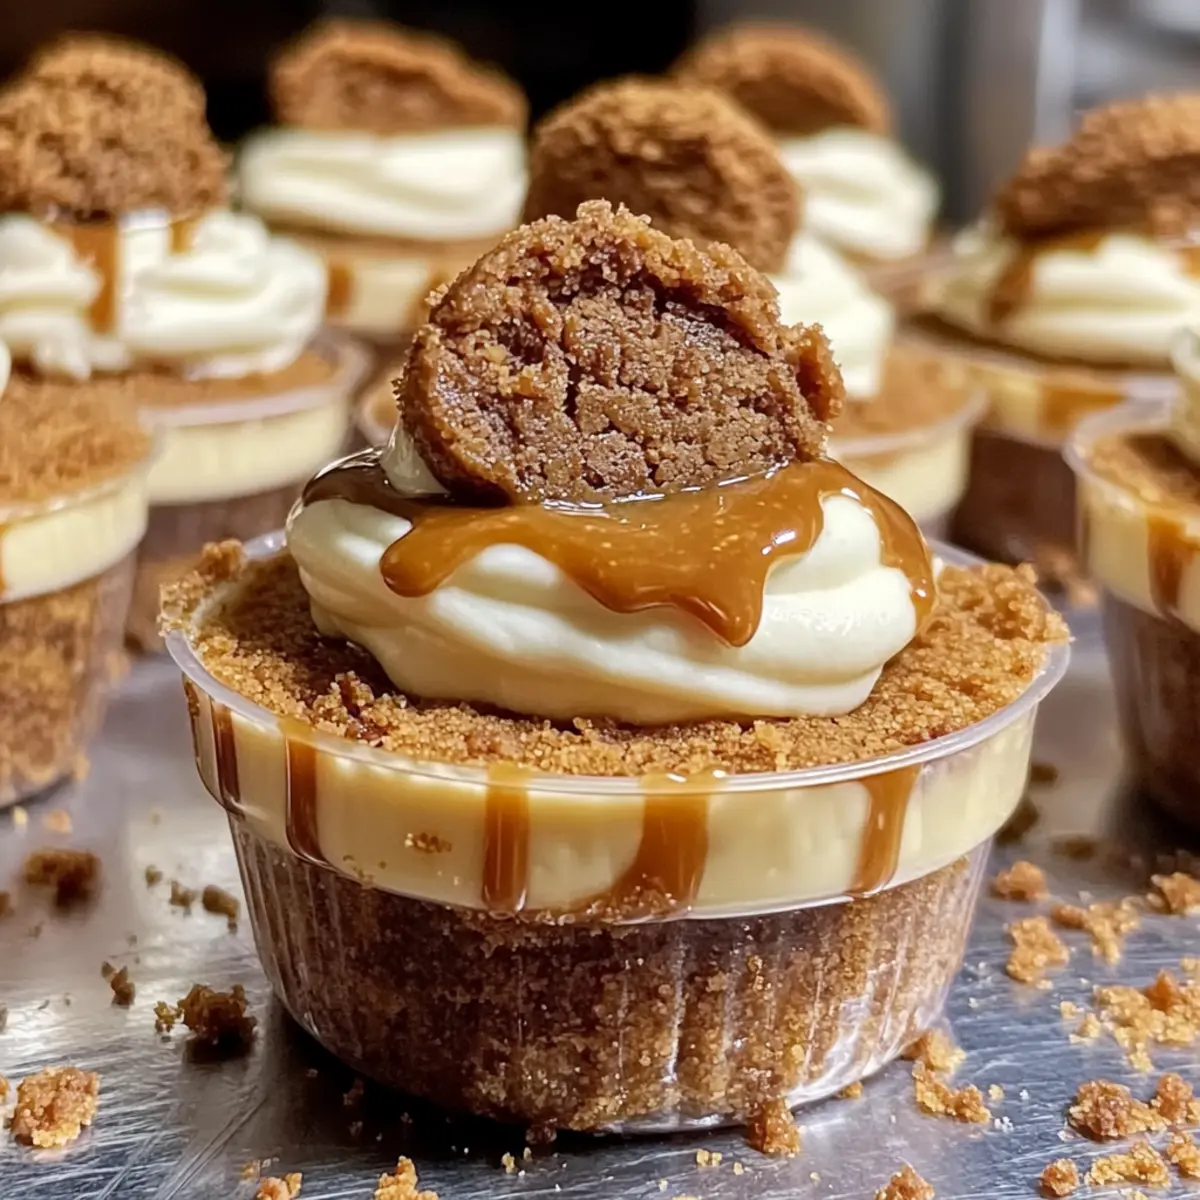
The moment I first tasted cookie butter, I was transported to a realm of sweet, spiced bliss. That’s why I am thrilled to share my recipe for No-Bake Cookie Butter Cheesecake Cups, a perfect blend of creamy cheesecake and cookie butter goodness. With only 20 minutes of prep time, these cups are not just quick to make, but they’re also a delightful dessert choice for those evenings when you crave something comforting without the fuss of baking. Each layer offers a unique treat: the crispy cookie base complements the velvety cheesecake filling, making it a sure-fire crowd-pleaser. Curious to learn how to whip up this easy and indulgent dessert? Let’s dive into these delightful cups that promise to bring a smile to every sweet tooth!
Why Are Cookie Butter Cheesecake Cups Amazing?
Indulgent Layers: Each cup features a creamy cheesecake filling that melds perfectly with the rich, spiced notes of cookie butter.
Quick and Easy: With just 20 minutes of prep time, you can have these delightful cups ready to chill, making them a go-to choice for last-minute gatherings or cozy nights in.
No-Bake Delight: Say goodbye to the oven! These no-bake cheesecake cups simplify dessert-making, allowing you to enjoy a sweet indulgence without the stress.
Crowd-Pleasing Appeal: Loved by both kids and adults, they’re perfect for parties, potlucks, or just satisfying your sweet tooth after dinner.
Versatile Options: Feel free to switch up the crust or try different toppings—how about a drizzle of warm chocolate or extra cookie crumbs on top? You can even pair them with something savory like Cowboy Butter Chicken for a balanced meal!
Delight in these incredible Cookie Butter Cheesecake Cups that cater to every occasion!
Cookie Butter Cheesecake Ingredients
For the Crust
- Cookie Butter Sandwich Cookies/Speculoos Cookies – These are the base for the crust; feel free to substitute with graham crackers for a different taste.
- Unsalted Butter – This helps bind the cookie crumbs; ensure it’s melted before mixing.
For the Cheesecake Filling
- Cream Cheese – Provides a creamy texture; make sure it’s at room temperature to avoid lumps.
- Heavy Cream – Whip this to stiff peaks to add lightness and fluffiness to your cheesecake filling.
- Powdered Sugar – Sweetens the filling smoothly without adding graininess.
- Vanilla Extract – Enhances the flavor; almond extract can offer a delightful twist if you prefer.
For the Topping
- Extra Cookie Crumbs – Use these to garnish the final product for added texture; chocolate shavings can also elevate the dessert experience.
Step‑by‑Step Instructions for Cookie Butter Cheesecake Cups
Step 1: Prepare the Crust
Start by crushing about 10 cookie butter sandwich cookies into a fine powder using a food processor or a rolling pin in a zip-top bag. Next, melt 4 tablespoons of unsalted butter until it’s completely liquid, then combine the melted butter with the crushed cookies. Mix well until the mixture resembles wet sand, then press it firmly into the bottom of your serving cups, creating an even layer.
Step 2: Make the Filling
In a mixing bowl, beat together 8 ounces of softened cream cheese until it’s smooth and creamy, free from lumps—this should take about 2 minutes. In another clean bowl, whip 1 cup of cold heavy cream until stiff peaks form, ensuring airiness for your cheesecake filling. Gently fold the whipped cream into the cream cheese mixture, taking care to retain the fluffiness, then add 1 cup of powdered sugar and 1 teaspoon of vanilla extract, folding until everything is well blended.
Step 3: Layer the Cups
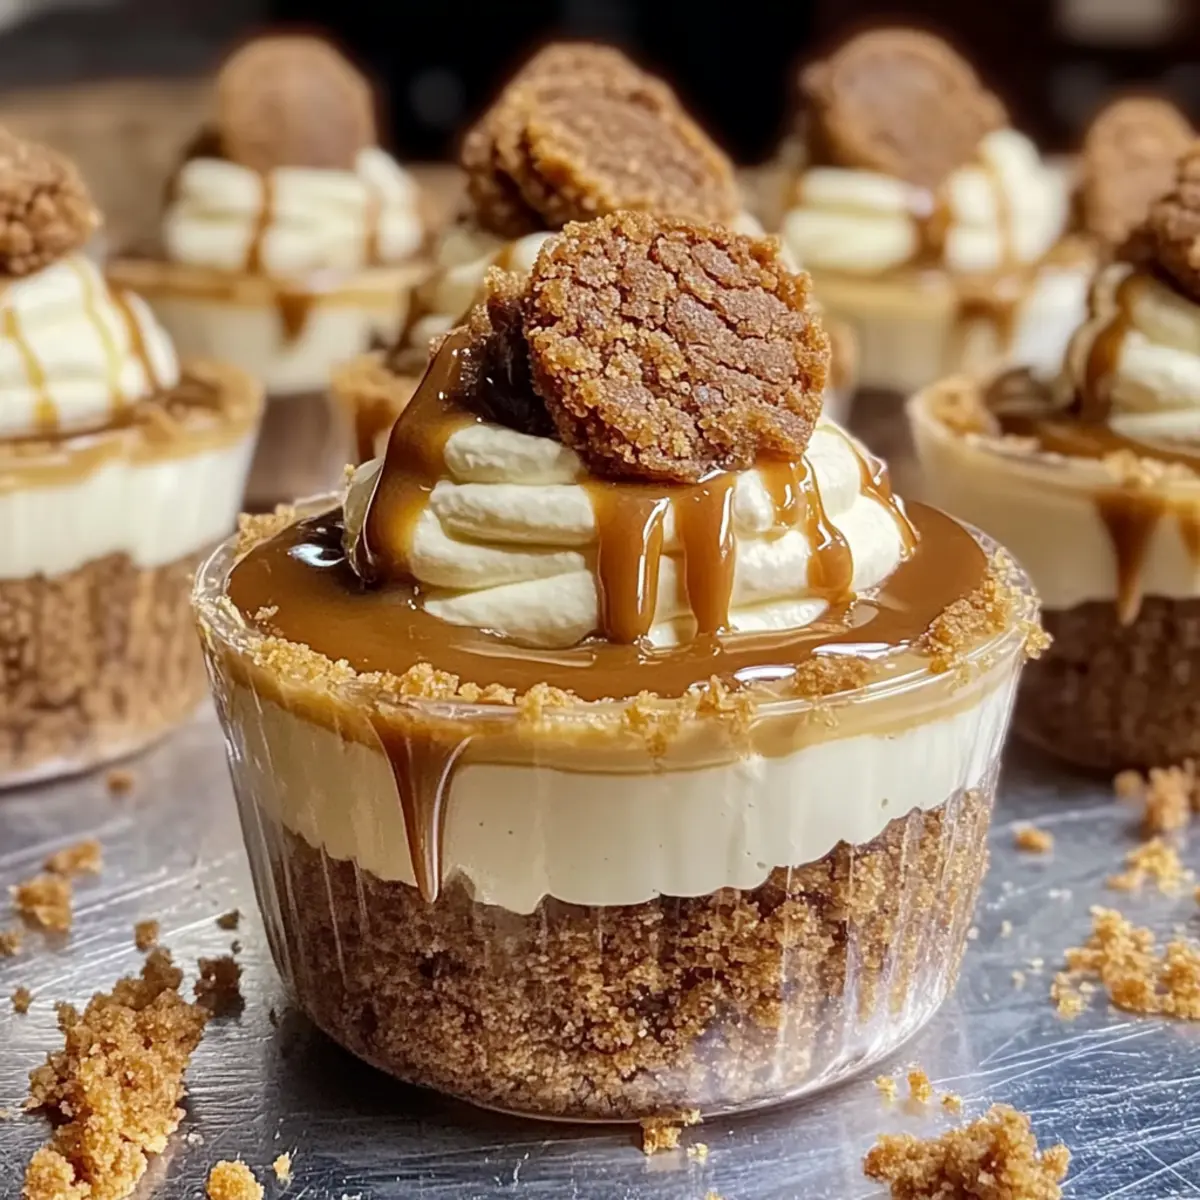
Once your filling is ready, it’s time to assemble the Cookie Butter Cheesecake Cups. Spoon a generous layer of the prepared cookie crust into each cup, followed by a drizzle of melted cookie butter for added richness. Then, add a layer of the cheesecake filling on top of the crust. If you’d like, repeat these layers to create beautiful, indulgent cups, leaving some space at the top for garnish.
Step 4: Chill
To achieve a perfect set, refrigerate the cups for at least 2-3 hours, or best overnight. This chilling process allows the flavors of the Cookie Butter Cheesecake to meld beautifully while firming up the layers to a delightful consistency. Make sure to cover the cups with plastic wrap or a lid to keep them fresh.
Step 5: Serve
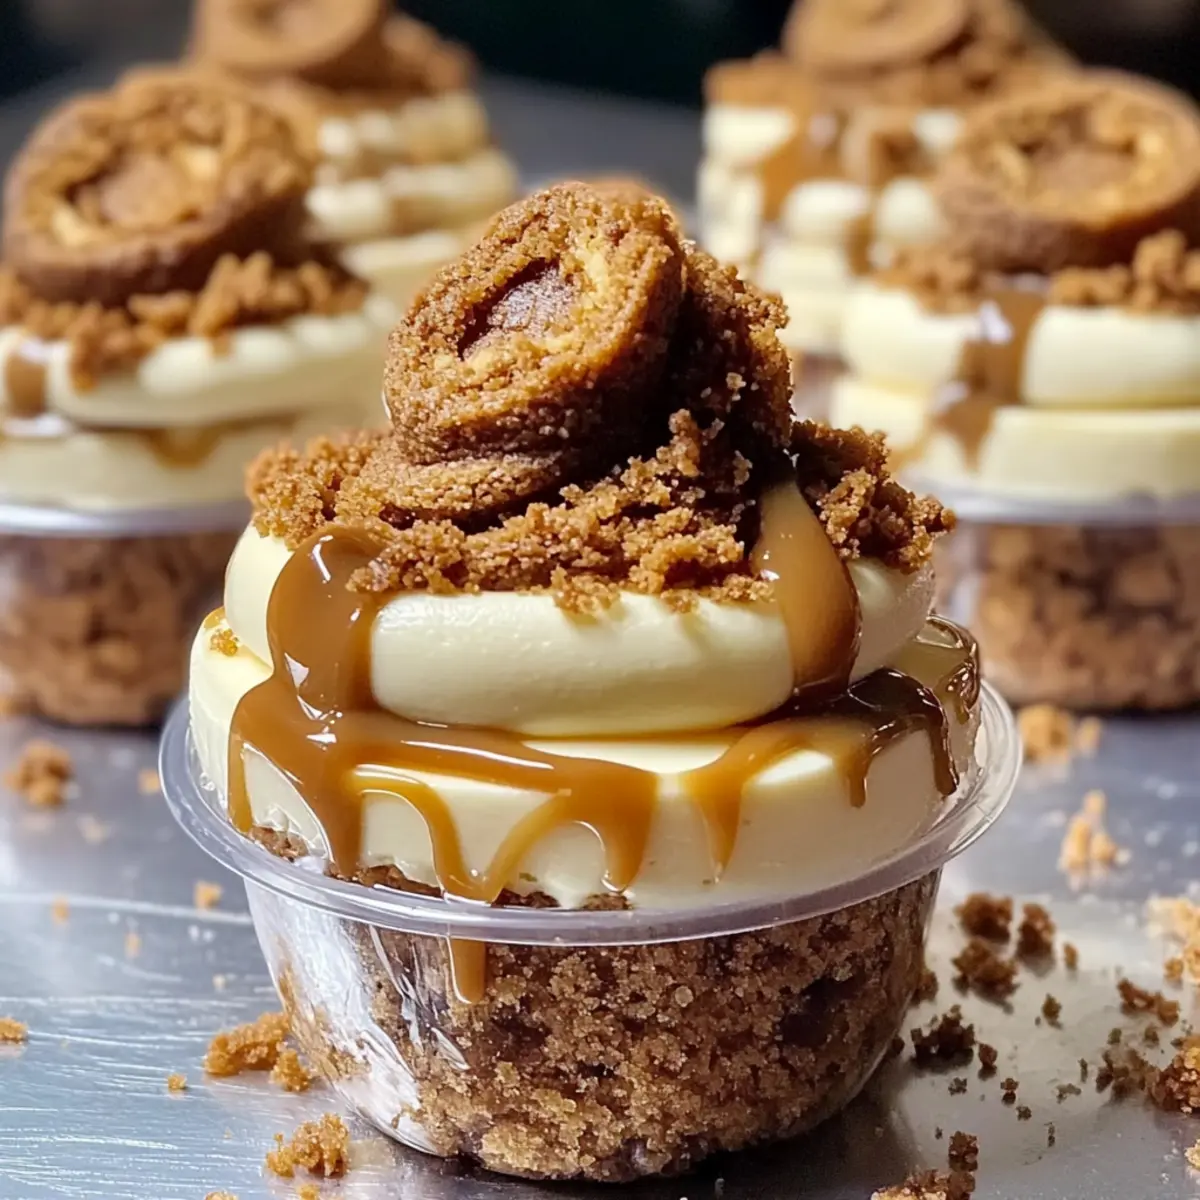
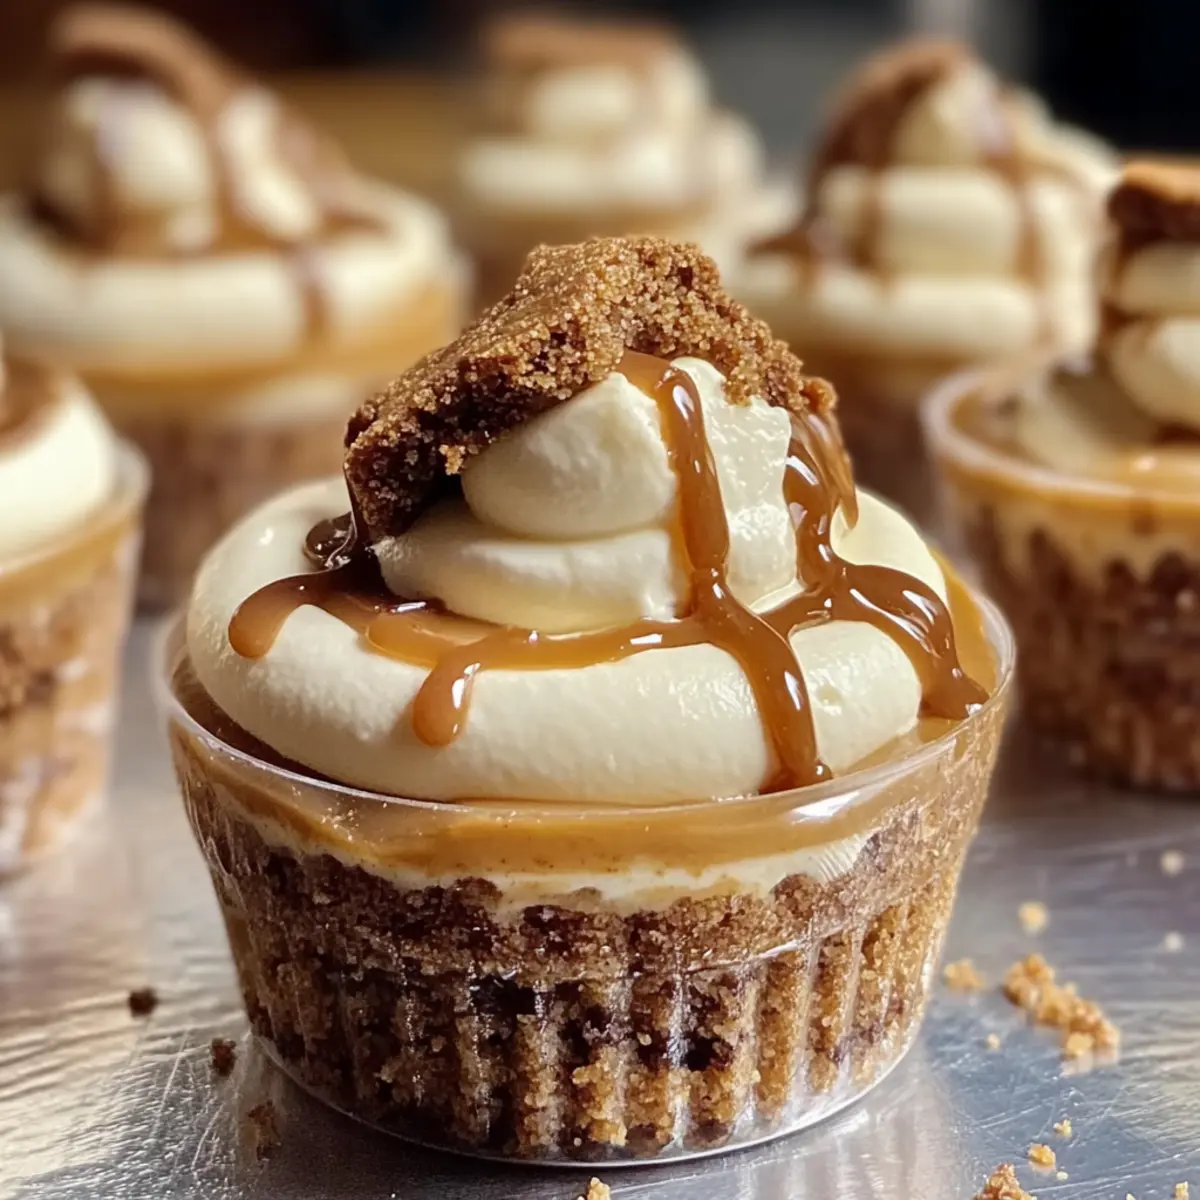
Before serving, add a dollop of whipped cream on top of each cheesecake cup for a creamy finish. Sprinkle extra cookie crumbs over the whipped cream and drizzle with warm cookie butter, enhancing both flavor and presentation. Now your delicious No-Bake Cookie Butter Cheesecake Cups are ready to be devoured!
Make Ahead Options
These No-Bake Cookie Butter Cheesecake Cups are perfect for busy weeknights and can be prepped in advance, saving you precious time! You can prepare the crust and filling up to 24 hours ahead; simply store the crust in an airtight container and keep the filling covered in the refrigerator. For optimal flavors, assemble the cups no more than 3 hours before serving, as the chilling process allows the layers to set beautifully. To maintain their delicious quality, make sure to cover the cups tightly with plastic wrap. When ready to serve, simply finish with whipped cream, extra cookie crumbs, and a drizzle of warm cookie butter for a truly indulgent experience!
Cookie Butter Cheesecake Variations
Indulge your creativity with these exciting twists that will elevate your Cookie Butter Cheesecake Cups into a whole new realm of deliciousness!
-
Nut Butter Swap: Substitute cookie butter with any nut butter like almond or cashew for a unique flavor profile. Each bite will unveil a delightful nuttiness that’s equally satisfying.
-
Chocolate Delight: Mix chocolate chips into the cheesecake filling for a decadent chocolate swirl. The rich flavor complements the cookie butter beautifully, making it a chocolate lover’s dream!
-
Caramel Drizzle: Add a rich caramel sauce layer between the cheesecake and crust. The sweet, sticky goodness adds another dimension to each luscious cup.
-
Flavor Extract Twist: Swap out vanilla extract for almond extract to infuse a warm, nutty flavor into your filling. This tiny change packs a flavorful punch that complements the creaminess perfectly.
-
Crunchy Topping: Top your cheesecake cups with crushed nuts for added crunch. This simple garnish elevates not just the flavor, but the texture too, balancing the creaminess with a delightful bite.
-
Seasonal Spices: Stir in a pinch of cinnamon or pumpkin spice to the filling for a seasonal touch. It’s a cozy way to embrace autumn flavors, no matter the time of year!
-
Fruit Accents: Layer fresh berries or banana slices on top for a fresh, fruity contrast. Not only do they brighten up each cup, but they also add a refreshing note to the dessert.
-
Gourmet Upgrade: For a luxurious touch, try drizzling melted dark chocolate over the whipped cream. This extra step takes your cheesecake cups from delightful to gourmet, impressing any audience!
Feeling inspired? These variations not only allow you to customize your Cookie Butter Cheesecake Cups to suit any palate but also make sharing this delicious treat even more enjoyable! If you’re in the mood for more sweet recipes, consider trying these Sugar Cookie Cheesecake or Soft Maple Cookies next!
How to Store and Freeze Cookie Butter Cheesecake
Fridge: Store your Cookie Butter Cheesecake Cups in an airtight container for up to 3-4 days. The flavors actually improve after a day in the fridge!
Freezer: If you want to enjoy these delightful cups at a later time, freeze them without any toppings for up to 2 months. Thaw them in the fridge before serving to maintain their creamy texture.
Preparation Ahead: You can assemble the cups and chill them ahead of time, which is perfect for parties or gatherings. Just add the toppings right before serving!
Reheating: No reheating needed for these no-bake cheesecake cups! Enjoy them straight out of the fridge for a refreshing treat whenever you have a craving.
Expert Tips for Cookie Butter Cheesecake
-
Room Temperature Cream Cheese: Ensure your cream cheese is at room temperature to avoid lumps in your filling—smoothness is key to a luxurious texture.
-
Gentle Folding: Use a gentle folding motion when combining the whipped cream with the cream cheese mixture to retain airiness, which will make your cheesecake light and fluffy.
-
Experiment with Flavors: If you can’t find cookie butter, feel free to substitute it with peanut butter or almond butter—just keep in mind these will alter the flavor profile of your Cookie Butter Cheesecake.
-
Chill Time Matters: For the best results, allow your cheesecake cups to chill overnight. This helps the flavors meld beautifully and ensures the perfect set.
-
Layering for Beauty: When layering your cups, be generous but leave room at the top for toppings. This not only looks appealing but also enhances the overall dessert experience.
What to Serve with Cookie Butter Cheesecake Cups?
Looking to create a full and delightful meal to accompany these indulgent cookie butter treats?
-
Fresh Berries:
Juicy strawberries or raspberries provide a vibrant contrast, adding a tartness that cuts through the creamy richness of the cheesecake. The berries’ natural sweetness complements the cookie butter beautifully. -
Vanilla Ice Cream:
A scoop of velvety vanilla ice cream adds an extra layer of creaminess, making each bite of cheesecake even more luxurious. The coldness also offsets the sweetness, creating a perfect balance. -
Chocolate Drizzle:
Drizzling warm chocolate sauce over the cheesecake cups enhances their indulgence. This adds a rich, fudgy flavor that pairs well with the spiced notes of cookie butter. -
Coffee:
A cup of freshly brewed coffee provides warmth and depth to your dessert experience. The bitterness of the coffee beautifully contrasts the sweet cheesecake, making each sip and bite enjoyable. -
Whipped Cream Toppers:
Serving with extra whipped cream gives the dessert a lightness that enhances its overall texture, making every bite refreshing. A dollop on the side can be the perfect addition! -
Savory Cheese Platter:
Pairing these cups with a mix of cheeses and crunchy crackers can create an exciting sweet and savory experience. The salty cheese balances the sweetness of the cheesecake, providing a delightful contrast. -
Golden Honey Drizzle:
A light drizzle of honey adds a natural sweetness that resonates with the cookie butter flavor. This simple addition enhances the depth while keeping the experience refreshing. -
Sparkling Water:
Opt for bubbly sparkling water with a hint of lemon for a refreshing drink that cuts through the richness of the cheesecake cups. It cleanses the palate, preparing you for another delicious bite!
These pairing suggestions will elevate your dessert experience, creating a memorable meal around your Cookie Butter Cheesecake Cups.
Cookie Butter Cheesecake Cups Recipe FAQs
What type of cookie butter is best for the crust?
I recommend using cookie butter sandwich cookies, like Speculoos, for a classic flavor that pairs perfectly with the cheesecake filling. If you’re looking for a different taste, feel free to substitute them with graham crackers or other cookies that excite your palate!
How should I store leftover Cookie Butter Cheesecake Cups?
Store your cheesecake cups in an airtight container in the refrigerator for up to 3-4 days. I often find that the flavors deepen and become even more delightful after a day or two in the fridge, so patience may reward you with a tastier treat!
Can I freeze the Cookie Butter Cheesecake Cups?
Absolutely! You can freeze these cups without any toppings for up to 2 months. To do this, simply assemble the cups (but leave off the whipped cream and cookie crumbs) and wrap them securely in plastic wrap or place them in a freezer-safe container. When you’re ready to enjoy, thaw them in the fridge overnight for the best texture.
What if my cream cheese is lumpy?
If you find yourself with lumpy cream cheese, it’s likely it wasn’t at room temperature. Always let your cream cheese sit out for about 30 minutes before using it. If you’ve already mixed it, try blending it again with a hand mixer to help smooth it out. Just remember to be gentle while folding in the whipped cream afterward to keep everything light and airy!
Is this recipe suitable for people with nut allergies?
While the recipe features cookie butter, which is typically free of nuts, if you know someone with allergies, it’s important to check labels carefully. Additionally, if substituting cookie butter with other nut butters, such as almond or peanut butter, this recipe would not be suitable for those with nut allergies. Always prioritize safety and avoid any potential allergens.
Cookie Butter Cheesecake Cups You Can Whip Up in Minutes
Ingredients
Equipment
Method
- Crush about 10 cookie butter sandwich cookies into a fine powder. Melt 4 tablespoons of unsalted butter and combine with crushed cookies. Press firmly into cups to form crust.
- Beat together 8 ounces of softened cream cheese until smooth. In another bowl, whip 1 cup of cold heavy cream until stiff peaks form, then fold into cream cheese mixture with 1 cup of powdered sugar and 1 teaspoon of vanilla extract.
- Assemble the cups by layering cookie crust, drizzle melted cookie butter, then cheesecake filling. Repeat layers if desired.
- Refrigerate for at least 2-3 hours, or best overnight to set the cheesecake.
- Serve with whipped cream, extra cookie crumbs, and a drizzle of warm cookie butter on top.
Leave a Reply