
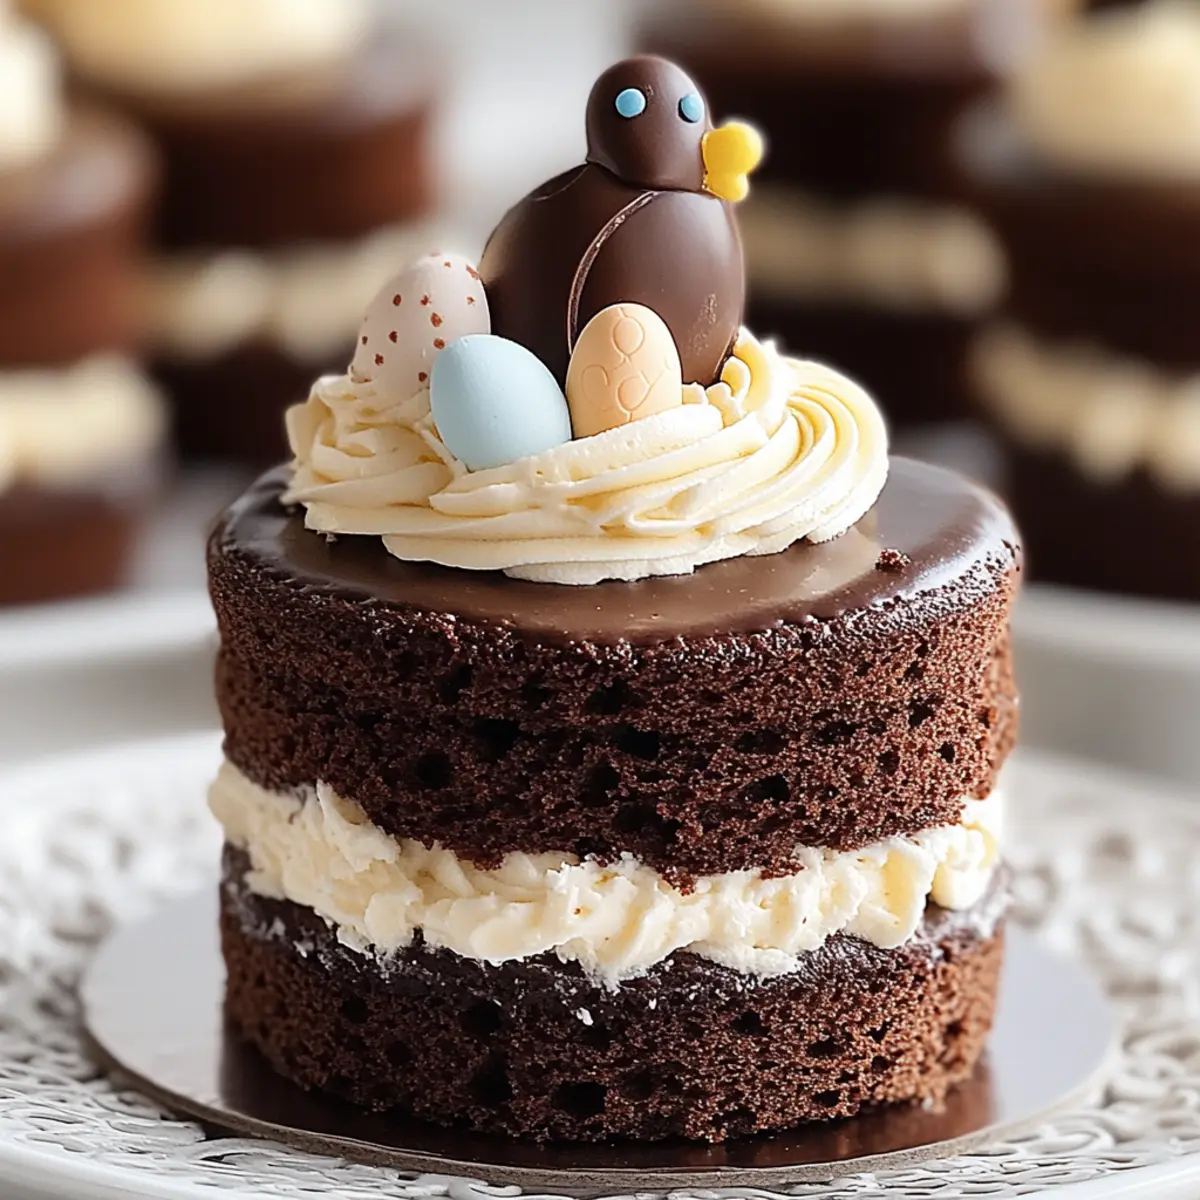
As I prepared my kitchen for the upcoming Easter celebration, the delightful image of Mini Easter Layer Cakes caught my eye. These adorable treats, filled with rich chocolate and topped with fluffy buttercream frosting, are not only a feast for the eyes but also a true crowd-pleaser! The best part? They’re perfectly portioned for guests who want just a taste of sweetness without overindulging. With their customizable decorations, these mini cakes can be a fun activity for family and friends to join in on, making them the ideal centerpiece for your spring gatherings. Are you ready to create a charming dessert that’ll wow everyone at your table? Let’s dive into the recipe!
Why Will Your Guests Adore This Recipe?
Endless Customization: Let your creativity shine with customizable decorations! Choose vibrant, pastel colors and fun toppings to make these cakes as unique as you are.
Crowd-Pleasing Delight: Each mini cake is just the right size—no need to worry about leftovers or portion sizes, perfect for everyone at the table!
Chocolate Heaven: The rich chocolate flavor elevates these treats into a luxury dessert that you’d find in upscale bakeries, making them a hit for chocolate lovers.
Quick and Easy: These delightful cakes are simple to make and can effortlessly fit into your Easter preparations, so you can enjoy more time with loved ones.
Versatile Treat: Not just for Easter, these mini cakes can be adapted to other celebrations, ensuring they’re a year-round favorite. Why not try your hand at Gluten Free Pancakes as a side?
Showstopper Presentation: Visually stunning and delectable, these Mini Easter Layer Cakes are sure to steal the show, creating memorable moments for you and your guests.
Mini Easter Layer Cakes Ingredients
For the Cake
- Ghirardelli Sweet Ground Chocolate and Cocoa – Adds rich chocolate flavor and depth; substitute with regular cocoa powder plus extra sugar for sweetness.
- All-purpose Flour – Provides structure and stability; no direct substitution unless gluten-free alternatives are required.
- Granulated Sugar – Adds sweetness and moisture; consider using coconut sugar for a lower GI option.
- Baking Soda – A leavening agent that helps the cake rise; ensure it is fresh for effectiveness.
- Cream of Tartar – Stabilizes egg whites if used; optional for this recipe.
- Salt – Enhances flavor; can omit if preferred, but a pinch is recommended.
- Buttermilk – Adds moisture and acidity, activating baking soda; may substitute with milk plus vinegar.
- Butter – Provides richness and flavor; can replace with margarine, but this may change texture.
- Eggs – Bind ingredients and add moisture; no direct substitutes unless vegan options are desired.
- Pure Vanilla Extract – Enhances the cake’s flavor profile; use vanilla bean paste for a gourmet touch.
For the Buttercream Frosting
- Shortening – Used for stability in buttercream; may substitute with all butter for richer flavor but could affect texture.
- Confectioners’ Sugar – Sweetens the buttercream; no alternatives unless using low-sugar substitutes.
- Milk – Helps achieve desired frosting consistency; any milk will do, including plant-based options.
Step‑by‑Step Instructions for Mini Easter Layer Cakes
Step 1: Preheat the Oven
Begin by preheating your oven to 350°F (175°C). While it heats, prepare two 8- or 9-inch cake pans by greasing them with butter and lining the bottoms with parchment paper. This will ensure that your Mini Easter Layer Cakes release easily after baking, resulting in beautifully intact layers ready for frosting.
Step 2: Mix the Dry Ingredients
In a large mixing bowl, whisk together the all-purpose flour, Ghirardelli Sweet Ground Chocolate and Cocoa, granulated sugar, baking soda, cream of tartar, and salt. This thorough mixing ensures that the dry ingredients are evenly distributed, which is vital for the perfect rise and flavor of your Mini Easter Layer Cakes. Set this mixture aside as you prepare the wet ingredients.
Step 3: Combine the Wet Ingredients
In a separate bowl, combine the buttermilk and softened butter. Mix on medium speed for about 2 minutes until well combined and smooth. Next, add the eggs and vanilla extract, continuing to mix until everything is fully incorporated. This rich and creamy mixture will form the base of your delicious cakes.
Step 4: Bake the Cakes
Gradually add the wet mixture to your bowl of dry ingredients, mixing until just combined and smooth. Divide the batter between the prepared cake pans and smooth the tops with a spatula. Bake in the preheated oven for 30-45 minutes, or until a toothpick inserted into the center comes out clean. Once baked, allow the cakes to cool in the pans for about 10 minutes before transferring them to a wire rack to cool completely.
Step 5: Prepare the Buttercream Frosting
While your cakes cool, it’s time to make the buttercream frosting. In a mixing bowl, cream together the softened butter and shortening until light and fluffy. Gradually add the confectioners’ sugar, mixing until well combined. Pour in a splash of milk and vanilla extract, stirring until you achieve a smooth, spreadable consistency that’s perfect for your Mini Easter Layer Cakes.
Step 6: Assemble the Cakes
Once the cakes have fully cooled, use a sharp cutter to slice out mini layers from each cake. Begin stacking the layers, spreading a generous dollop of buttercream between each layer. After stacking, apply a thin coat of frosting over the entire outside of the cakes, smoothing it with an offset spatula for a neat finish.
Step 7: Decorate the Cakes
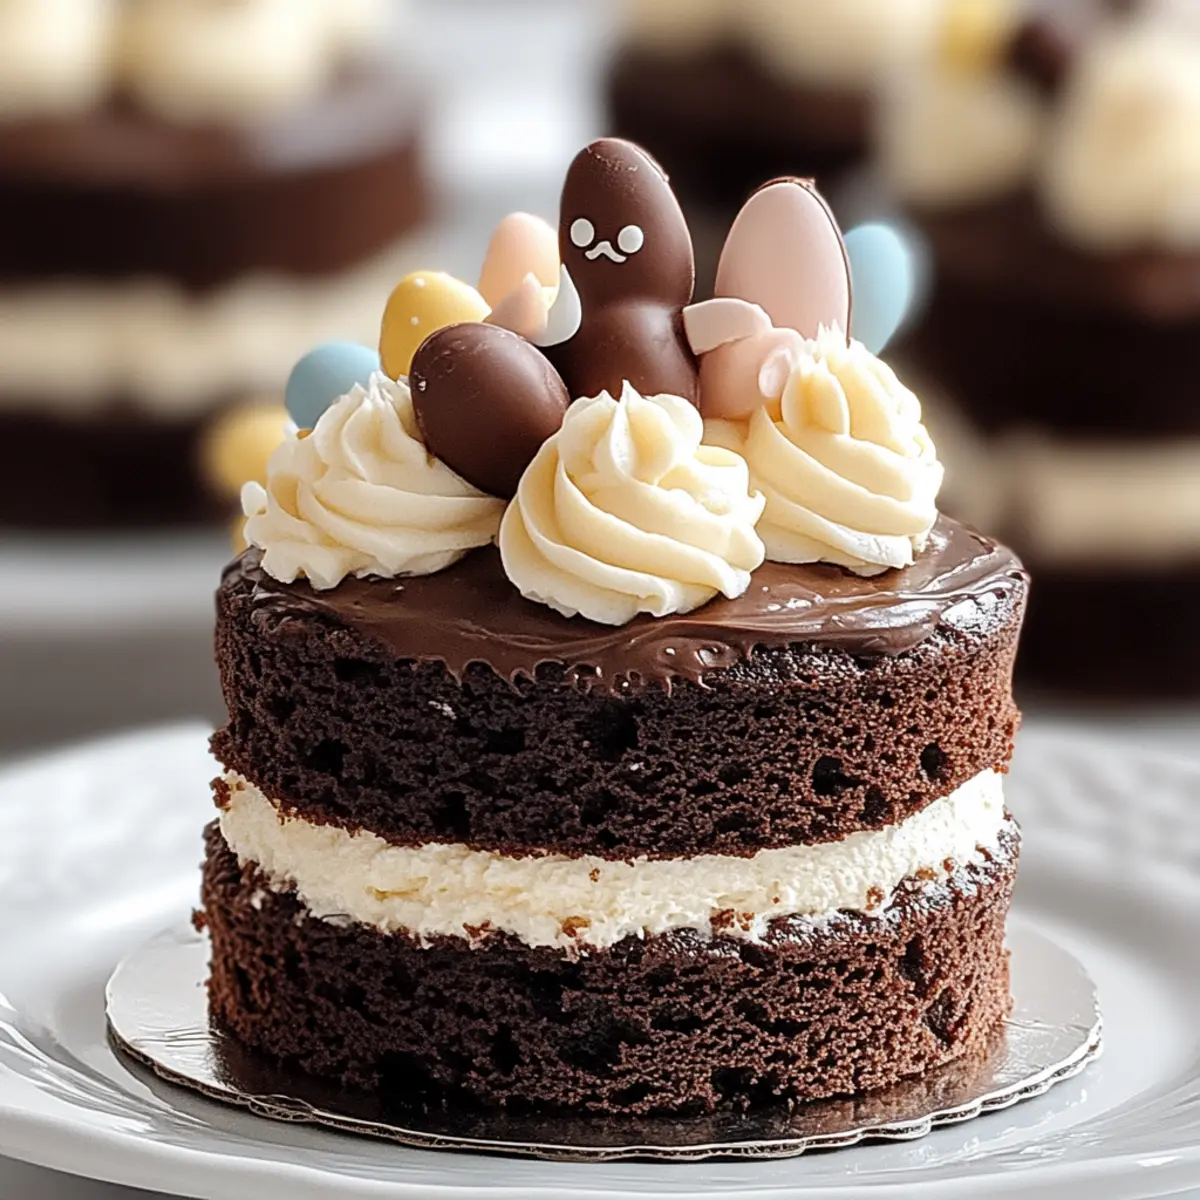
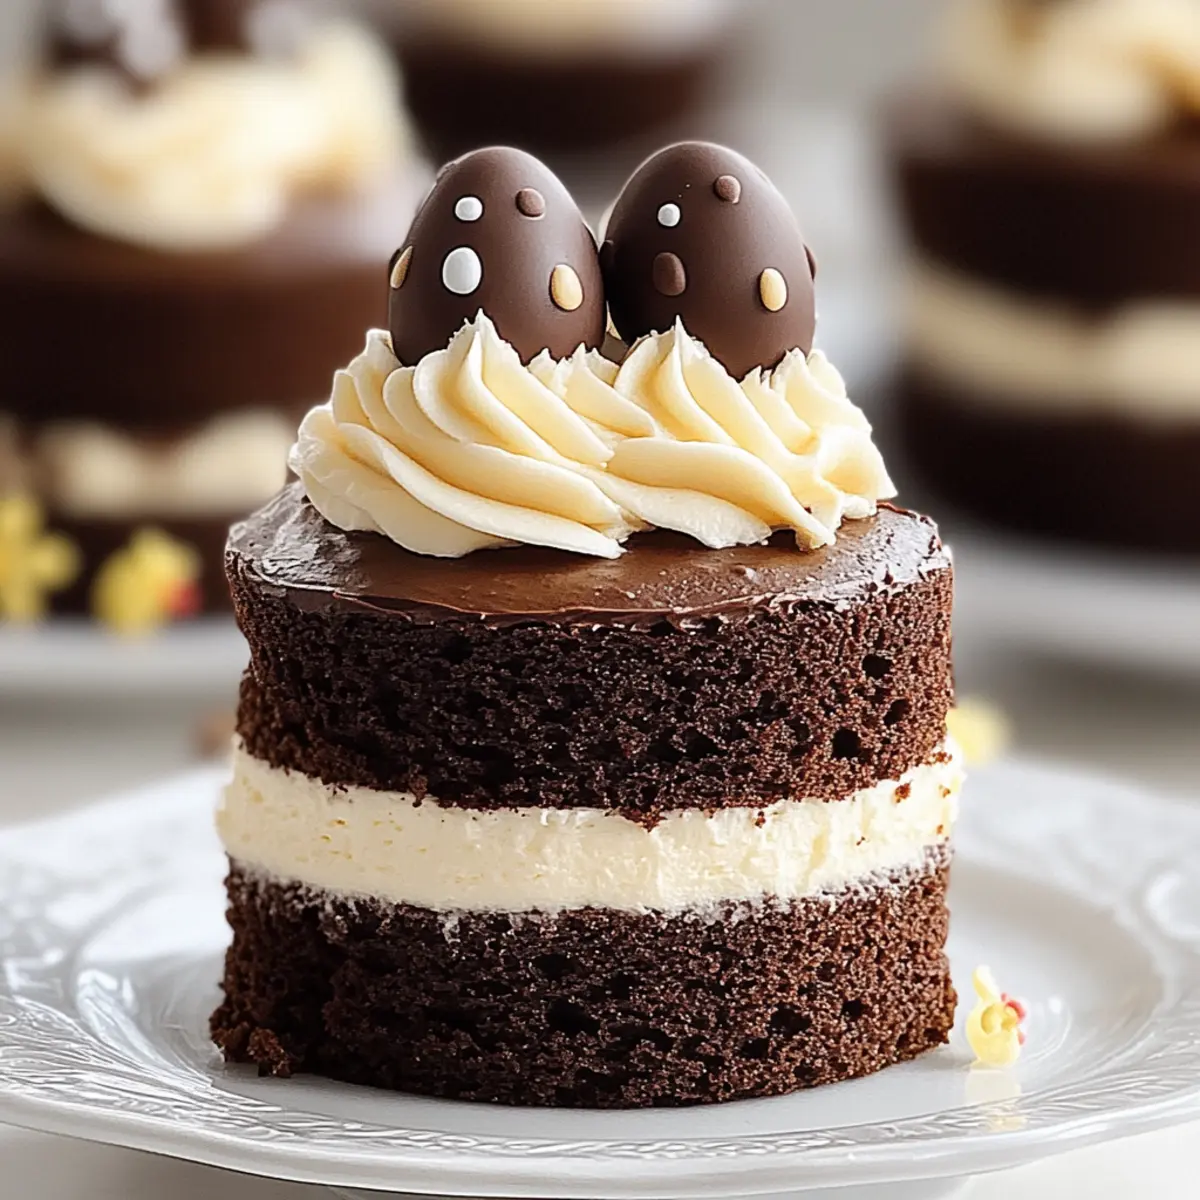
Let your creativity shine during the decorating process! Use pastel-colored frosting for a cheerful touch, and sprinkle on colorful candies or decorative sprinkles for a festive Easter look. These delightful Mini Easter Layer Cakes are now ready to steal the show at your spring celebrations.
Make Ahead Options
These Mini Easter Layer Cakes are perfect for meal prep enthusiasts! You can bake the cakes up to 2 days in advance, allowing them to cool completely before wrapping each layer tightly in plastic wrap and refrigerating. When you’re ready to serve, simply prepare the buttercream frosting and assemble the cakes as directed. To maintain quality, store assembled cakes in an airtight container if not serving immediately, which keeps them fresh for up to 3 days. Just remember to add the final decorations right before serving to keep them looking festive and delightful. With these make-ahead tips, you’ll have a charming dessert ready with minimal last-minute effort!
How to Store and Freeze Mini Easter Layer Cakes
Fridge: Store uneaten Mini Easter Layer Cakes in an airtight container for up to 3 days. This helps retain their moist texture and flavor, ensuring they’re just as delightful when you’re ready to enjoy more.
Freezer: For longer storage, wrap the cakes individually in plastic wrap and then place them in a freezer-safe container. They can be frozen for up to 2 months. Thaw in the fridge overnight when you’re ready to serve.
Reheating: If desired, rewarm the cakes in the microwave for a few seconds to refresh their texture and flavor before serving.
Serving Tip: Serve your cakes at room temperature for the best experience, enhancing the rich chocolate flavor and creamy frosting melt-in-your-mouth goodness.
What to Serve with Mini Easter Layer Cakes
As you prepare to dazzle your guests with these delightful mini desserts, consider pairing them with complementary dishes that enhance the celebration.
- Fresh Fruit Salad: A colorful medley of seasonal fruits balances the richness of the cakes, adding a refreshing touch to each bite.
- Whipped Cream: Light and airy, this classic accompaniment enhances the chocolatey layers, creating an indulgent, yet airy experience with each slice.
- Coffee or Espresso: The bold flavors of coffee cut through the sweetness of the cake, offering a perfect contrast that chocolate lovers will adore.
- Minted Peas: A surprising savory addition, these bright and fresh peas add a delightful texture and hint of herbaceous flavor that’s great for spring celebrations.
Imagine a sunny brunch table adorned with these beautiful mini cakes at the center, surrounded by vibrant fruit and luscious whipped cream, all enjoyed while sipping a rich cup of coffee.
- Chocolate-Covered Strawberries: Elevate your dessert table with these luscious treats that echo the chocolate of the cakes, offering a delightful bite.
- Lemonade or Iced Tea: These refreshing beverages complement the sweetness of the cakes, making for a wonderful pairing during spring festivities.
Mini Easter Layer Cakes Variations & Substitutions
Feel free to let your imagination run wild and customize these delightful Mini Easter Layer Cakes for a unique twist that excites the senses!
-
Flavorful Cocoa Swap: Replace Ghirardelli chocolate with high-quality cocoa for varied depths of chocolate flavor. This simple change can create a whole new dessert experience.
-
Cupcake Transformation: Want to enjoy some bite-sized happiness? Transform the batter into mini cupcakes and adjust the baking time to about 20-25 minutes; they’ll be just as charming!
-
Citrus Zest Boost: Add a fresh twist to your buttercream by incorporating lemon or orange zest. This brightens the flavor profile, making each bite refreshing and delightful.
-
Vegan-Friendly Version: Use a vegan butter substitute and a flax egg (1 tbsp ground flaxseed + 3 tbsp water) instead of regular eggs. This swap ensures everyone can enjoy the festivities!
-
Gluten-Free Goodness: For those avoiding gluten, substitute all-purpose flour with a 1:1 gluten-free flour blend. Pair it with your favorite Gluten Free Pancakes for an equally delicious breakfast treat.
-
Rich Ganache Frosting: Swap the buttercream for a luscious chocolate ganache by melting chocolate with heavy cream. This creates a decadent finish that’s pure bliss.
-
Spiced Delight: Experiment with flavors by adding a pinch of cinnamon or espresso powder to the batter. Just a hint can elevate the cake’s chocolate richness and add complexity.
-
Mini Bundt Cakes: Try making these mini cakes in a Bundt pan for a fun, decorative shape. Just remember to adjust the baking time!
With these variations, your Mini Easter Layer Cakes can suit anyone’s palate, ensuring delightful moments at your next spring gathering!
Expert Tips for Mini Easter Layer Cakes
-
Uniform Layers: Use a sharp cutter for consistent mini cakes; uneven layers can affect the appearance and stacking stability.
-
Avoid Sogginess: If your mini cakes feel too soft, chill them before frosting to maintain structure and prevent sliding.
-
Frosting Perfection: An offset spatula is your best friend for a smooth frosting application; it can help you achieve a professional finish on these Mini Easter Layer Cakes.
-
Make Ahead: Bake the cakes a day in advance; store them wrapped to save time on the day of your celebration and ensure freshness.
-
Custom Fun: Feel free to experiment with various frostings and decorations to personalize your cakes; this makes each batch unique and exciting!
Mini Easter Layer Cakes Recipe FAQs
What fruits or ingredients should I look for when selecting chocolate for these cakes?
When selecting chocolate for your Mini Easter Layer Cakes, look for high-quality brands like Ghirardelli, which provide rich flavor and depth. Look for chocolate that has a glossy finish and a deep hue; avoid options with dark spots or an off smell, as these can indicate age or poor storage.
How should I store leftover Mini Easter Layer Cakes?
To store uneaten Mini Easter Layer Cakes, place them in an airtight container and refrigerate for up to 3 days. This keeps them fresh and moist. Alternatively, wrap each cake individually in plastic wrap, and they can be stored in the freezer for up to 2 months. Just thaw them overnight in the fridge when you’re ready to enjoy!
Can Mini Easter Layer Cakes be frozen, and how?
Absolutely! To freeze your Mini Easter Layer Cakes, first ensure they are completely cooled. Wrap each cake tightly in plastic wrap, followed by aluminum foil to prevent freezer burn. Place them in a freezer-safe container. When you’re ready to serve, simply remove from the freezer and thaw in the fridge overnight. For best results, reheat them in the microwave for a few seconds to revive their delicious texture.
What should I do if my cakes aren’t rising properly?
If your cakes aren’t rising, it could be due to expired baking soda or improper mixing. Make sure to check that your baking soda is fresh (try an acidity test with vinegar); it should bubble if it’s still active. When mixing, combine wet and dry ingredients just until no dry flour remains; overmixing can lead to a dense cake.
Are there any allergy considerations for this recipe?
Yes, this recipe contains common allergens such as eggs, dairy, and wheat. If you’re making these cakes for someone with allergies, consider substitutes like vegan butter for dairy and flax eggs for the eggs. You can also opt for gluten-free flour blends if gluten is a concern. Always check ingredient labels to ensure they align with dietary needs.

Mini Easter Layer Cakes That Will Steal The Show This Spring
Ingredients
Equipment
Method
- Preheat your oven to 350°F (175°C). Grease two 8- or 9-inch cake pans with butter and line the bottoms with parchment paper.
- In a large mixing bowl, whisk together all-purpose flour, Ghirardelli Sweet Ground Chocolate and Cocoa, granulated sugar, baking soda, cream of tartar, and salt.
- In a separate bowl, combine buttermilk and softened butter, mixing on medium speed. Add eggs and vanilla extract, mixing until smooth.
- Gradually add wet mixture to dry ingredients, mixing until just combined. Divide batter between prepared pans and bake for 30-45 minutes.
- While cakes cool, make the buttercream frosting by creaming together softened butter and shortening. Gradually mix in confectioners' sugar and milk until smooth.
- Once cakes are cool, slice out mini layers and stack them with a generous dollop of buttercream between each layer. Apply a thin coat of frosting over the entire outside of the cakes.
- Decorate with pastel-colored frosting and colorful candies or sprinkles for a festive look.
Leave a Reply