
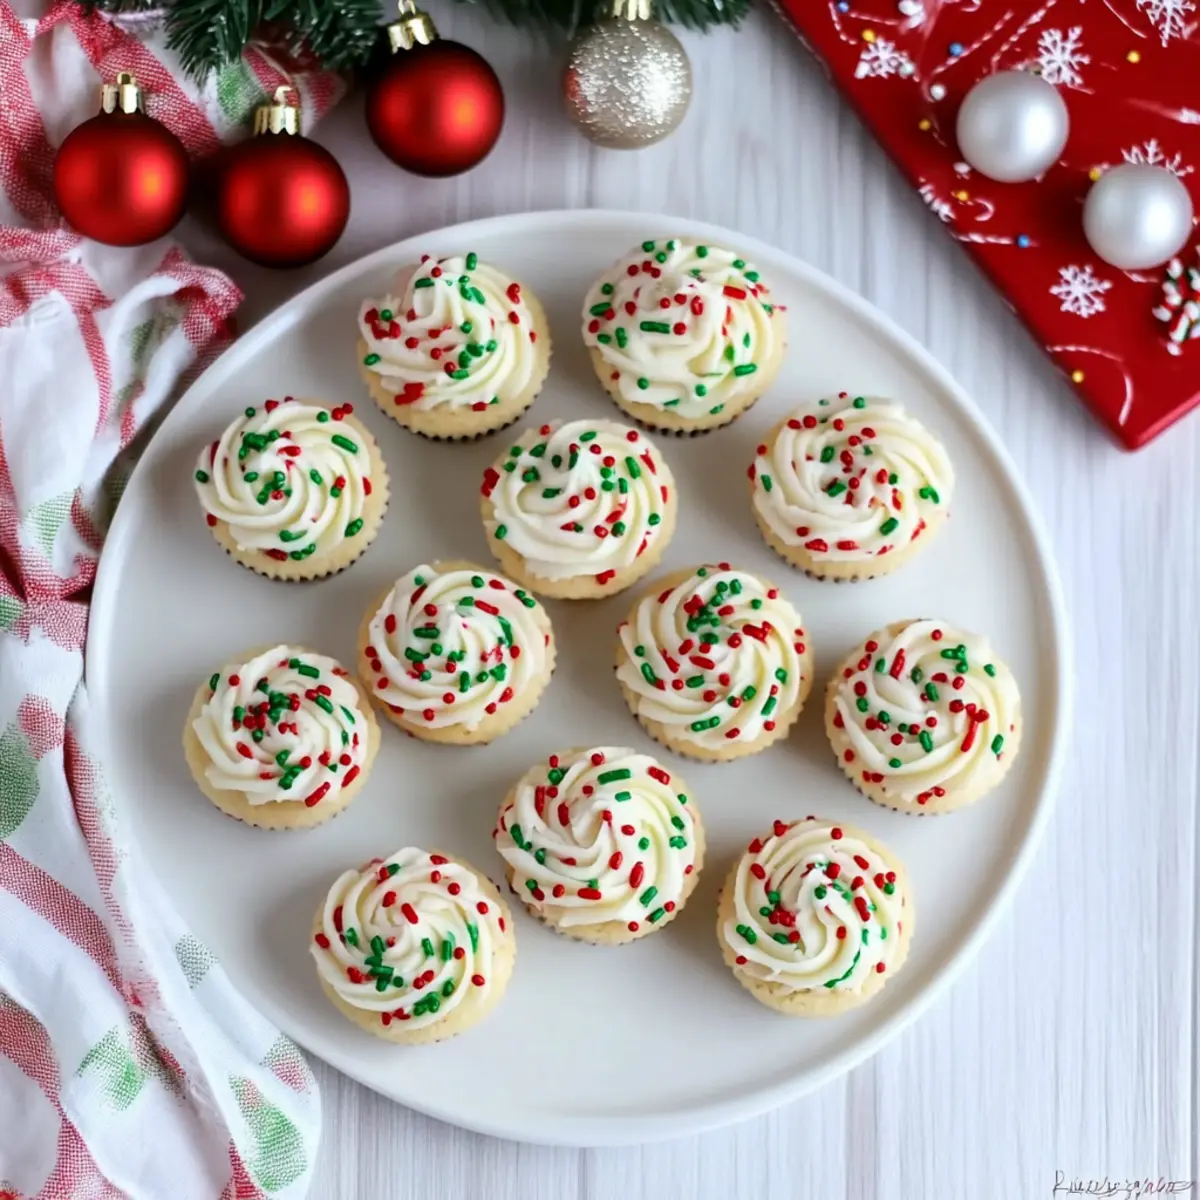
The delightful scent of holiday baking fills the air as I think of our family’s favorite tradition—making Easy Christmas Sprinkle Cookie Cups. These sweet little treats not only shine with vibrant red and green sprinkles but are also a breeze to whip up, sparing us the fuss of rolling pins and cookie cutters. Perfect for kids to join in the fun, they transform ordinary gatherings into unforgettable moments filled with laughter and joy. With just a handful of simple ingredients and minimal mess, these festive cookie cups are bound to become a staple in your home this holiday season. Are you ready to create some edible cheer that will impress even the pickiest eaters?
Why Are Christmas Sprinkle Cookie Cups Amazing?
Ease of Preparation: No rolling pins or cookie cutters needed—just mix, scoop, and bake!
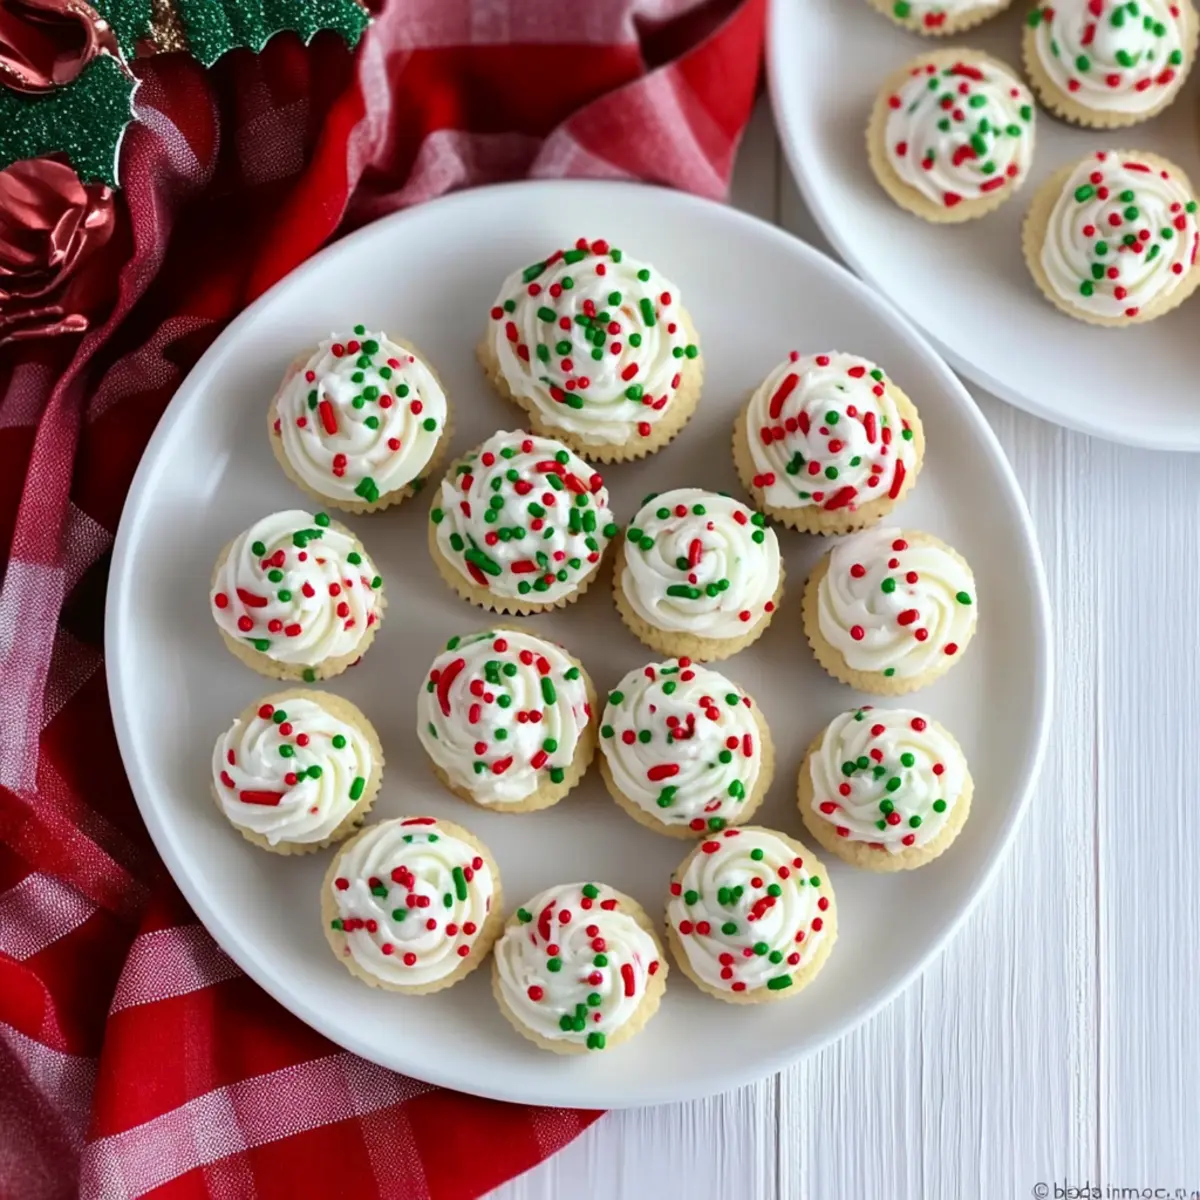
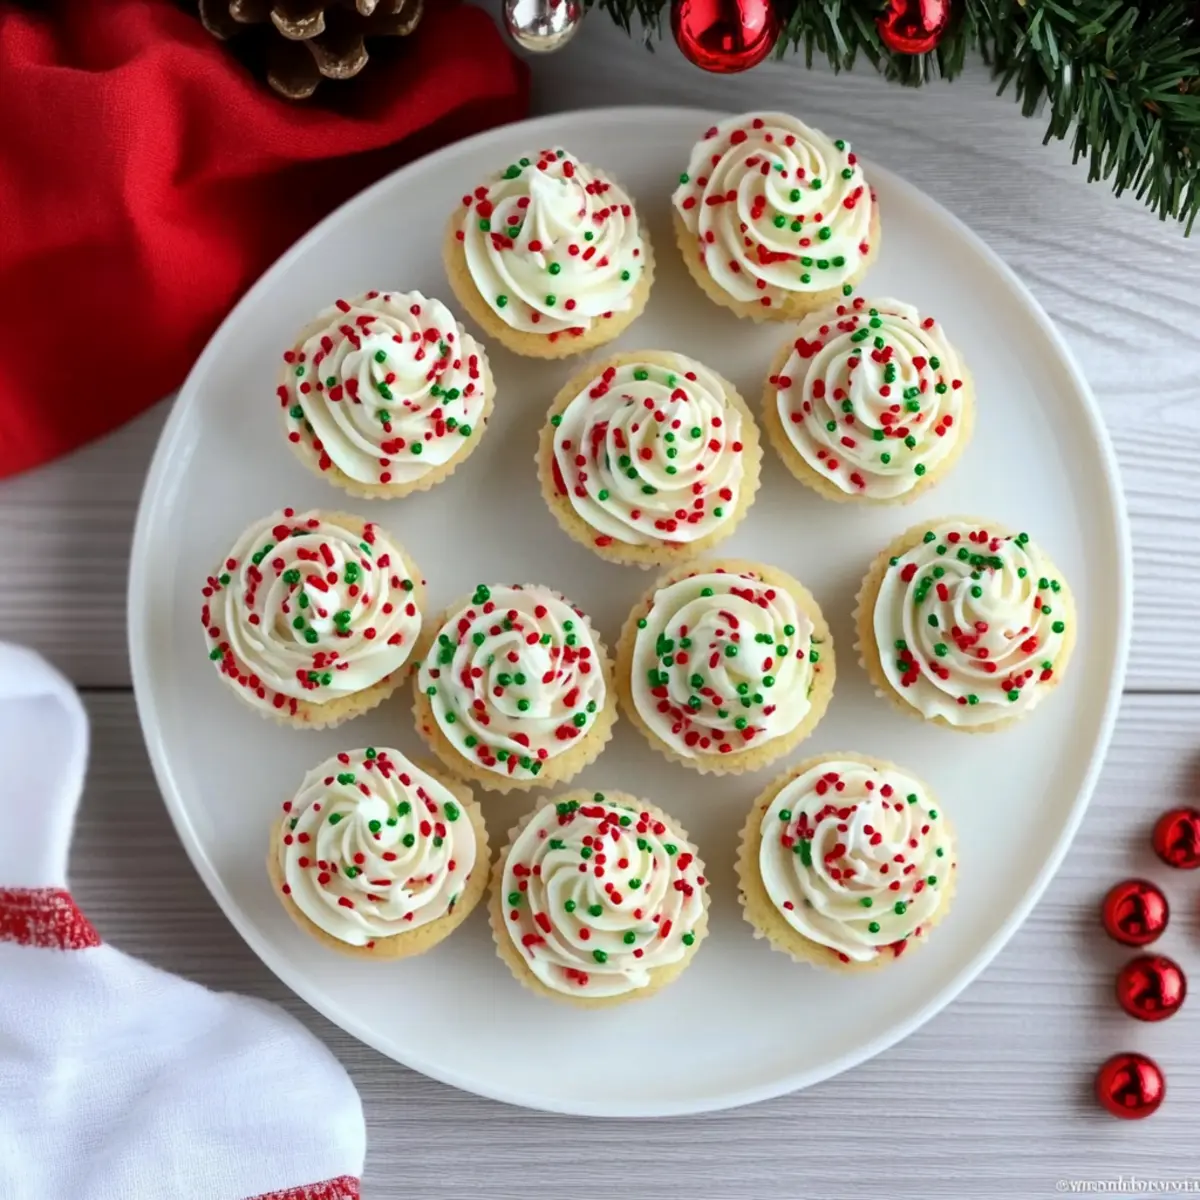
Colorful Presentation: Bright red and green sprinkles make these cookie cups visually stunning, perfect for holiday gatherings.
Family Fun: Kids can easily get involved in the baking process, fostering cherished family memories.
Versatile Decorating: Top with frosting or mix in your favorite candies to create customized treats that everyone will love!
Deliciously Soft: Expect a delightful soft interior with a lightly crisp edge, delivering a mouthwatering experience with every bite.
These festive bites will definitely win hearts, perfect for cookie trays alongside your favorite Christmas Chocolate Chip cookies or to enjoy with a delightful Christmas Cherry Fizz.
Christmas Sprinkle Cookie Cups Ingredients
• Here’s everything you need to make your delightful Christmas Sprinkle Cookie Cups!
-
For the Cookie Cups
-
Unsalted butter – Provides richness and moisture; substitute with margarine or coconut oil for a dairy-free option.
-
Powdered sugar – Sweetens the dough and gives a creamy texture to frosting; regular granulated sugar can also work but may require adjustments.
-
Baking powder – Helps cookies rise and become fluffy; if using baking soda as a substitute, you may need to adjust other ingredients.
-
Salt – Enhances the flavor of all ingredients; consider using sea salt or kosher salt as substitutes for a nuanced taste.
-
Egg – Binds the ingredients together while adding moisture; a flax egg is a great vegan alternative.
-
Vanilla extract – Adds depth and aroma to the cookies; almond extract can bring a lovely alternative flavor.
-
All-purpose flour – Provides the main structure for these cookie cups; for gluten-free options, a reliable gluten-free flour blend works well.
-
Red and green sprinkles – Bring festive cheer to your cookie cups; feel free to swap with any other color sprinkles or omit for a classic look.
-
For the Frosting
-
Unsalted butter – Creates a creamy texture for your frosting.
-
Powdered sugar – Acts as the main sweetener for your frosting; ensure it’s sifted for smoothness.
-
Vanilla extract and salt – Enhance the flavor profile of the frosting, bringing it all together beautifully.
-
Milk – Adjusts the consistency for easy spreading; using any plant-based milk is a fantastic substitute.
-
For Garnish
-
Additional sprinkles – Use these to decorate your frosted cookie cups, making them extra festive and fun!
Now that you’ve gathered all the ingredients for your Christmas Sprinkle Cookie Cups, you’re one step closer to filling your home with warmth and holiday cheer! Happy baking!
Step‑by‑Step Instructions for Christmas Sprinkle Cookie Cups
Step 1: Preheat and Prepare
Start by preheating your oven to 350°F (175°C). While it warms, take your mini muffin pans and lightly spray them with baking spray to ensure easy removal of the cookie cups later. This initial preparation sets the stage for your delightful Christmas Sprinkle Cookie Cups to turn out perfectly!
Step 2: Cream the Butter and Sugar
In a large mixing bowl, use an electric mixer to beat the softened unsalted butter until it becomes creamy and smooth. Gradually add the powdered sugar, baking powder, and salt, mixing until fully incorporated and fluffy. This step is crucial for achieving the light texture of your cookie cups, making them irresistible once baked!
Step 3: Mix in the Egg and Vanilla
Next, incorporate the egg and vanilla extract into the buttery mixture. Continue mixing until all the wet ingredients are well combined, showcasing a uniform texture. This adds moisture and flavor to your Christmas Sprinkle Cookie Cups, enhancing their deliciousness and making your kitchen smell heavenly!
Step 4: Combine with Flour
Slowly add in the all-purpose flour, mixing until just combined. Be careful not to overmix; a few flour streaks won’t hurt! This simple step will create the base texture of your cookie cups. Once incorporated, you should have a soft dough ready for festive transformation.
Step 5: Prepare the Sprinkles
Divide the dough into two equal portions. Mix vibrant red sprinkles into one portion and green sprinkles into the other. This will not only add festive color but also create a playful twist to your Christmas Sprinkle Cookie Cups, making them perfect for holiday cheer and gatherings.
Step 6: Shape and Press Dough
Roll the dough portions into 1-inch balls, then gently press them into the prepared mini muffin pan, creating a slight indentation in the center. This is where the frosting will later go, so aim for a nice cup shape. Follow this step to ensure your cookie cups are beautifully formed and ready for baking!
Step 7: Bake to Perfection
Place the mini muffin pans into the preheated oven and bake for 8-10 minutes, or until the edges of the cookie cups are lightly golden brown. Keep an eye on them; you’ll want that perfect balance of soft centers and crisp edges to make your Christmas Sprinkle Cookie Cups truly delightful.
Step 8: Cool and Transfer
Once baked, allow the cookie cups to cool in the pan for about 5 minutes. This resting time helps them set before transferring to a wire rack. Letting them cool completely is essential before frosting, ensuring that your toppings will hold up beautifully on your festive creations.
Step 9: Make the Frosting
While the cookie cups cool, prepare the delicious frosting. In a mixing bowl, beat the softened unsalted butter, powdered sugar, vanilla extract, and a pinch of salt together until smooth. Gradually add milk to achieve your desired consistency, ensuring each dollop will beautifully adorn your Christmas Sprinkle Cookie Cups.
Step 10: Frost and Decorate
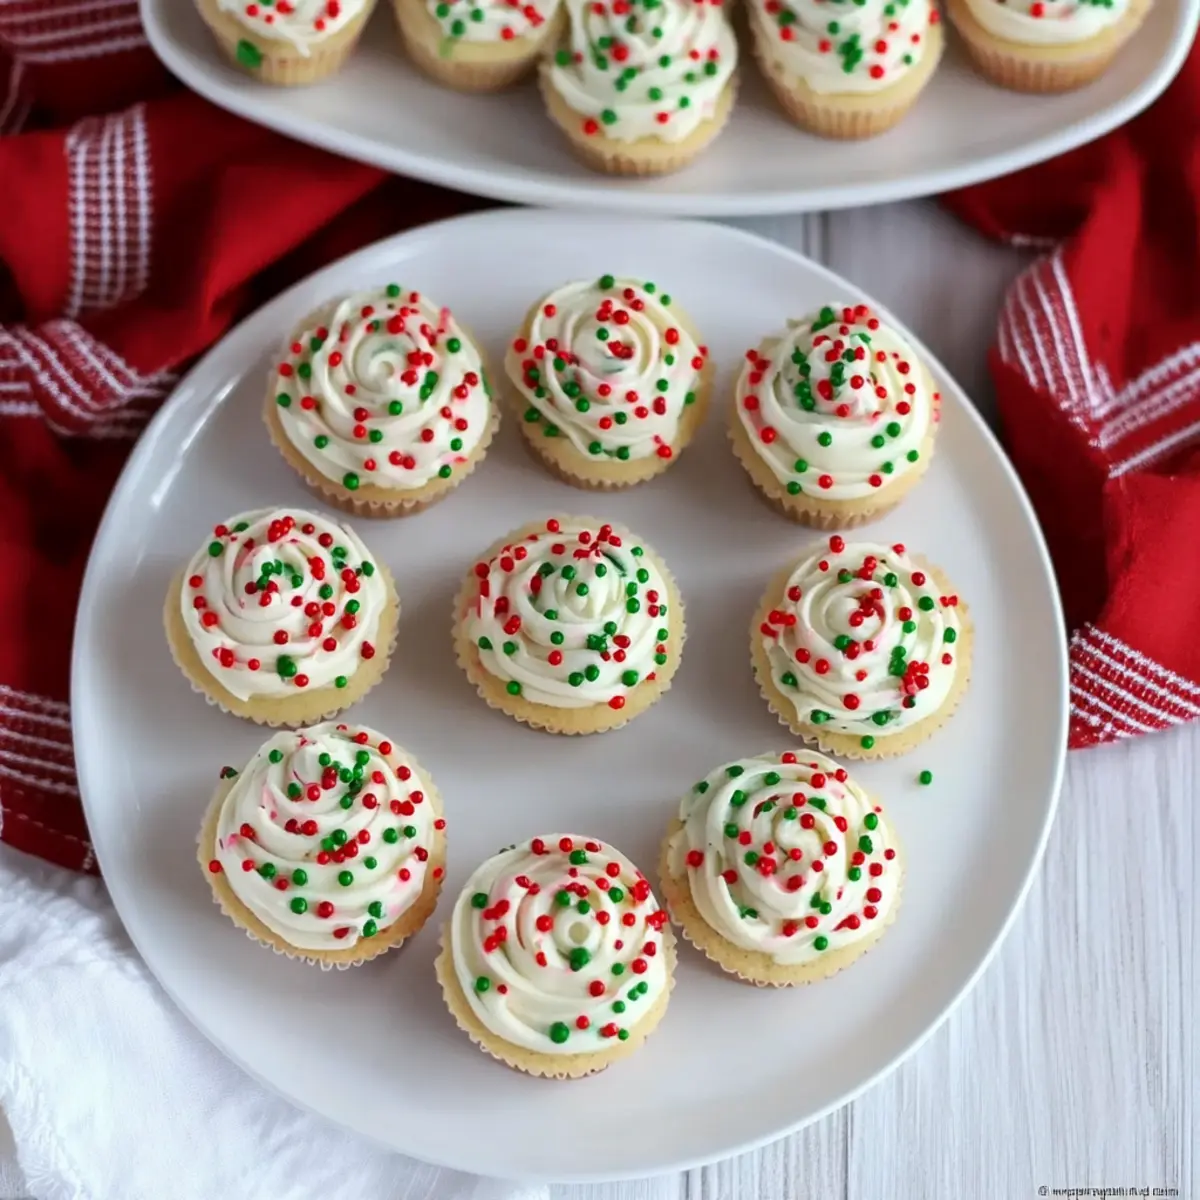
Once your cookie cups have cooled, generously frost the centers with the prepared frosting using a piping bag or a zip-top bag with a snipped corner. Top each frosted cookie cup with additional red and green sprinkles for that festive touch. These visual delights will bring joy and holiday cheer to anyone who sees them!
Step 11: Store or Serve
Your Christmas Sprinkle Cookie Cups are now ready to enjoy! You can serve them immediately or store them in an airtight container at room temperature for up to three days. Feel free to share them at gatherings or keep them for festive indulgence at home, allowing you to savor the delightful flavors longer.
Christmas Sprinkle Cookie Cups Variations
Feel free to sprinkle your own creativity into these delightful treats with these fun and tasty variations!
-
Dairy-Free: Use coconut oil and plant-based milk for a completely dairy-free version that everyone can enjoy. You’ll still capture that rich, buttery flavor!
-
Gluten-Free: Swap the all-purpose flour with a gluten-free flour blend to cater to gluten sensitivities without sacrificing texture or flavor. These cookie cups will be just as delicious!
-
Nutty Delight: Mix in chopped nuts, like walnuts or pecans, into the dough for added crunch and depth. They bring a delightful surprise to every bite!
-
Chocolate Chip Infusion: Add semi-sweet or dark chocolate chips for a delightful twist! The chocolate perfectly complements the fun of the sprinkles and frosting.
-
Flavor Variations: Experiment with extracts! Almond extract instead of vanilla adds an aromatic flair, or try peppermint extract for a refreshing holiday touch.
-
Spice It Up: Incorporate ground cinnamon or nutmeg into the dough to awaken cozy holiday flavors that bring warmth to each cookie cup.
-
Frosting Twists: Swap the vanilla frosting for chocolate or cream cheese frosting for a richer experience. You can even mix in some festive peppermint pieces for a cool, minty touch.
-
Celebration Colors: Use different colored sprinkles or themed decorations to tailor these cookie cups for other holidays and celebrations throughout the year, keeping the festive spirit alive!
These variations will help transform your Christmas Sprinkle Cookie Cups into a delightful array of flavors and styles—perfect to share during holiday gatherings or cozy family nights! For more festive recipes, don’t forget to check out these Christmas Cranberry Meatballs and the delightful Christmas Cherry Fizz for a complete holiday menu!
How to Store and Freeze Christmas Sprinkle Cookie Cups
Room Temperature: Store in an airtight container for up to 3 days to keep your Christmas Sprinkle Cookie Cups fresh and delicious.
Fridge: If you prefer your cookies chilled, they can be kept in the refrigerator for up to a week; just be sure they’re in an airtight container.
Freezer: For longer storage, freeze cookie cups before or after frosting for up to 3 months. Wrap them tightly to prevent freezer burn.
Reheating: To enjoy warm cookie cups, reheat in the microwave for a few seconds, or bring them to room temperature before serving.
What to Serve with Christmas Sprinkle Cookie Cups
Indulging in festive treats like these delightfully sweet cookie cups opens the door to a magical holiday celebration!
- Creamy Hot Chocolate: Rich and velvety, this warm beverage complements the sweetness of cookie cups, creating a cozy pairing perfect for chilly nights.
- Eggnog Delight: A classic holiday drink, this creamy concoction adds a touch of nostalgia and festive cheer, making every bite more celebratory.
- Sugary Cinnamon Rolls: The warm spices and sweetness of cinnamon rolls create a beautiful contrast to the bright flavors of your cookie cups, balancing richness and sweetness.
- Fruity Fruit Salad: Packed with seasonal fruits, a fresh fruit salad offers a bright, refreshing element that cuts through the indulgence of dessert, providing a colorful counterpoint.
- Milk (Regular or Plant-Based): A glass of cold milk—whether dairy or almond—perfectly complements the sugary sweetness, enhancing the joy of these festive bites.
- Spiced Apple Cider: Warm spiced apple cider brings an aromatic touch to your gathering, pairing beautifully with the cookie cups to evoke delightful memories of the season.
- Frosted Cupcakes: Add an assortment of holiday-themed cupcakes that replicate the sprinkle theme, providing an appealing dessert table while enhancing the sugary celebration.
From warming drinks to delightful sides, these pairings will beautifully enhance the experience of enjoying Christmas Sprinkle Cookie Cups this holiday season!
Make Ahead Options
These Easy Christmas Sprinkle Cookie Cups are perfect for meal prep, allowing you to enjoy the festive spirit without the last-minute rush! You can prepare the dough up to 24 hours in advance by mixing it and storing it in an airtight container in the refrigerator. When you’re ready to bake, simply scoop the dough into the mini muffin pan and bake as per the recipe. If you prefer to frost them later, you can make the frosting and refrigerate it for up to 3 days; just give it a quick re-whip before spreading for that creamy, dreamy texture. With this make-ahead strategy, you can enjoy these delicious cookie cups at your holiday gatherings with minimal effort and maximum delight!
Expert Tips for Christmas Sprinkle Cookie Cups
-
No Dough Chilling: Avoid the common mishap of chilling dough; these cookie cups are quick to prepare and ready to bake right away!
-
Even Sizing: Ensure uniform cookie cup sizes by using a small cookie scoop for consistency, which makes for more evenly baked Christmas Sprinkle Cookie Cups.
-
Frosting Technique: If you don’t have a piping bag, a simple zip-top bag works perfectly; just snip off a corner for an easy frosting application!
-
Cup Shape: Press the dough into the mini muffin pan while it’s warm for best results; this helps form a perfect cup shape for the frosting.
-
Storage Solution: Keep your cookie cups in an airtight container at room temperature for up to three days, ensuring they stay fresh and delicious.
Christmas Sprinkle Cookie Cups Recipe FAQs
How do I know if my ingredients are ripe or suitable for use?
Absolutely! Fresh, high-quality ingredients make all the difference. For butter, it should be soft but not melted—perfect for creaming. For the egg, a slight wobble is fine, and it should be fresh with a clean shell. The flour should be free of clumps, and sprinkles should be vibrant and not clumped together. If your baking powder has been sitting for a long time, test it by adding a teaspoon to warm water; it should bubble vigorously.
How should I store my cookie cups, and how long do they last?
Very! Store your Christmas Sprinkle Cookie Cups in an airtight container at room temperature for about 3 days. If you want to keep them longer, refrigerate them, where they can last up to a week. Just make sure they’re well-sealed to retain their delightful softness.
Can I freeze the cookie cups, and what’s the best method?
Absolutely! You can freeze your Christmas Sprinkle Cookie Cups for up to 3 months. I recommend wrapping them individually in plastic wrap and then placing them in a freezer-safe bag or container. This double protection helps prevent freezer burn. If frosted, freeze them before adding the frosting, or frost them when they’re thawed for the best results!
What are some common troubleshooting tips for my cookie cups?
If your cookie cups are too flat, check that your baking powder is fresh; it’s the key to fluffiness. If over-baked, reduce the baking time by a minute or two next time, and watch for that light golden edge. If the dough is too crumbly, adding a tablespoon of milk can help bind it together without sacrificing texture.
Are there any dietary considerations I should keep in mind?
Very important! If you’re making these for kids or guests with dietary needs, substitutions can help. Use a flax egg for a vegan option or gluten-free flour for a gluten-free version. When selecting sprinkles, ensure they are allergy-friendly and free from common allergens like gluten or dairy. Always double-check labels if you have guests with specific food sensitivities.
What can I do if I want to change up the flavor?
Absolutely! You can mix in chocolate chips, nuts, or even dried fruit to personalize your cookie cups. For frosting alternatives, consider using chocolate frosting or adding citrus zest to the vanilla frosting for a refreshing twist. The more the merrier with these variations—it’s all about what you love!
Delightful Christmas Sprinkle Cookie Cups for Festive Joy
Ingredients
Equipment
Method
- Preheat your oven to 350°F (175°C) and prepare mini muffin pans with baking spray.
- In a large mixing bowl, beat the softened unsalted butter until creamy. Gradually add powdered sugar, baking powder, and salt.
- Mix in the egg and vanilla extract until well combined.
- Slowly add flour, mixing until just combined.
- Divide the dough and mix red sprinkles in one portion and green in the other.
- Roll dough into 1-inch balls and press into mini muffin pans to form cups.
- Bake for 8-10 minutes until edges are lightly golden.
- Cool in the pan for 5 minutes before transferring to a wire rack.
- Beat together frosting ingredients until smooth, adjusting consistency with milk.
- Frost cooled cookie cups and top with additional sprinkles.
- Serve immediately or store in an airtight container for up to three days.
Leave a Reply