
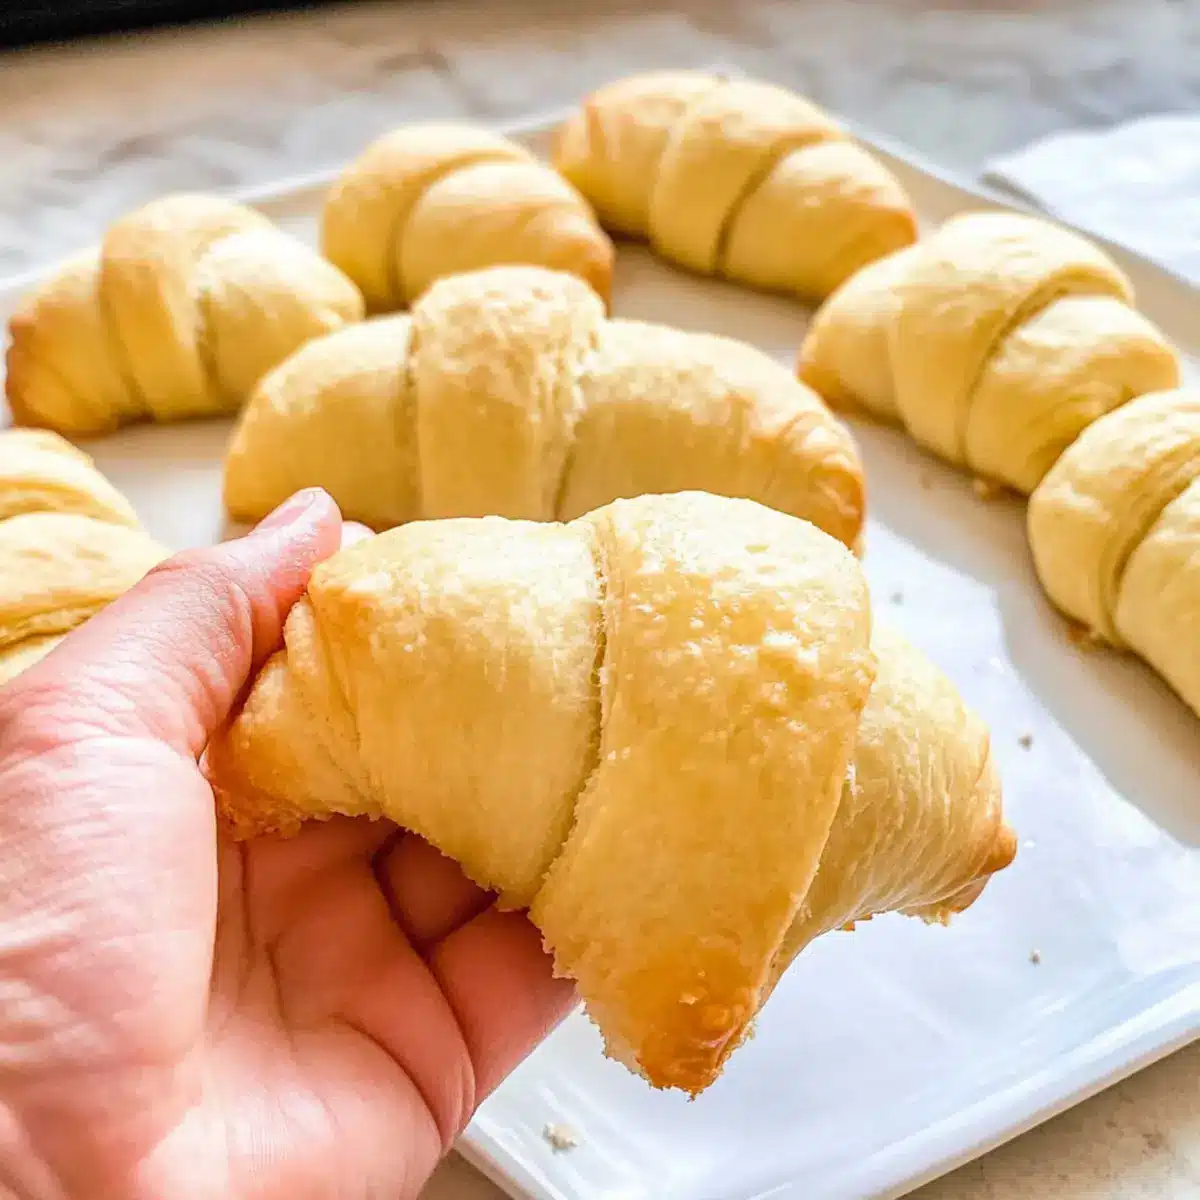
As I opened the oven door, the warm aroma of freshly baked goods washed over me, instantly lifting my spirits. There’s something truly magical about homemade bread, and these The Best Gluten Free Crescent Rolls fit the bill perfectly. Not only are they soft, fluffy, and delightfully tender, but they’re also a breeze to prepare, taking just about an hour from start to finish. Whether you’re complementing a hearty meal or craving a slight twist on a classic, this quick recipe offers a versatile dough that works wonders—think chicken roll-ups or even decadent cinnamon rolls, all while being gluten-free and dairy-free. Ready to impress your family or satiate your cravings? Let’s dive into the delightful world of crescent rolls!
What makes these crescent rolls special?
Simplicity at its finest: With just a few ingredients, this recipe is perfect for anyone, even if you’re new to gluten-free baking.
Versatile dough: Use it in various ways—from delicious cinnamon rolls to hearty chicken roll-ups, the possibilities are endless!
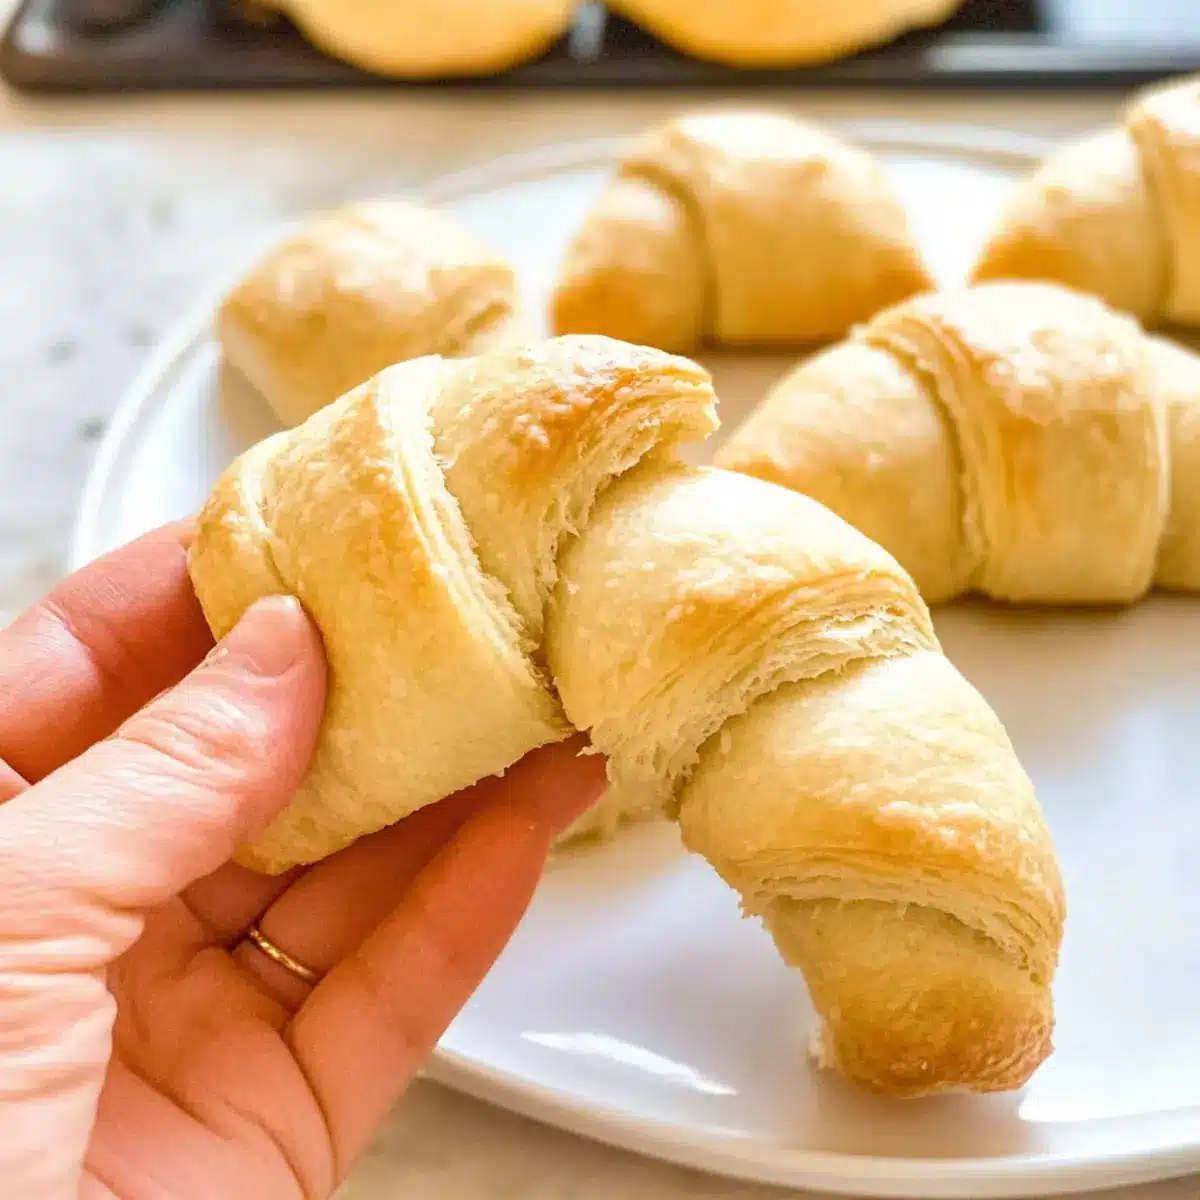
Flavor explosion: The combination of a light, fluffy texture with a slight buttery taste makes every bite a joy.
Quick preparation: In just about an hour, you can enjoy fresh, warm crescent rolls right from your oven, which is ideal for busy weekdays or weekend gatherings.
Crowd pleaser: Serve these alongside your favorite dishes or as a delightful snack, and watch them disappear! For more gluten-free ideas, check out these amazing Gluten Free Vegan cookies or try your hand at Fluffy Gluten-Free Pancakes.
The Best Gluten Free Crescent Rolls Ingredients
• Get ready to bake the best gluten-free crescent rolls!
For the Dough
- High-Quality Gluten-Free Flour Mix – Provides the necessary structure and base; prefer gfJules or Better Batter for optimal results.
- Instant Yeast – Activates the dough without any proofing required, ensuring a quick rise.
- Sugar or Honey – Adds a touch of sweetness; both options work according to your dietary preferences.
- Baking Powder – Aids in leavening; just a small amount creates a lovely texture.
- Salt – Enhances overall flavor; increase if using unsalted butter or oils.
- Warm Water – Hydrates the ingredients; ideally slightly warmer than room temperature for effective activation.
- Large Egg – Binds everything together while contributing to a tender texture.
- Butter or Neutral Oil – Adds rich moisture; choose a vegan butter substitute for the dairy-free option.
- Psyllium Husk Powder (Optional) – Enhances the dough’s texture and structural integrity for gluten-free baking.
For Dusting and Finishing
- Potato or Tapioca Starch – Perfect for preventing sticking during shaping; helps keep your workspace gluten-free.
- Extra Butter for Brushing – Gives each roll a glossy finish and delightful flavor upon serving.
There you have it! These ingredients come together beautifully to create the best gluten-free crescent rolls that your family will love. Happy baking!
Step‑by‑Step Instructions for The Best Gluten Free Crescent Rolls
Step 1: Dough Preparation
In a stand mixer, combine the high-quality gluten-free flour mix, instant yeast, sugar, baking powder, and salt. Gradually add warm water, large egg, and ½ cup of butter or oil to the dry ingredients. Mix on medium speed for 3-5 minutes until the dough becomes sticky and thick, with an elastic texture that indicates it’s well combined.
Step 2: Dough Shaping
Lightly dust a clean surface with potato starch or flour to prevent sticking. Shape the sticky dough into a ball and then roll it out into a 14-inch circle using a rolling pin. Use a pizza cutter to cut the dough into 8 wedges, ensuring even slices to create those classic crescent shapes when rolled.
Step 3: Crescent Forming
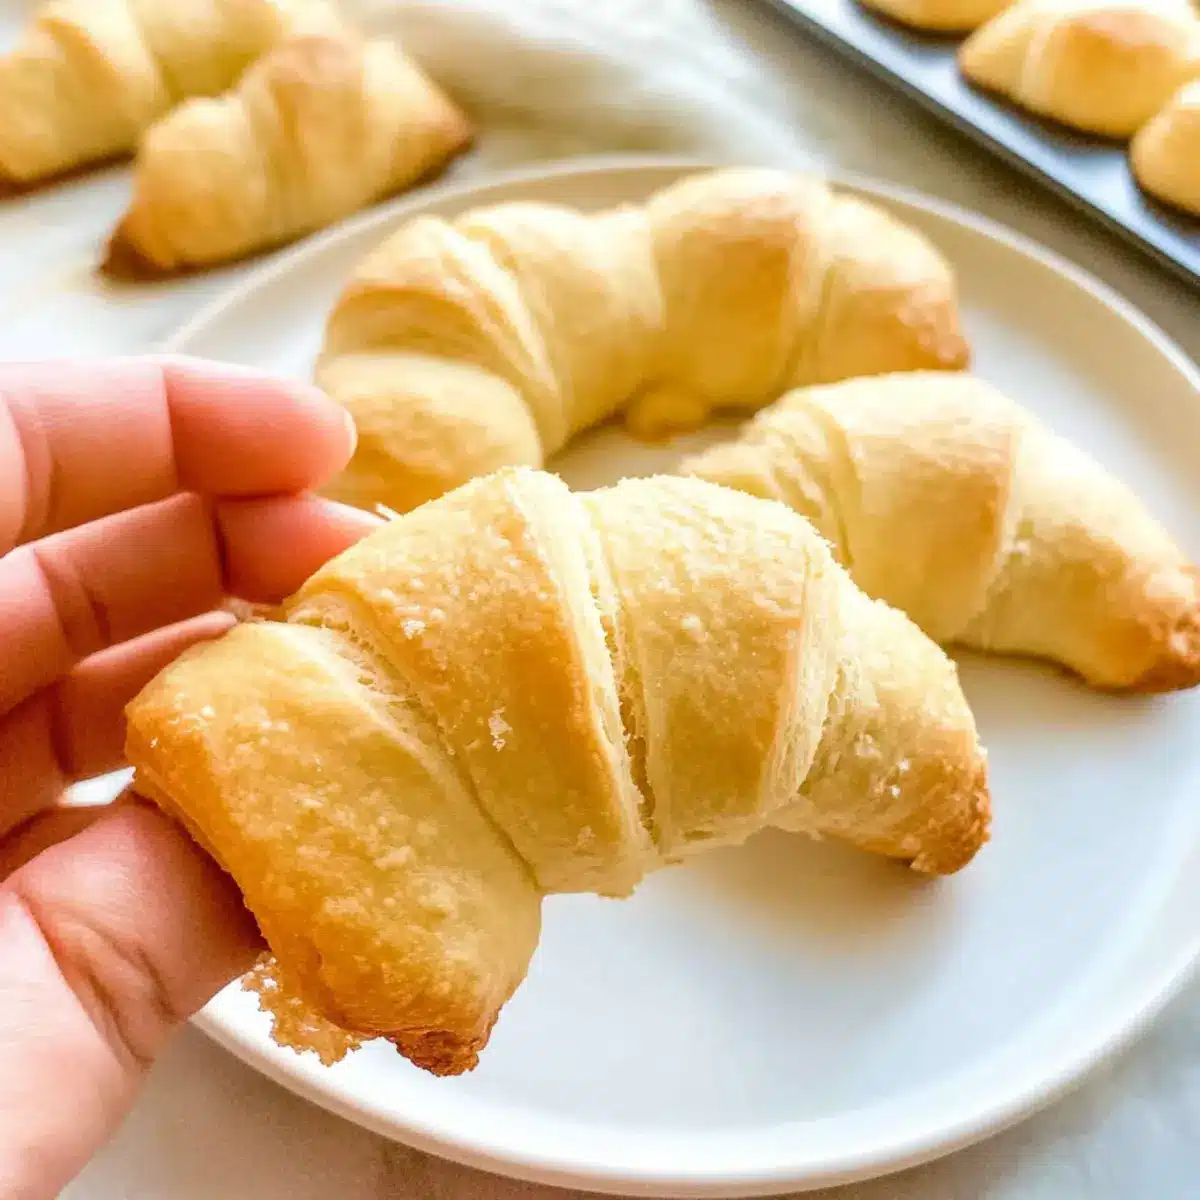
Starting with the wide end of each wedge, carefully roll each piece toward the point to form a crescent shape. As you roll, gently curve the dough to enhance the crescent form. Place the shaped rolls on a parchment-lined baking sheet, ensuring they have enough space to rise without touching each other.
Step 4: Rising
Cover the crescent rolls lightly with plastic wrap or a kitchen towel and set them in a warm spot to rise. Allow them to rest for 30-45 minutes, or until nearly doubled in size. You’ll know they are ready when they have visibly expanded and look fluffy, preparing for the baking process ahead.
Step 5: Baking
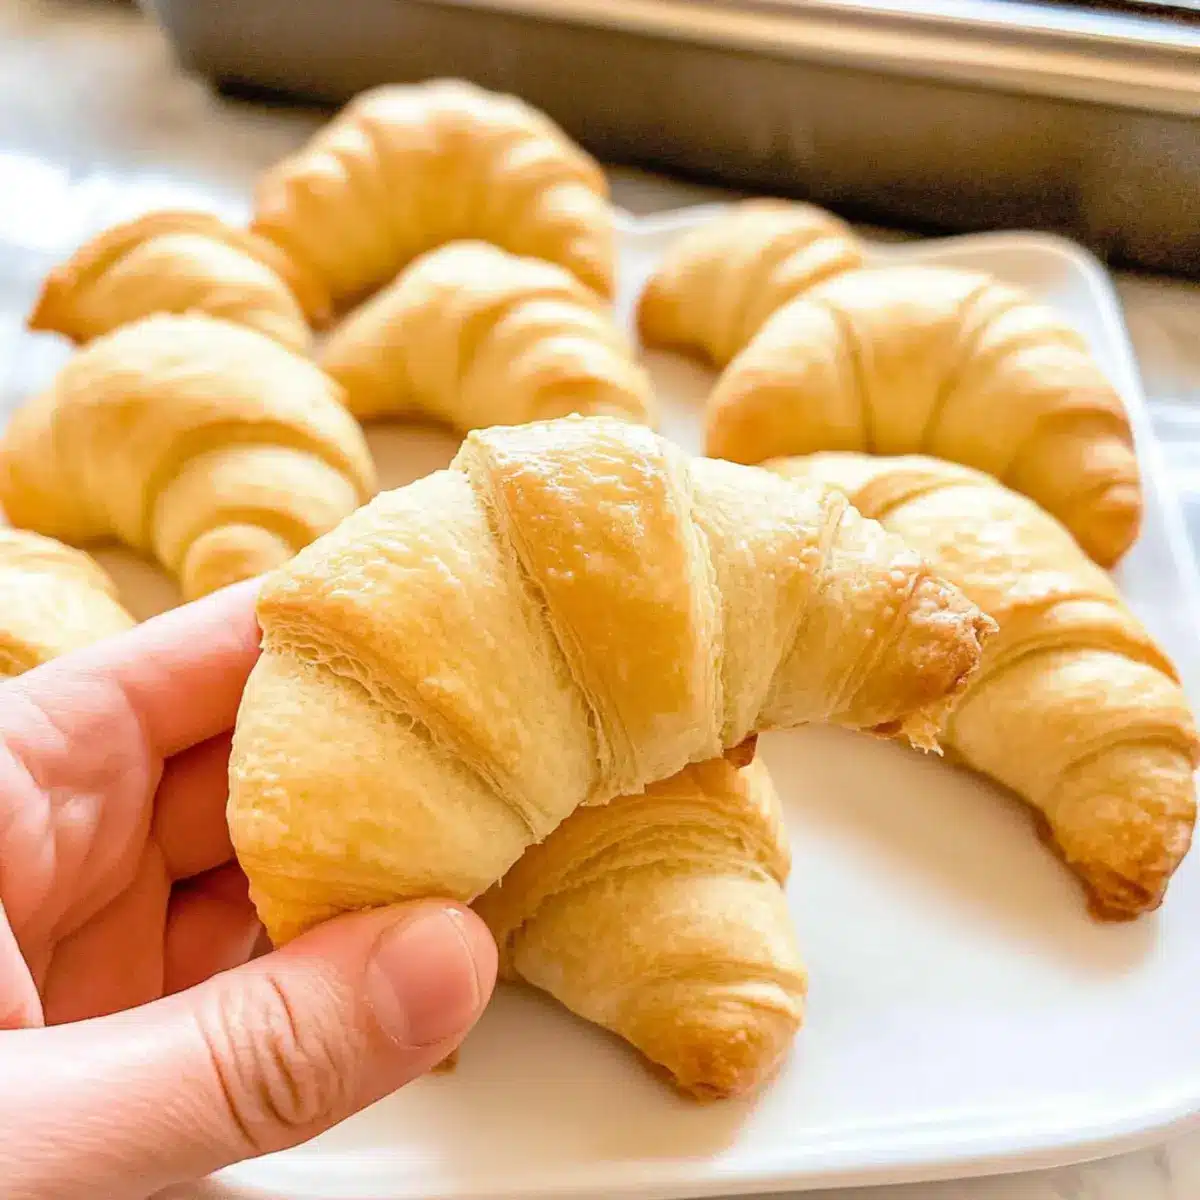
Preheat your oven to 350°F (175°C). Once the rolls have risen sufficiently, place them in the oven and bake for 9-12 minutes. Keep an eye on them; they should bake until set and gently golden brown, emitting a delightful aroma of freshly baked bread that fills your kitchen.
Step 6: Finishing Touches
As soon as the rolls come out of the oven, brush the tops generously with melted butter to impart a luscious taste and glossy finish. Let them cool slightly on the baking sheet before serving warm. These The Best Gluten Free Crescent Rolls are now ready to be enjoyed, either plain or as a delightful accompaniment to your favorite dishes!
Expert Tips for The Best Gluten Free Crescent Rolls
-
Use Quality Flour: Opt for a high-quality gluten-free flour blend for the best texture. Other blends may result in dry or dense rolls.
-
Mind the Dough: If the dough feels too sticky, lightly dust with potato starch as you shape it, ensuring ease without compromising consistency.
-
Patience is Key: Don’t rush the rising process; allow the rolls ample time to rise. This ensures they become fluffy and light when baked.
-
Freeze for Later: You can make these crescent rolls ahead of time. Freeze after shaping and simply allow more time to thaw before baking.
-
Customize Your Flavors: Feel free to add herbs or spices to the dough for unique flavor twists that complement your main dishes perfectly.
-
Serve Warm: These rolls taste best freshly baked and warm. Serve them alongside your favorite meals or enjoy them as a snack!
What to Serve with Easy Gluten-Free Crescent Rolls
The aroma of fresh, warm rolls invites you to create the perfect meal, transforming any gathering into a heartwarming experience.
- Creamy Mushroom Soup: The richness of the soup pairs beautifully with the soft texture of the rolls, perfect for dipping and soaking up the flavors.
- Garden Salad: A bright and crisp salad adds freshness to the meal, balancing the warmth of the rolls with its vibrant flavors and textures.
- Garlic Butter Shrimp: This delicious seafood dish complements the slight buttery essence of the rolls, creating a delightful combination of tastes.
- Savory Chicken Casserole: Nestle these crescent rolls next to a hearty casserole; their fluffy nature is perfect for mopping up the savory sauce.
- Herbed Butter: Spread this on warm, freshly-baked rolls for an extra layer of flavor that enhances their buttery softness, making every bite irresistible.
- Cheesy Scalloped Potatoes: The creamy, cheesy texture of scalloped potatoes pairs wonderfully with the rolls, creating a comforting experience at the dinner table.
- Red Wine: A glass of smooth red wine enhances the dining experience while perfectly complementing the warm, buttery flavors of the rolls.
- Chocolate Mousse: For dessert, serve up a light and airy chocolate mousse. It’s the ideal sweet ending after enjoying the savory rolls.
Make Ahead Options
These The Best Gluten Free Crescent Rolls are perfect for meal prep enthusiasts! To save time on busy weeknights, you can shape the dough and let the crescent rolls rise for up to 24 hours in the refrigerator. Simply cover them with plastic wrap after shaping and place them in a warm spot to rise before refrigerating. When you’re ready to bake, just preheat your oven and pop them in; they’ll be just as fluffy and delightful! Alternatively, you can freeze unbaked rolls for up to 3 months—just ensure they are well-wrapped to prevent freezer burn. When ready to enjoy, bake directly from frozen, adding a few extra minutes to the cook time for freshly baked perfection. Enjoy the convenience of having homemade rolls ready at your fingertips!
Storage Tips for The Best Gluten Free Crescent Rolls
Room Temperature: Store leftover crescent rolls in an airtight container at room temperature for up to 2 days to maintain their soft texture.
Fridge: For longer freshness, place them in the fridge and consume within 3-5 days. Just remember to let them come to room temperature before eating!
Freezer: Freeze crescent rolls for up to 3 months. Wrap them individually in plastic wrap and store in a freezer bag for easy access.
Reheating: To reheat from frozen, place rolls wrapped in foil in a preheated 325°F (163°C) oven for about 15-20 minutes, or until warmed through. Enjoy the best gluten-free crescent rolls fresh out of the oven!
The Best Gluten Free Crescent Rolls Variations
Feel free to get creative and make this recipe your own! The tantalizing possibilities await your taste buds.
-
Dairy-Free: Substitute butter with vegan butter or coconut oil to make these rolls fully dairy-free. You won’t lose any flavor!
-
Herb-Infused: Stir in dried herbs like rosemary or thyme to the dough for a delightful flavor twist. The aroma while baking will be irresistible!
-
Savory Fillings: Add cooked, shredded chicken or cheese inside the crescent rolls for a decadent chicken roll-up. They make a comforting option for dinner.
-
Cinnamon Rolls: Transform the dough into gooey cinnamon rolls by spreading a mixture of cinnamon and sugar before rolling up. Drizzle with icing for an extra sweet touch.
-
Spicy Kick: Fold in red pepper flakes or diced jalapeños for a zesty bite. It’s a fun way to jazz up your rolls!
-
Sweet Glaze: Brush with a honey or maple syrup glaze right before serving for a sweet contrast to your savory options. It’s a simple elevate that brings joy.
-
Chocolate Chip: Add gluten-free chocolate chips to the dough for a hint of sweetness. These delightful bites can serve as a special treat or dessert.
-
Stuffed Crescents: Fill with your favorite jam or fruit filling before rolling for a sweet surprise. Enjoy them warm for a delightful breakfast option!
No matter which variation you choose, these The Best Gluten Free Crescent Rolls will surely impress! If you’re looking to explore more gluten-free recipes, don’t miss out on these delicious Gluten Free Vegan cookies and fluffy breakfast with Fluffy Gluten-Free Pancakes. Enjoy baking!
The Best Gluten Free Crescent Rolls Recipe FAQs
What type of gluten-free flour should I use?
I recommend using high-quality gluten-free flour blends like gfJules or Better Batter for the best results. These blends provide the right structure and texture, making your crescent rolls soft and fluffy. Avoid using other gluten-free flour types as they may not yield the desired outcome.
How should I store leftover crescent rolls?
To keep your crescent rolls fresh, store them in an airtight container at room temperature for 1-2 days. If you’d like them to last longer, refrigerate them, and consume within 3-5 days. Just remember to let them reach room temperature before enjoying; they’ll taste even better that way!
Can I freeze the gluten-free crescent rolls?
Absolutely! To freeze, wrap each roll tightly in plastic wrap, then place them in a freezer bag. They can be frozen for up to 3 months. When you’re ready to enjoy them, let them thaw in the fridge overnight. Then, for a delightful warm treat, reheat them wrapped in foil at 325°F (163°C) for about 15-20 minutes.
What should I do if my dough is too sticky?
If you find yourself with sticky dough, don’t panic! Lightly dust your work surface and the dough with potato starch as you shape them. This will provide a nice balance without impacting the final texture. Just ensure you’re not adding too much starch, which can change the dough’s consistency.
Are there any dietary considerations I should keep in mind?
These gluten-free crescent rolls can also be made dairy-free! Simply substitute regular butter with a plant-based butter alternative. Additionally, always double-check the labels of your ingredients to avoid any allergens, particularly if you’re serving others who may have specific dietary restrictions.
The Best Gluten Free Crescent Rolls You'll Love to Make!
Ingredients
Equipment
Method
- In a stand mixer, combine gluten-free flour mix, instant yeast, sugar, baking powder, and salt. Gradually add warm water, egg, and butter/oil, mixing on medium speed for 3-5 minutes until sticky and thick.
- Dust a clean surface with potato starch, shape the dough into a ball, and roll it into a 14-inch circle. Cut into 8 wedges.
- Starting with the wide end, roll each wedge toward the point to form a crescent shape. Place on a parchment-lined baking sheet.
- Cover the rolls lightly and let them rise in a warm spot for 30-45 minutes until visibly expanded.
- Preheat oven to 350°F (175°C). Bake for 9-12 minutes until golden brown and set.
- Brush with melted butter after baking, let cool slightly before serving.
Leave a Reply