
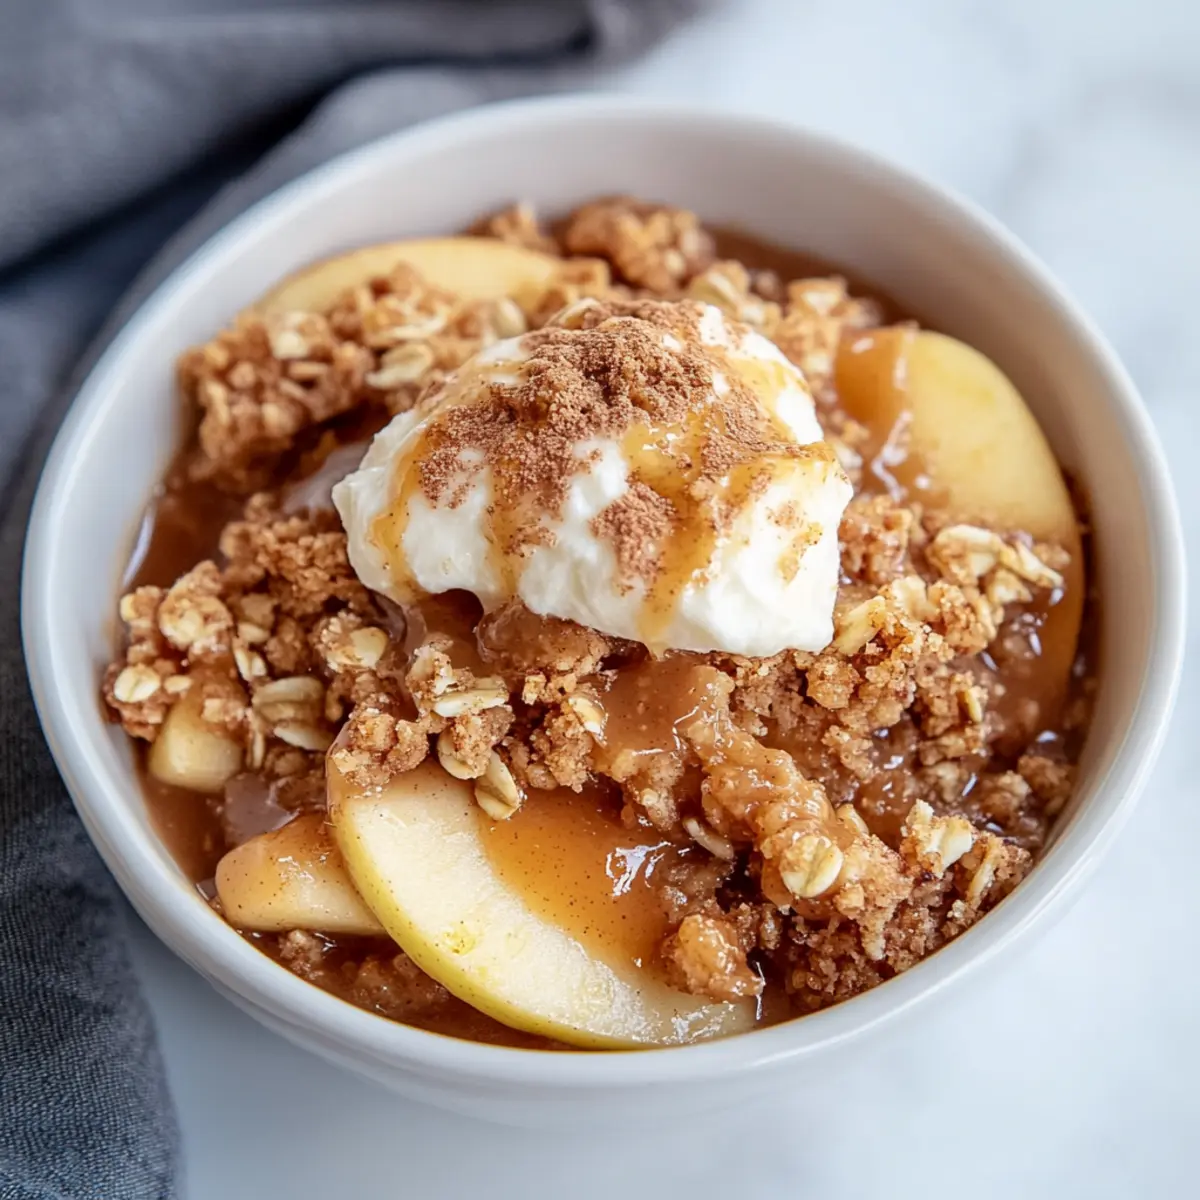
As I stood in my kitchen, the scent of cinnamon wafting through the air was enough to transport me back to my childhood—those cozy autumn days spent perfecting the art of apple crisp. This Healthy High Protein Apple Crisp melds nostalgia with nutrition, creating a dessert that’s not just delicious but also packed with protein! Perfect for a quick breakfast, a satisfying snack, or a guilt-free sweet treat, this recipe is both customizable and a crowd-pleaser. Mix and match your favorite apples and nut butters to make it uniquely yours. Ready to dive into a warm, comforting bowl that feels like a hug? Let’s get started!
Why is this apple crisp so special?
Nutrient-Packed Delight: This Healthy High Protein Apple Crisp is more than just a dessert; it’s a nutritious powerhouse that keeps you energized. Customizable Options: Tailor the recipe to your taste by swapping in your favorite apples or choosing a different nut butter. Quick and Easy: Whip it up in no time, making it perfect for busy mornings or spontaneous gatherings. Warm Comfort: Enjoy it straight from the oven for that cozy, home-baked aroma. Pair it with a dollop of Greek yogurt for added creaminess or explore more sweet options like Apple Crumble Cheesecake for a delightful twist!
Healthy High Protein Apple Crisp Ingredients
• Enjoy this delightful and nutritious apple dessert with simple, wholesome ingredients.
For the Apples
- Chopped Apple – Use Granny Smith for tartness or Honeycrisp for sweetness to create a flavor balance.
- Cinnamon – Adds rich warmth and depth, enhancing the luscious apple blend.
- Lemon Juice – Brightens up the dish while keeping the apples from browning.
For the Crumble Topping
- Vanilla Protein Powder – A secret ingredient that boosts protein content; feel free to swap with your choice of protein powder.
- Nut Butter (Almond or Peanut) – Provides creaminess and healthy fats; choose based on what you love best.
- Oats (Rolled) – Forms a heart-healthy base for the crumble; gluten-free oats work beautifully for dietary needs.
- Milk or Water – Binds everything together; any plant-based milk can be a great alternative.
Optional Additions
- Nuts (Optional) – A sprinkle of your favorite nuts adds an extra crunch and flavor dimension.
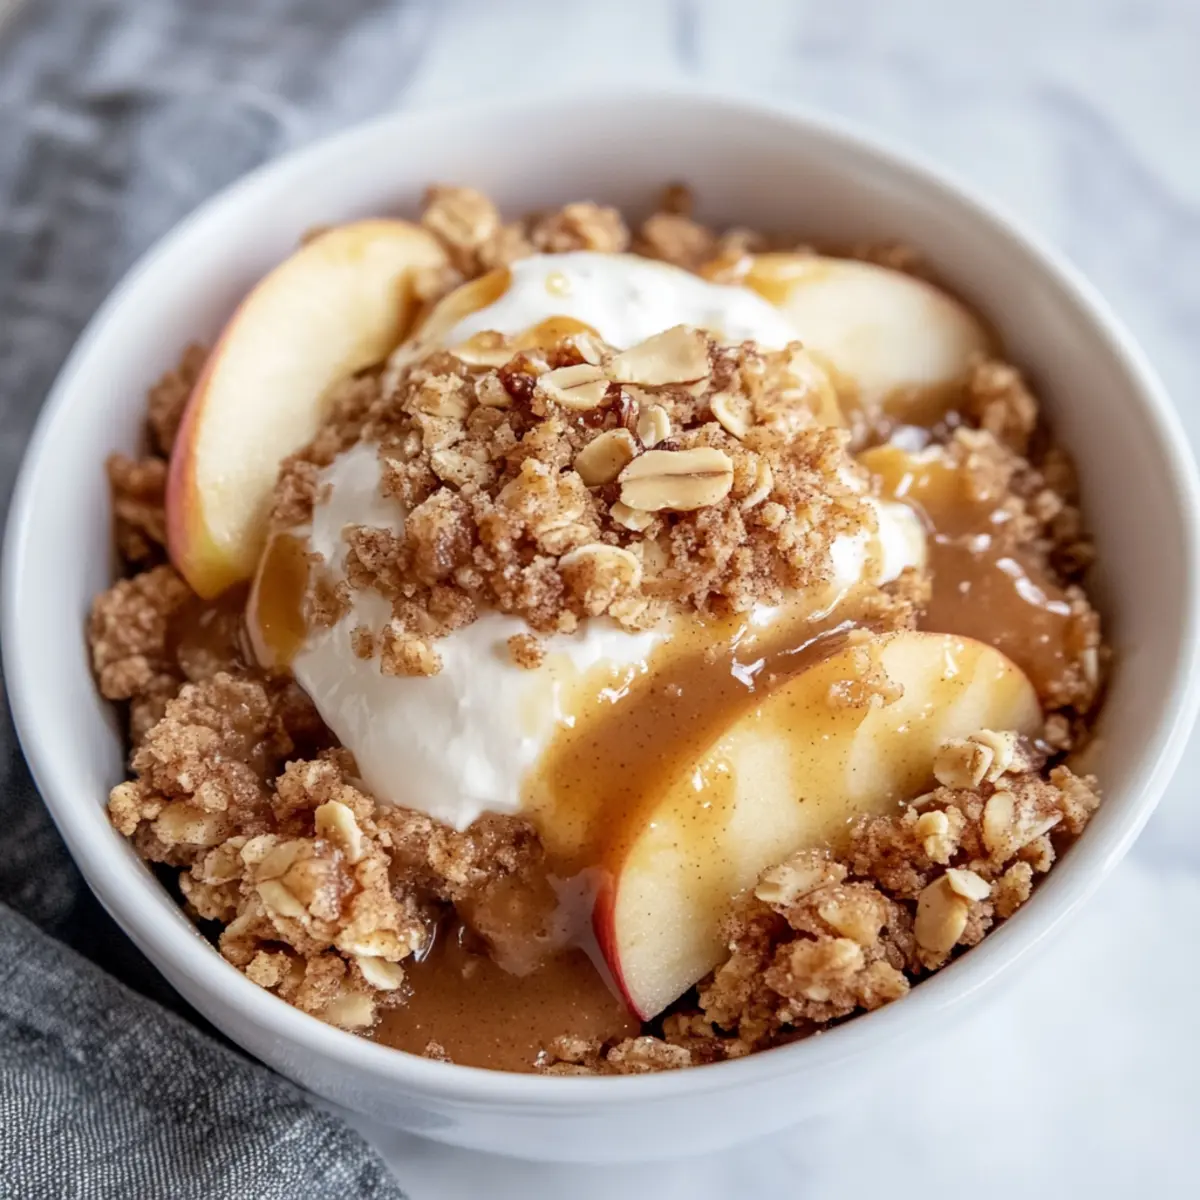
- Greek Yogurt or Ice Cream (Topping) – Elevate your apple crisp experience with a scoop for creaminess and indulgence!
When you bring these ingredients together, you’re not just crafting a Healthy High Protein Apple Crisp—you’re creating a heartwarming dish that embodies comfort and care. Enjoy the process!
Step‑by‑Step Instructions for Healthy High Protein Apple Crisp
Step 1: Preheat the Oven
Begin by preheating your oven to 350°F (175°C). This step is essential to ensure that your Healthy High Protein Apple Crisp bakes evenly and thoroughly. While the oven warms up, gather your mixing bowls and ramekin for the next steps. The cozy aroma of cinnamon will soon fill your kitchen!
Step 2: Prepare the Apple Mixture
In a mixing bowl, combine the chopped apple, cinnamon, lemon juice, and 1 tablespoon of vanilla protein powder. Stir gently until the apples are well-coated with the mixture, ensuring each piece is flavorful. Once mixed, evenly spread the apple blend in a ramekin, ensuring a nice, even layer that will bake beautifully.
Step 3: Make the Crumble Topping
In a separate bowl, blend together the rolled oats, nut butter, remaining protein powder, and a splash of milk or water. Use a fork or your hands to mix until a crumbly consistency forms, adjusting the moisture as needed. The topping should hold together yet still crumble easily when sprinkled over the apples, creating that perfect texture.
Step 4: Assemble the Crisp
Carefully sprinkle the crumble topping over the prepared apple layer, ensuring it covers the apples evenly. This step is crucial for achieving that delightful contrast between the soft, bubbling apples and the crispy, golden topping. Spread the mixture gently with your fingertips for an even distribution, allowing the flavors to meld perfectly when baked.
Step 5: Bake to Perfection
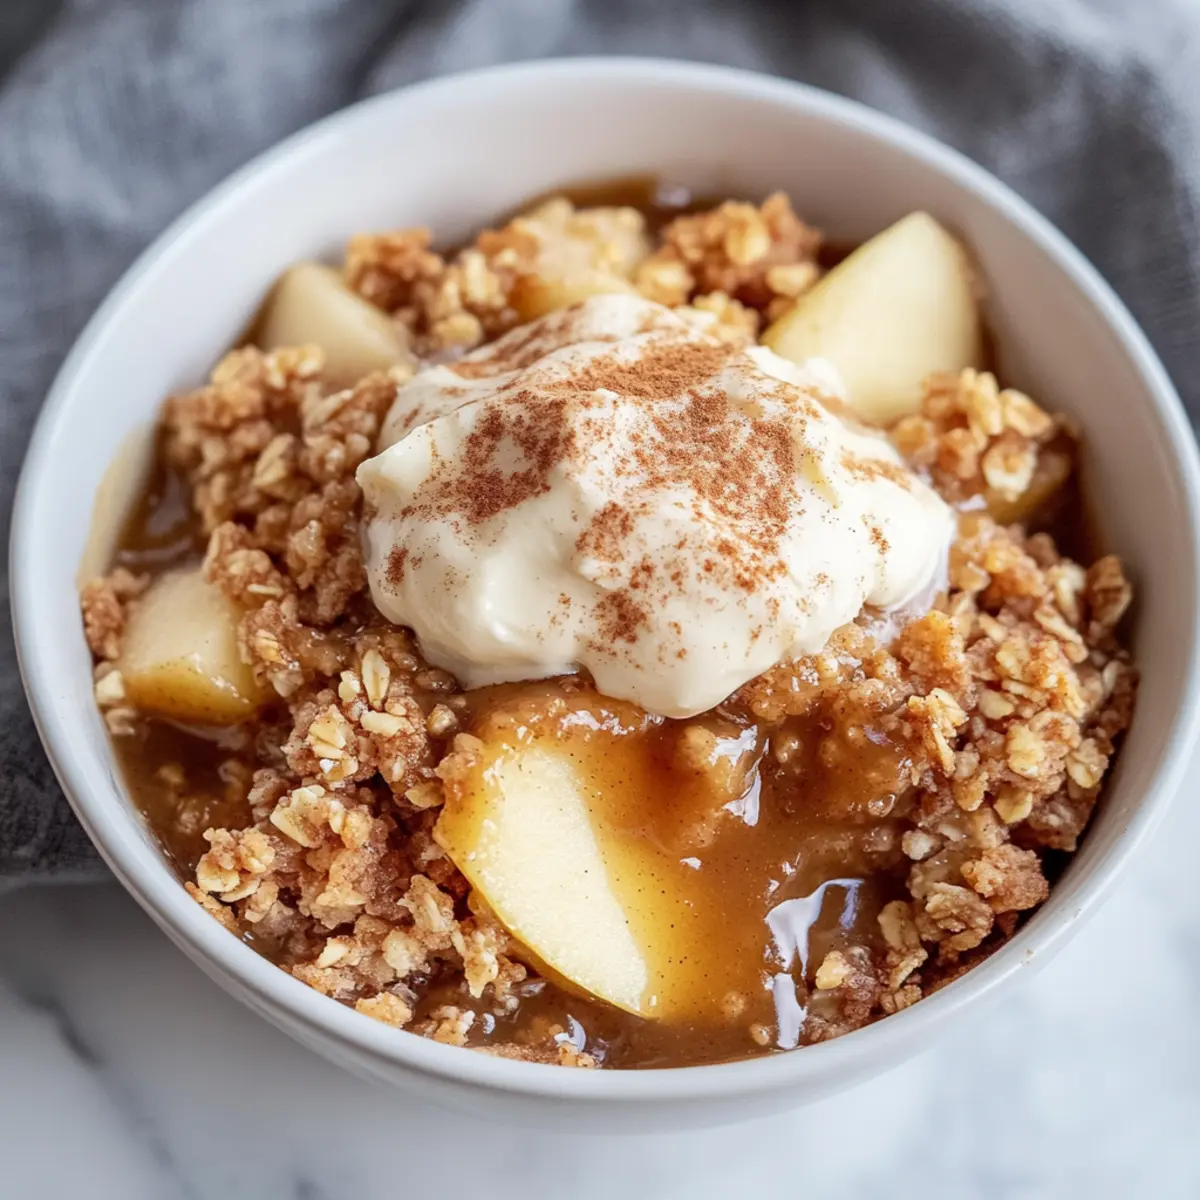
Place the assembled Healthy High Protein Apple Crisp in the preheated oven and bake for about 20 minutes. Watch as the topping turns golden brown and the apples start bubbling, filling your kitchen with irresistible scents. Check around the 15-minute mark to ensure the top is not over-baking, adjusting time as necessary for perfect results.
Step 6: Cool Before Serving
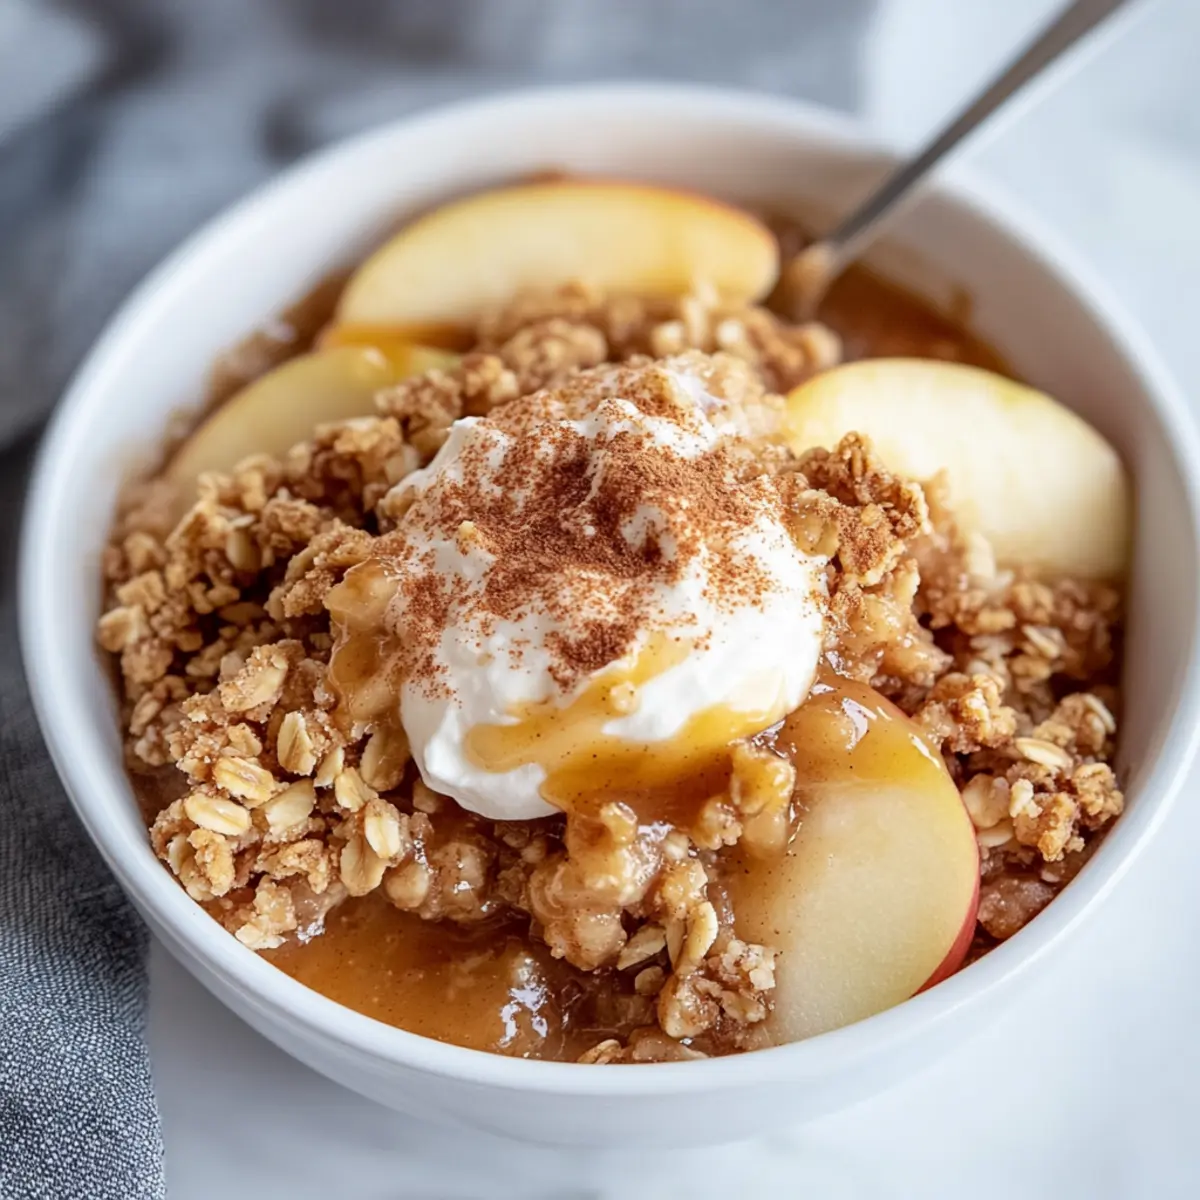
Once golden and bubbly, remove the crisp from the oven and let it cool for about 5 minutes. This brief cooling period allows the juices to settle, making it easier to serve. The delightful aroma will have everyone ready to indulge in a warm, comforting bowl of your Healthy High Protein Apple Crisp, a treat perfect for any time of day!
Make Ahead Options
These Healthy High Protein Apple Crisps are perfect for meal prep enthusiasts! You can prepare the apple mixture (chopped apples, cinnamon, lemon juice, and protein powder) up to 24 hours in advance, storing it in an airtight container in the refrigerator to keep the apples from browning. The crumble topping can also be prepped ahead by mixing the oats, nut butter, and protein powder; store it separately for freshness. When you’re ready to enjoy, simply layer the apple mixture in your ramekin, sprinkle the crumble topping on top, and bake for about 20 minutes. With this make-ahead approach, you can savor a homemade dessert with minimal effort—perfect for busy weeknights!
Expert Tips for Healthy High Protein Apple Crisp
- Choose the Right Apples: Opt for a mix of sweet and tart apples to enhance flavor. Granny Smith and Honeycrisp are fantastic choices for this Healthy High Protein Apple Crisp.
- Cinnamon Boost: Don’t shy away from cinnamon! It adds warmth and balances the sweetness—just the right touch for your apple mixture.
- Moisture Control: If your crumble topping is too crumbly, add a splash more milk or water to achieve the perfect consistency that holds together without falling apart.
- Check Baking Time: Keep an eye on the crisp; check it around the 15-minute mark to prevent burning. Everyone loves a perfectly golden top!
- Cooling Matters: Let the apple crisp cool for about 5 minutes after baking to make serving easier and enjoy it warm and delicious!
What to Serve with Healthy High Protein Apple Crisp
Imagine gathering around the table with loved ones, savoring sweet bites of warmth as flavors mingle delightfully in this comforting dish.
- Greek Yogurt: A dollop of creamy Greek yogurt adds a tangy contrast and extra protein, enhancing the dessert’s overall richness.
- Vanilla Ice Cream: Pairing with a scoop of vanilla ice cream creates a delightful temperature and texture contrast, melting into the warm crisp.
- Cinnamon Sugar Almonds: These crunchy, sweet nutty treats bring a unique texture and flavor burst that complements the apple crisp beautifully.
- Fresh Berries: A side of mixed berries adds a refreshing burst of juiciness, balancing the sweetness of the apple crisp with natural tartness.
- Caramel Drizzle: Drizzling lightly salted caramel sauce over the top elevates this dessert to decadent heights, perfect for special occasions.
- Herbal Tea: A warm cup of herbal tea serves as a soothing beverage option, enhancing the cozy feel of your apple crisp moment.
- Pumpkin Spice Latte: If you’re craving a festive touch, a pumpkin spice latte pairs soulfully with the cinnamon flavors, wrapping you in warm holiday vibes.
- Nut Milk: Enjoying your apple crisp with a glass of nut milk adds a creamy complement, enriching every satisfying bite.
Healthy High Protein Apple Crisp Variations
Feel free to let your creativity shine as you customize this apple crisp—it’s all about making it your own!
-
Apple Variety: Use different apple types like Fuji or Jonagold for varying sweetness and tartness. Each variety adds its unique twist to the flavor profile.
-
Nut Butter Swap: Choose peanut butter, cashew butter, or sun butter for a different taste and texture. Each brings a delightful creaminess that’s hard to resist.
-
Gluten-Free Option: Substitute rolled oats with gluten-free oats to accommodate dietary preferences while keeping the heartiness intact. This ensures everyone can enjoy it!
-
Spice It Up: Add nutmeg or ginger alongside cinnamon for warming flavors. A little extra spice goes a long way in elevating the comforting taste of this dish.
-
Add Crunch: Toss in your favorite nuts like walnuts or pecans for added texture and richness. They’ll create a delightful crunch that complements the soft apples perfectly.
-
Sweetness Adjust: Drizzle with honey or maple syrup for an extra touch of sweetness if desired. This addition can create a more indulgent flavor experience.
-
Choco-Crisp: Mix in some dark chocolate chips into the topping for a chocolatey crunch. It’s a great way to add a touch of decadence without the guilt.
Explore even more delicious creations, like serving your crisp with a dollop of Greek yogurt or that delightful Apple Crumble Cheesecake for a tasty twist! It’s versatility like this that makes the Healthy High Protein Apple Crisp a beloved favorite in any kitchen.
How to Store and Freeze Healthy High Protein Apple Crisp
Fridge: Store leftovers in an airtight container for up to 3 days. Keep the lid tightly sealed to maintain freshness and prevent the apples from browning.
Freezer: For longer storage, freeze individual portions wrapped tightly in plastic wrap and then in aluminum foil. They can be stored for up to 2 months; simply thaw overnight in the fridge before reheating.
Reheating: To enjoy your Healthy High Protein Apple Crisp, reheat it in the microwave for about 30 seconds or place it in a preheated oven at 350°F (175°C) for 10 minutes until warmed through. This restores the crispiness of the topping!
Make-Ahead Tip: Prepare the crumble topping a day in advance and store it separately in the fridge for easy assembly on busy days.
Healthy High Protein Apple Crisp Recipe FAQs
What type of apples should I use?
Absolutely! Choosing the right apples is key. I recommend using a mix of tart and sweet varieties like Granny Smith for a nice bite and Honeycrisp for sweetness. Fuji and Gala can also be delightful options!
How should I store leftovers?
To enjoy your Healthy High Protein Apple Crisp later, store leftovers in an airtight container in the fridge for up to 3 days. Make sure it’s sealed well to keep the apples from browning and to maintain that lovely flavor.
Can I freeze the apple crisp?
Very! You can freeze individual portions of your Healthy High Protein Apple Crisp by wrapping them tightly in plastic wrap, then in aluminum foil. They last for up to 2 months. To reheat, simply thaw overnight in the fridge and pop it back in a preheated oven at 350°F (175°C) for about 10 minutes to restore its crunch!
What should I do if the topping is too crumbly?
Not a problem! If you find that your crumble topping is too dry, add a splash more milk or water until the mixture holds together nicely but still crumbles easily. Mix thoroughly, and don’t hesitate to adjust until you achieve that perfect balance.
Can I customize this recipe for allergies?
Absolutely! For those with nut allergies, use sunflower seed butter or tahini instead of nut butter. If you’re gluten-free, opting for gluten-free oats ensures everyone can enjoy this warm, comforting dessert without worry. Feel free to tailor it to your dietary needs!
How do I reheat the apple crisp?
To enjoy your Healthy High Protein Apple Crisp fresh out of the oven again, reheat it in the microwave for about 30 seconds or place it in a preheated oven at 350°F (175°C) for roughly 10 minutes. This will bring back that crispy topping and delicious apple warmth!
Healthy High Protein Apple Crisp That'll Warm Your Soul
Ingredients
Equipment
Method
- Preheat your oven to 350°F (175°C).
- Combine the chopped apple, cinnamon, lemon juice, and vanilla protein powder. Mix and spread into a ramekin.
- In a separate bowl, mix the rolled oats, nut butter, remaining protein powder, and milk or water to form a crumble topping.
- Sprinkle the crumble topping over the apple mixture evenly.
- Bake for about 20 minutes until golden brown and bubbling.
- Allow to cool for about 5 minutes before serving.
Leave a Reply