
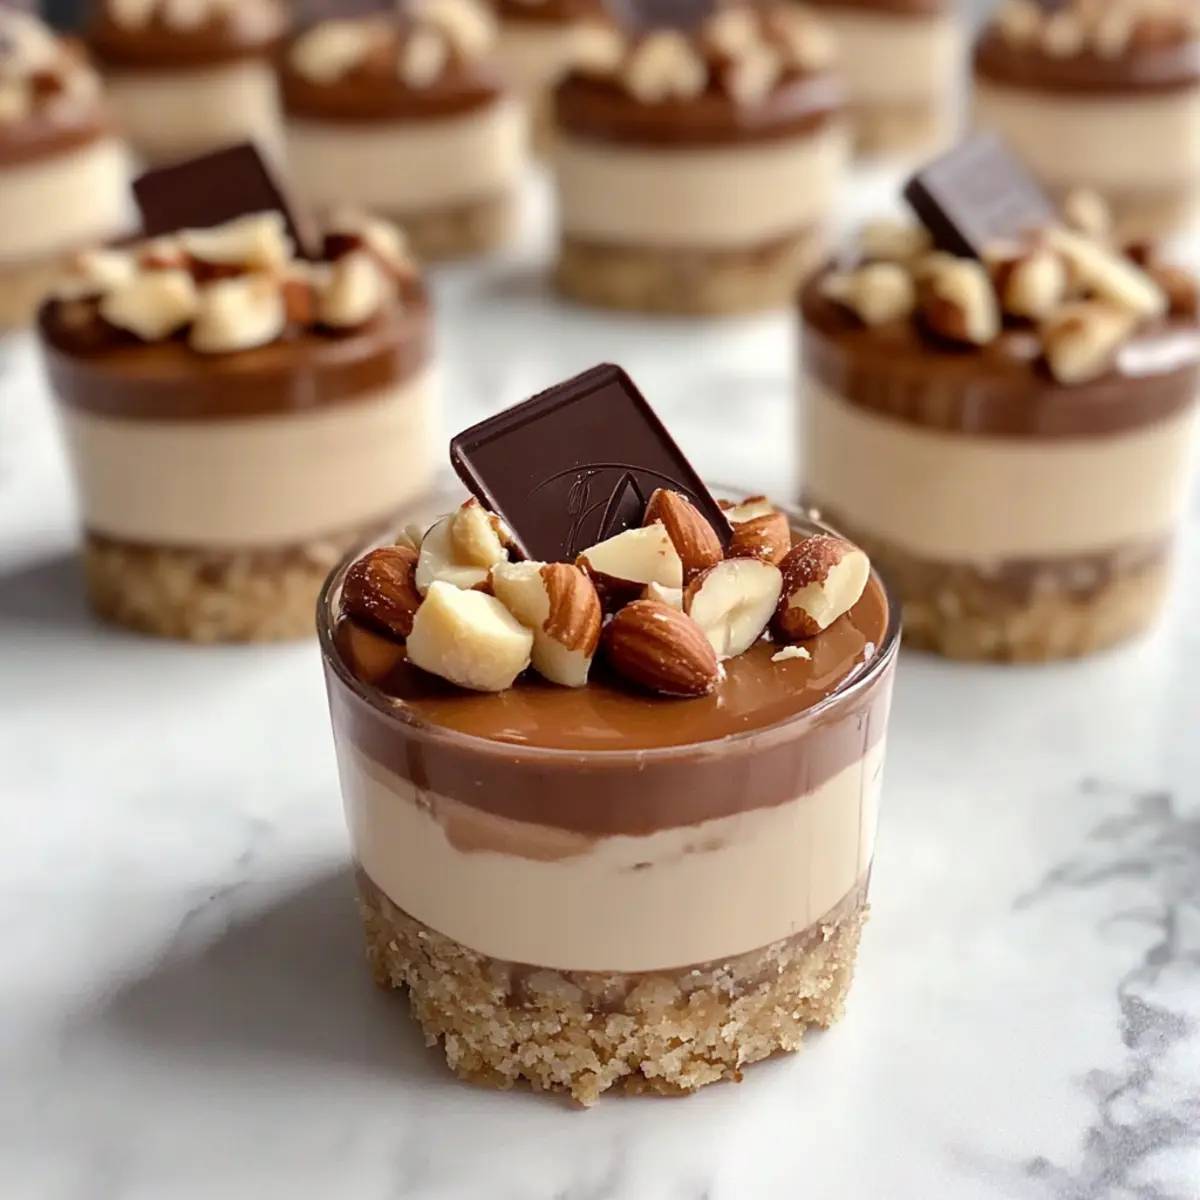
As I opened the fridge, the aroma of creamy chocolate filled the air, transforming my spirits instantly. That’s the magic of these Mini Kinder Bueno Cheesecakes! They’re the perfect no-bake dessert to whip up for any occasion, whether it’s a cozy family dinner or an impromptu gathering with friends. This recipe’s delightful balance of a crunchy cookie crust and velvety filling comes together in just about an hour, making it an effortless treat for busy cooks. Plus, these mini delights are not only kid-friendly but also hit the spot for any chocolate lover’s sweet tooth. Curious about how to bring this delightful dream to life? Let’s dive into the recipe!
Why are Mini Kinder Bueno Cheesecakes irresistible?
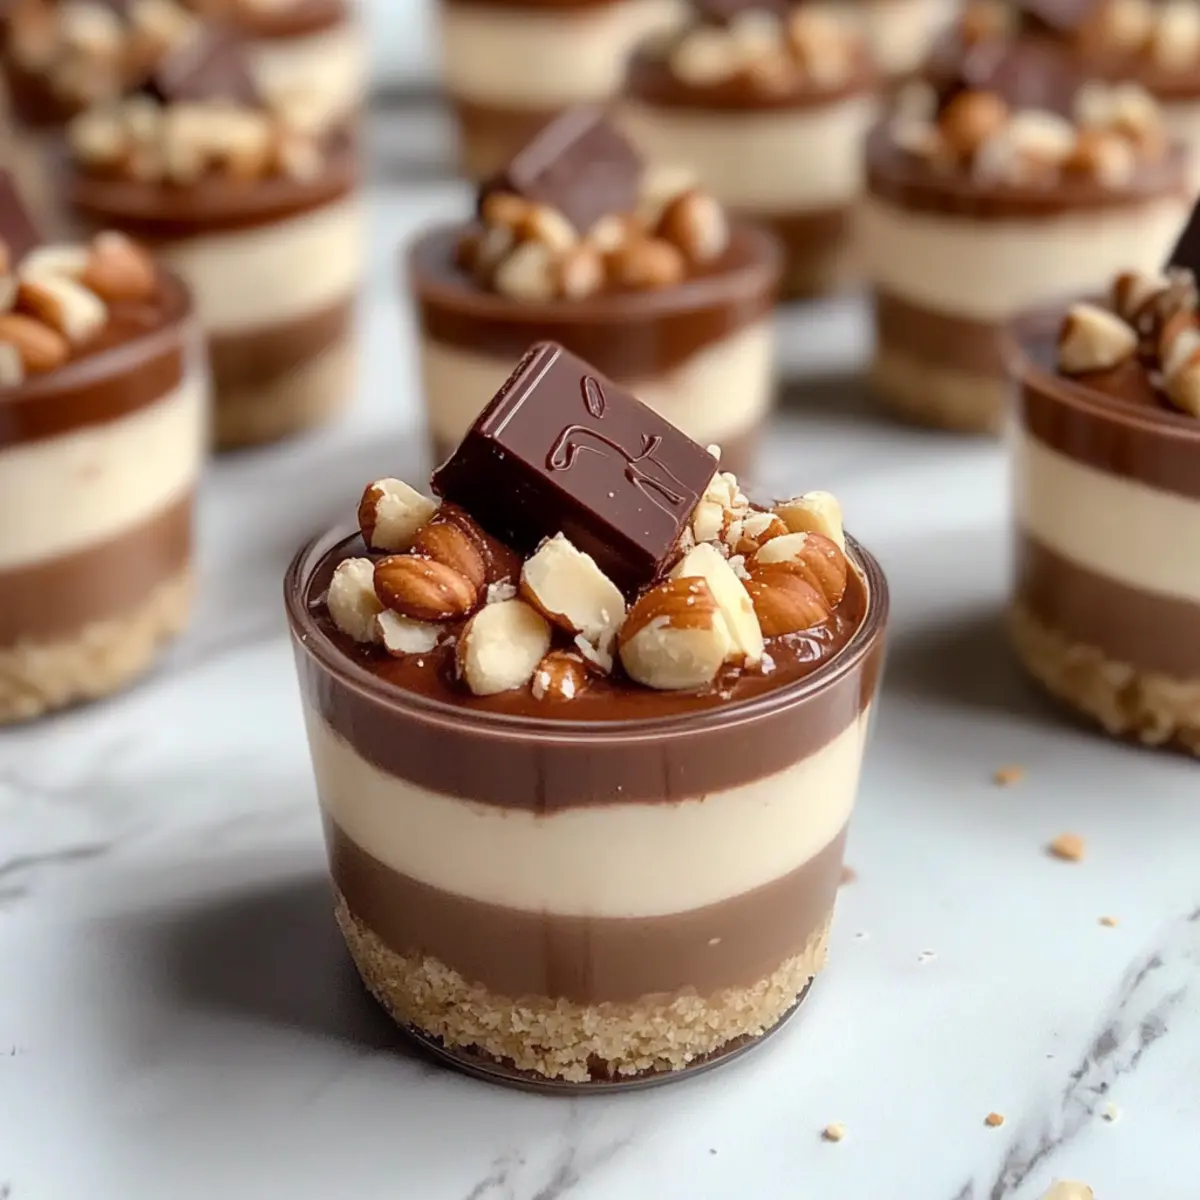
Decadent Flavors: The rich chocolate-hazelnut taste of Kinder chocolate melds beautifully with creamy cheesecake, creating a dessert that will have everyone begging for more.
No-Bake Convenience: Perfect for busy hosts, these treats come together easily in about an hour—less time in the kitchen means more time to enjoy!
Kid-Friendly Appeal: With their delightful mini size and sweet flavors, these cheesecakes are sure to please the little ones and their grown-up counterparts alike!
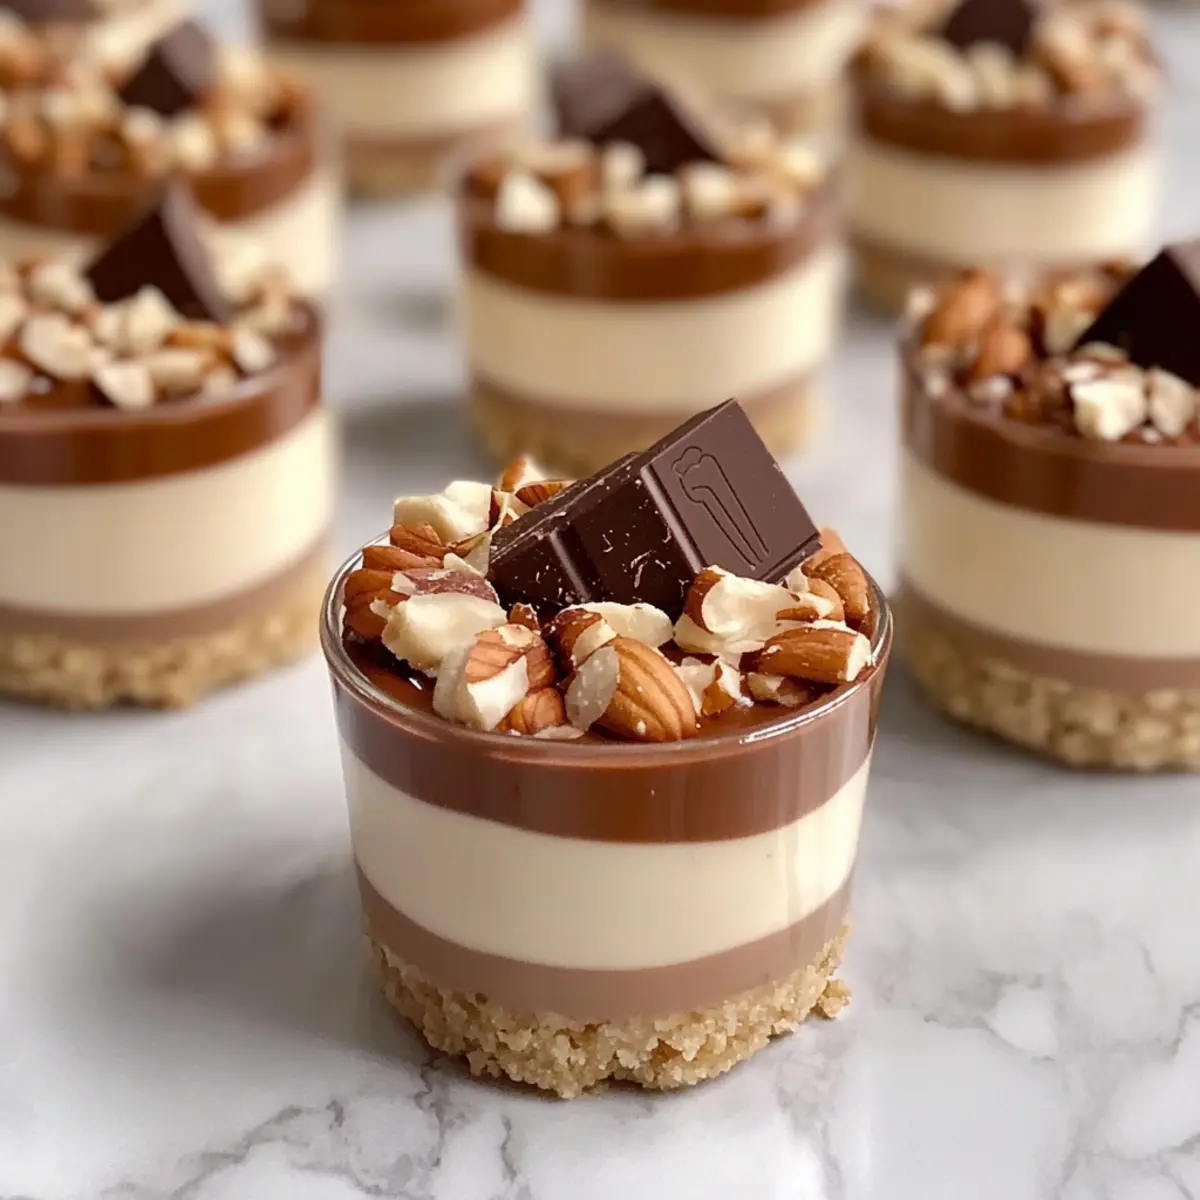
Textural Delight: The crunchy cookie crust provides a pleasing contrast to the creamy filling, offering a bite that’s simply out of this world.
Versatile Variations: Feel free to get creative with flavor swaps or special toppings—this recipe invites personal touches while ensuring deliciousness!
For chocolate lovers looking to impress at gatherings, these Mini Kinder Bueno Cheesecakes are the perfect solution!
Mini Kinder Bueno Cheesecakes Ingredients
For the Cheesecake Filling
• Cream Cheese – Provides creaminess and structure; best to use full-fat block cream cheese (e.g., Philadelphia) softened to room temperature for a smooth mixture.
• Icing Sugar – Adds sweetness and a smooth texture; perfect for achieving that melt-in-your-mouth experience.
• Kinder Chocolate – Offers the signature chocolate-hazelnut flavor; use melted Kinder chocolate for mixing and as a topping.
• Double Cream – Contributes to the rich and fluffy cheesecake filling; whip until stiff peaks form for the right consistency.
For the Cookie Base
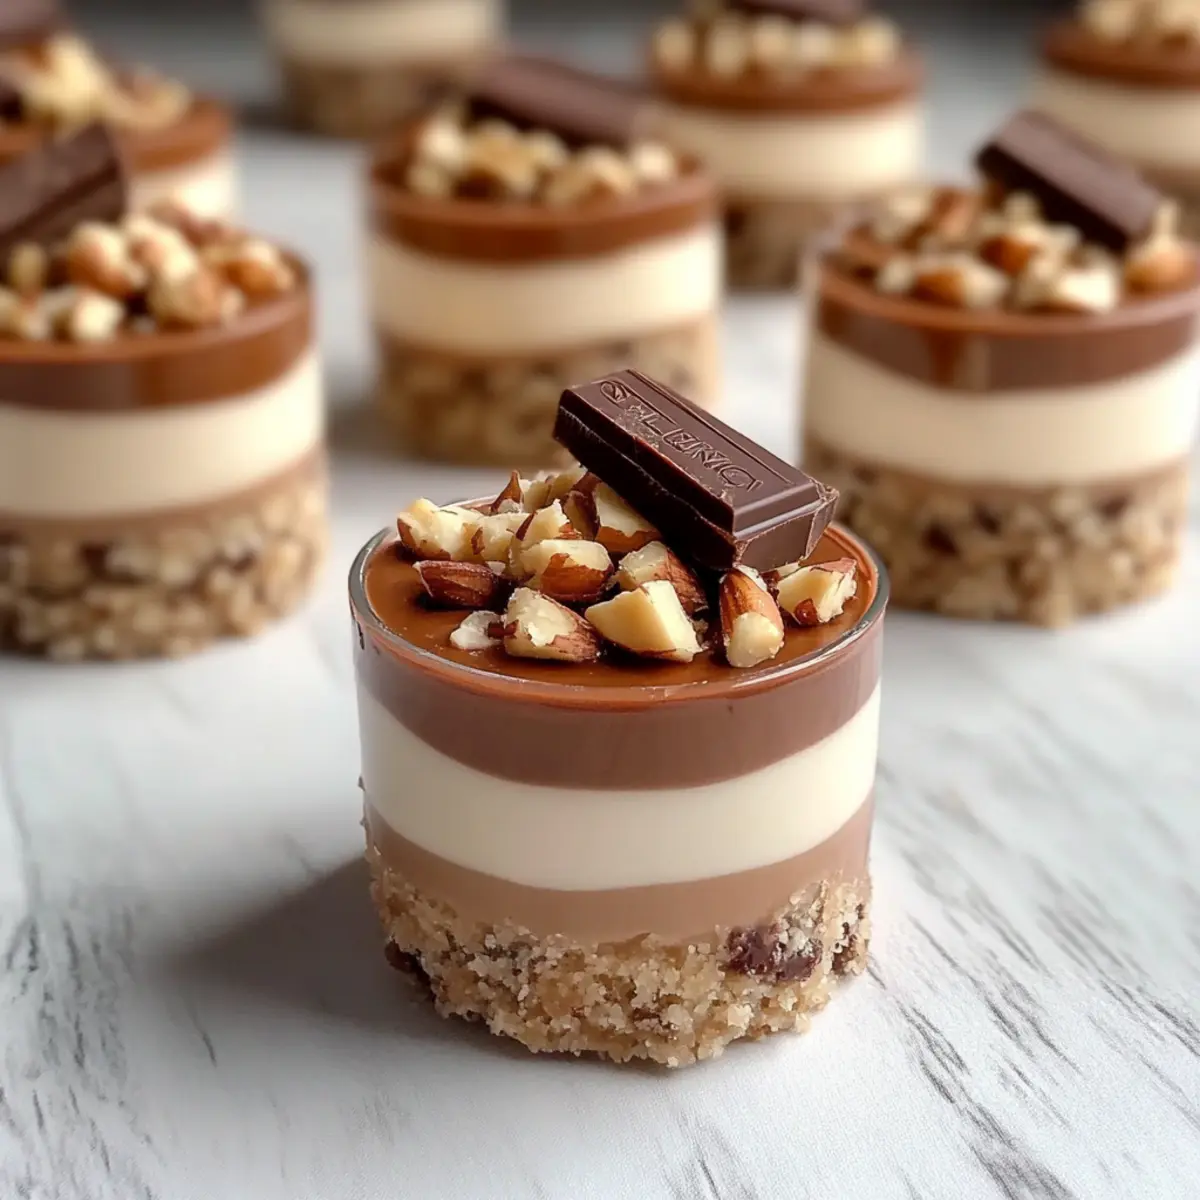
• Chocolate Chip Cookies – Forms the base of the cheesecakes, providing flavor and texture; graham crackers or digestive biscuits can be used as substitutes.
• Unsalted Butter – Binds the cookie crumbs together; ensures a firm base that holds the cheesecake filling well.
For the Toppings
• Roasted Hazelnuts – Adds crunch and flavor; optional for garnish, can omit if nut-free is required.
• Kinder Bueno Bars – Used as a visual garnish and flavor enhancer; adds that extra touch to impress your guests!
Step‑by‑Step Instructions for Mini Kinder Bueno Cheesecakes
Step 1: Prepare Cookie Base
Begin by crushing chocolate chip cookies in a food processor until they resemble fine crumbs. Melt about 3 tablespoons of unsalted butter and combine it with the cookie crumbs, stirring until the mixture looks like wet sand. This cookie base is crucial for your Mini Kinder Bueno Cheesecakes and sets the stage for that delightful crunch.
Step 2: Build Base
Portion 3 tablespoons of the cookie mixture into each dessert cup or small glass, pressing down firmly with your fingers or the back of a spoon to create a compact and even base. Ensure it’s nicely packed to support the creamy filling that will come next. This step will give your cheesecakes a sturdy foundation for an indulgent treat.
Step 3: Make Cheesecake Filling
In a large mixing bowl, beat together the softened cream cheese and icing sugar until smooth, using an electric mixer for about 1-2 minutes. Melt the Kinder chocolate gently in a microwave or double boiler, stirring frequently to avoid scorching. Once melted, fold this chocolate into the cream cheese mixture to incorporate that delicious chocolate-hazelnut flavor uniquely found in Mini Kinder Bueno Cheesecakes.
Step 4: Whip Cream
Take your cold double cream and pour it into a separate bowl. Using a hand whisk or electric mixer, whip the cream until stiff peaks form, which should take about 3-5 minutes. Be careful not to overwhip, as this can create a grainy texture. The whipped cream will add lightness and fluffiness to your cheesecake filling.
Step 5: Combine Mixtures
Gently fold the whipped cream into the chocolate-cream cheese mixture using a spatula, being careful not to deflate the cream. This mixture should be rich, creamy, and light, ready to be piped over the cookie bases. It’s the delightful filling that transforms your Mini Kinder Bueno Cheesecakes into an unforgettable dessert.
Step 6: Chill
Spoon the cheesecake filling into each dessert cup, piping expertly to leave a bit of space at the top. Once filled, tap each cup gently on the counter to level the mixture. Place the cups in the refrigerator and chill for 3-4 hours until set, allowing the flavors to meld beautifully and firm up for that perfect creamy texture.
Step 7: Garnish
After the cheesecakes have set, it’s time to add the finishing touches. Melt some more Kinder chocolate to create a luscious drizzle over the top of each cheesecake, then sprinkle with chopped roasted hazelnuts for a delightful crunch. Add a small piece of Kinder Bueno on each cheesecake for that visual appeal. Your Mini Kinder Bueno Cheesecakes are now ready to impress!
Expert Tips for Mini Kinder Bueno Cheesecakes
-
Softened Cream Cheese: Ensure your cream cheese is at room temperature for a smooth, lump-free filling. This step is crucial for achieving the perfect texture in your Mini Kinder Bueno Cheesecakes.
-
Avoid Overwhipping: When whipping the double cream, stop as soon as stiff peaks form. Overwhipping can lead to a grainy texture, compromising the creaminess of your cheesecake.
-
Gentle Chocolate Melting: Melt your Kinder chocolate over low heat and stir frequently to prevent scorching. This will maintain the silky consistency that enhances your cheesecakes.
-
Packing the Base: Make sure to firmly pack the cookie base into the cups. A well-compressed crust will support the creamy filling and result in a well-formed dessert.
-
Chill Time Matters: Don’t rush the chilling process! Allowing the Mini Kinder Bueno Cheesecakes to set for 3-4 hours in the fridge is vital for achieving the right texture and flavor balance.
-
Creative Garnishing: Feel free to play with toppings! Optional garnishes, like extra chocolate drizzle or seasonal fruits, can elevate your Mini Kinder Bueno Cheesecakes and add a personalized touch.
Mini Kinder Bueno Cheesecakes Variations & Substitutions
Feel free to get creative and elevate your Mini Kinder Bueno Cheesecakes with these delightful variations!
-
Gluten-Free Base: Use gluten-free chocolate cookies or almond flour mixed with melted butter for a gluten-free option without sacrificing flavor.
-
Dairy-Free Delight: Substitute cream cheese with coconut cream and use dairy-free chocolate for a rich, plant-based alternative that everyone can enjoy.
-
Flavor Infusion: Add a splash of vanilla extract or a sprinkle of cinnamon to the cheesecake mixture for an exciting twist that enhances the chocolate-hazelnut flavor.
-
Decadent Chocolate Ganache: Instead of melted Kinder chocolate, use a homemade chocolate ganache made from dark chocolate and cream for an ultra-luxurious topping that leaves a lasting impression.
-
Nut-Free Option: Omit the roasted hazelnuts and replace them with toasted pumpkin seeds to maintain that crunch without the nuts, making it safe for school lunches and allergy concerns.
-
Fruit Fusion: King of summer? Top your cheesecakes with fresh berries or a fruit compote for a tangy contrast to the sweet cheesecake filling.
-
Bittersweet Contrast: Use dark chocolate instead of Kinder chocolate for a more sophisticated taste, balancing the sweetness with a slight bitterness that chocolate lovers will adore.
-
Extra Crunch: Crush up a variety of your favorite cookies or add crushed pretzels to the base for a sweet and salty combination that takes texture to the next level.
Want even more ideas? Check out my post on creative cheesecake variations and let your imagination run wild with these delectable twists!
What to Serve with Mini Kinder Bueno Cheesecakes
Elevate your dessert experience with delightful pairings that harmonize beautifully with these chocolatey bites.
-
Creamy Whipped Cream: A dollop of fluffy whipped cream adds a light, sweet contrast to the rich cheesecakes, lifting each bite.
-
Fresh Berries: Juicy strawberries or raspberries bring a burst of freshness and tartness that balances the sweetness of the cheesecakes perfectly.
-
Hot Coffee or Espresso: The bold flavors of coffee or espresso create a fantastic pairing that enhances the dessert experience while cutting through the sweetness.
-
Chocolate Sauce Drizzle: A generous drizzle of warm chocolate sauce adds extra indulgence and a luscious touch—perfect for every chocolate lover!
-
Vanilla Ice Cream: Serve alongside a scoop of creamy vanilla ice cream for a delightful contrast of temperature and texture, making each bite even more enjoyable.
-
Hazelnut Liqueur: A glass of hazelnut liqueur elevates the dessert to a new level, echoing the rich chocolate-hazelnut flavors for the grown-ups in the crowd.
-
Mini Fruit Tart: A refreshing mini tart with seasonal fruits offers a lighter, fruity complement to the cheesecakes, ensuring balance on your dessert table.
These suggestions promise to make each occasion extra special, inviting your loved ones to savor every moment around the table!
How to Store and Freeze Mini Kinder Bueno Cheesecakes
Fridge: Store your cheesecakes in an airtight container in the fridge for up to 5 days. This keeps them fresh while maintaining their creamy texture and flavor.
Freezer: For longer storage, freeze the cheesecakes for up to 2 months. Wrap each dessert tightly in plastic wrap, then place in a freezer-safe container to prevent freezer burn.
Thawing: To enjoy frozen Mini Kinder Bueno Cheesecakes, transfer them to the fridge and let them thaw overnight. Avoid thawing at room temperature to maintain texture.
Serving after Storage: Once thawed, add fresh toppings like melted chocolate or hazelnuts for that just-made appeal before serving!
Make Ahead Options
These Mini Kinder Bueno Cheesecakes are perfect for meal prep, allowing you to enjoy delightful homemade treats with minimal last-minute effort! You can prepare the cookie base and cheesecake filling up to 24 hours ahead. Simply follow the initial steps to create the cookie base and fill the dessert cups with the cheesecake mixture, then cover them tightly with plastic wrap and refrigerate. To maintain their creamy texture, avoid adding toppings until just before serving. When ready to serve, simply drizzle with melted Kinder chocolate, sprinkle with roasted hazelnuts, and add a piece of Kinder Bueno for that finishing touch. This way, you can enjoy restaurant-quality dessert even on the busiest of nights!
Mini Kinder Bueno Cheesecakes Recipe FAQs
How can I ensure my cream cheese is the right consistency?
Absolutely! To achieve the perfect, smooth mixture for your Mini Kinder Bueno Cheesecakes, let your cream cheese sit at room temperature for at least 2 hours before use. This allows it to soften adequately. When it’s soft, it will blend beautifully with the other ingredients, creating that rich, creamy texture we love.
What’s the best way to store Mini Kinder Bueno Cheesecakes?
Store your cheesecakes in an airtight container in the fridge for up to 5 days. This keeps them fresh, ensuring they maintain that delightful creamy texture. If you want to keep them longer, you can freeze them for up to 2 months—just be sure to wrap each one tightly in plastic wrap before placing them in a freezer-safe container.
Can I freeze Mini Kinder Bueno Cheesecakes?
Yes, you can! To freeze, wrap each cheesecake tightly in plastic wrap and place them in a freezer-safe container. This helps avoid freezer burn. When you’re ready to enjoy them, simply transfer to the fridge and thaw overnight. Avoid thawing at room temperature to keep the texture just right.
What if my whipped cream isn’t forming stiff peaks?
Very! If your whipped cream isn’t forming stiff peaks, it’s essential to ensure your double cream is cold before you start whipping—chill your mixing bowl and whisk too for best results. If it’s still not thickening after a few minutes of whipping, you might not be using enough cream or your cream may not have the correct fat content. Use cream that’s at least 36% fat for the best results!
Are there any dietary considerations for Mini Kinder Bueno Cheesecakes?
Yes! If you’re concerned about allergies, make sure to use nut-free alternatives if anyone has allergies, particularly related to the roasted hazelnuts and Kinder Bueno. You can substitute the chocolate chip cookies with a gluten-free option if necessary. Always read labels to confirm the ingredients meet your dietary needs.
Can I use different types of chocolate?
Absolutely! While Kinder chocolate gives these cheesecakes their signature flavor, feel free to spruce things up by using dark chocolate, white chocolate, or even a flavored chocolate spread for a unique twist. Just remember to melt it gently and follow the same process to mix into the cheesecake filling.
Mini Kinder Bueno Cheesecakes: Irresistibly Decadent Bites
Ingredients
Equipment
Method
- Begin by crushing chocolate chip cookies in a food processor until they resemble fine crumbs. Melt about 3 tablespoons of unsalted butter and combine it with the cookie crumbs.
- Portion 3 tablespoons of the cookie mixture into each dessert cup, pressing down firmly to create a compact and even base.
- In a large mixing bowl, beat together the softened cream cheese and icing sugar until smooth. Melt the Kinder chocolate and fold into the mixture.
- Pour the cold double cream into a separate bowl and whip until stiff peaks form. Gently fold it into the chocolate-cream cheese mixture.
- Spoon the cheesecake filling into each dessert cup, leveling the mixture. Chill for 3-4 hours until set.
- After setting, drizzle with melted Kinder chocolate and sprinkle with chopped hazelnuts. Add a piece of Kinder Bueno on top.
Leave a Reply