
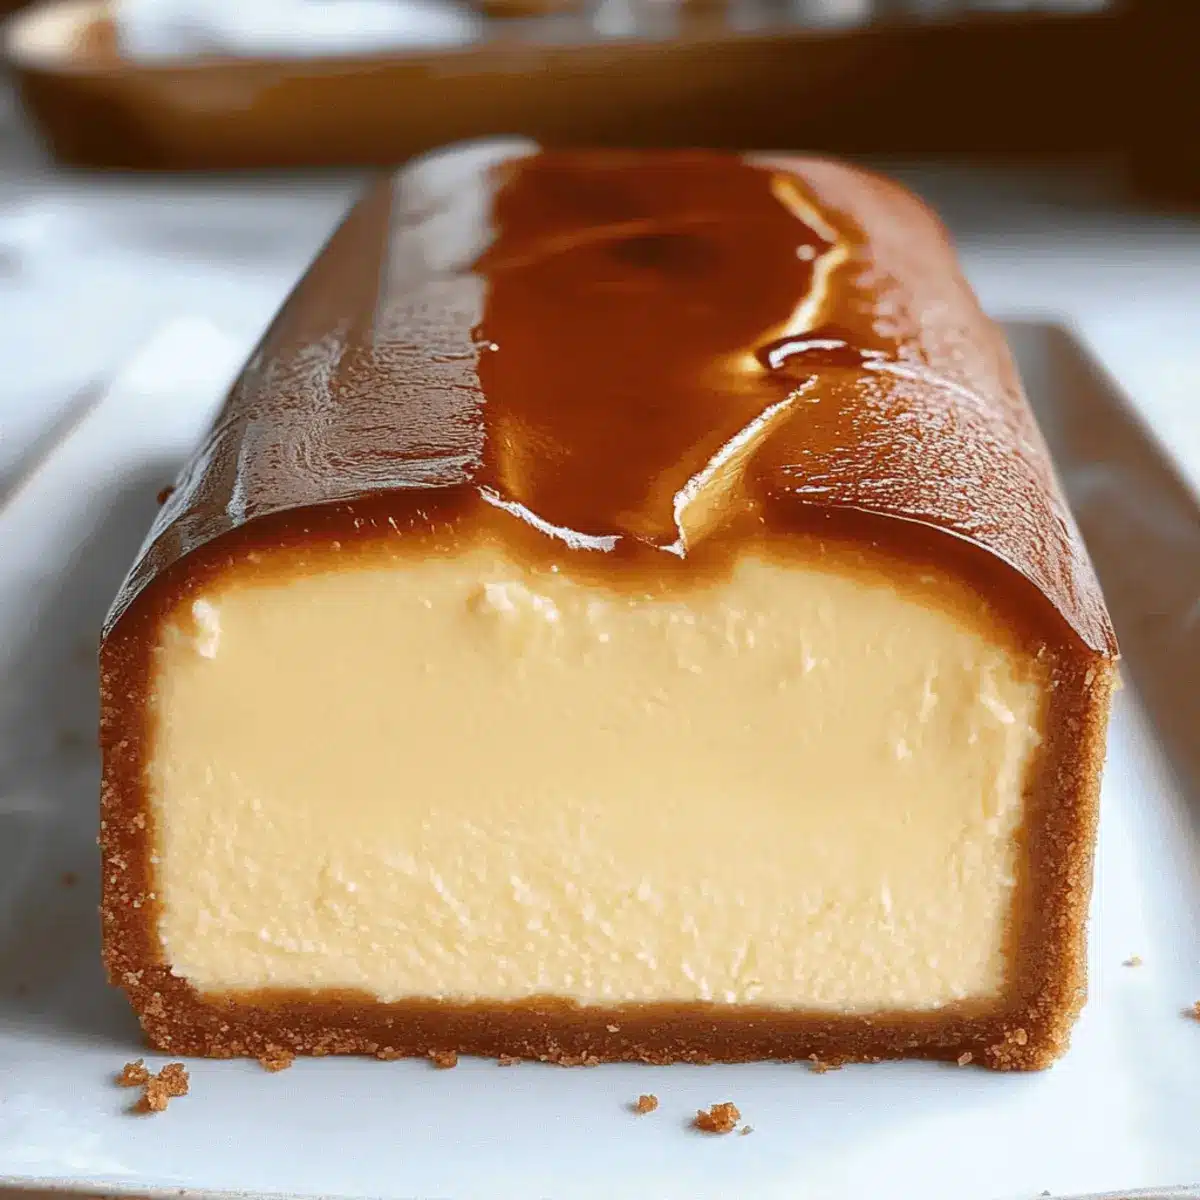
In a cozy corner of my kitchen, a sweet aroma filled the air, evoking warmth and comfort while I prepared my latest obsession: Burnt Basque Cheesecake in a loaf pan. This crustless delight has quickly become a staple for my gatherings and quiet evenings alike, with its beautifully caramelized top and luxuriously creamy texture that invites indulgence. What I absolutely love about this recipe is its simplicity—using just a handful of ingredients, anyone can whip it up in no time. Plus, it’s perfect for those moments when you crave something sweet without the hassle. Trust me, serving this small-batch cheesecake will have your friends asking for second helpings and the recipe itself. Curious about how to create this decadent masterpiece in your own home? Let’s dive in!
Why is Basque Cheesecake so popular?
Simplicity at Its Finest: This Burnt Basque Cheesecake requires minimal ingredients and just a few easy steps, making it approachable even for novice bakers.
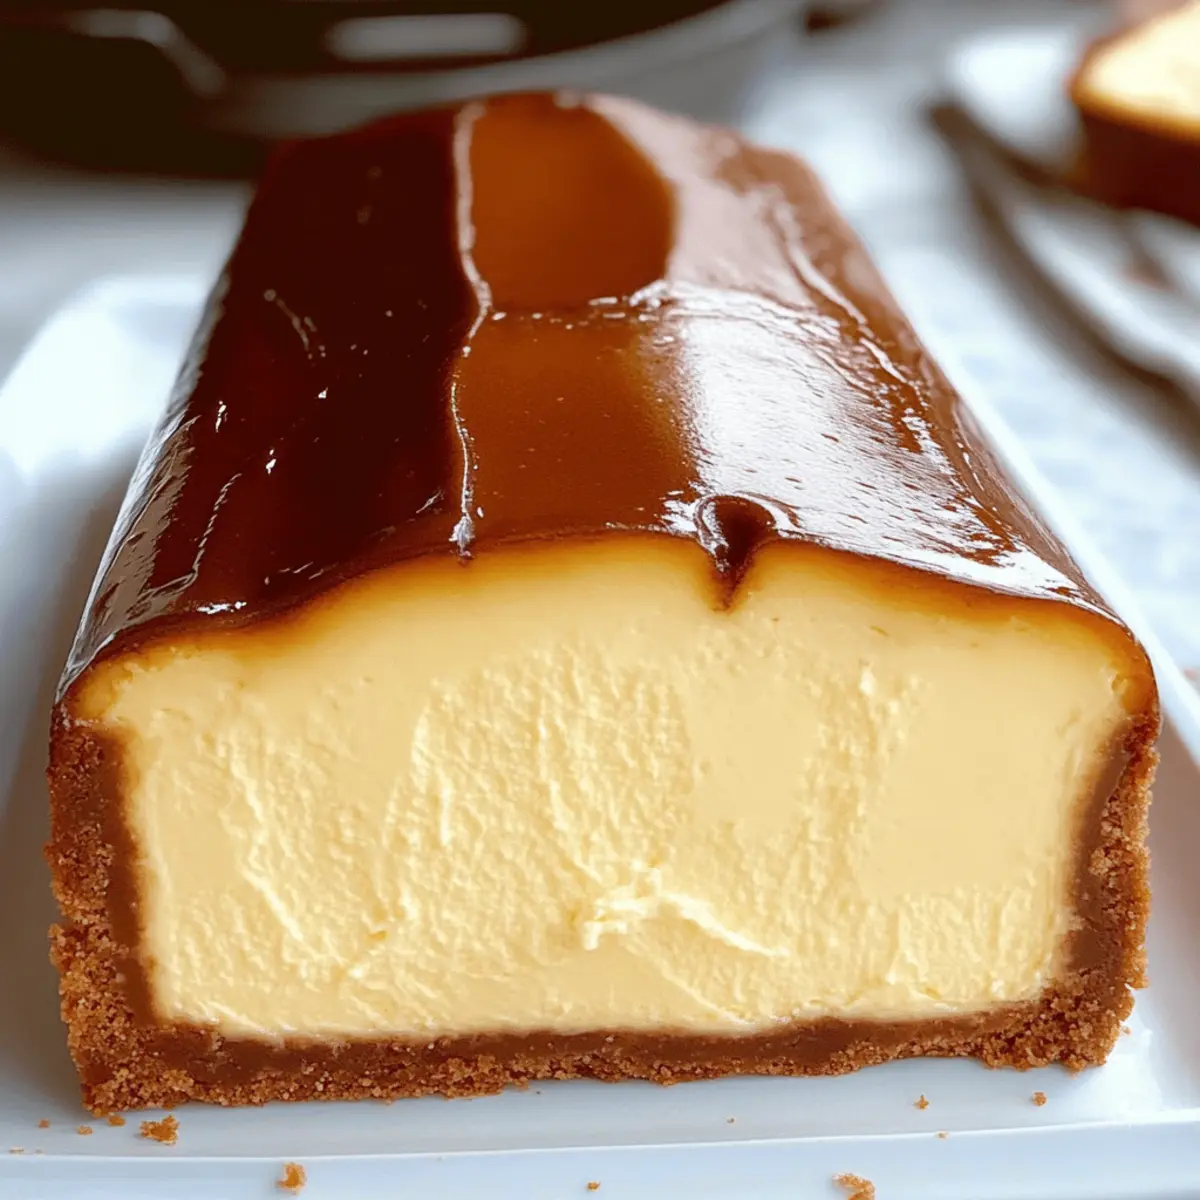
Crustless Wonder: Enjoy the creamy indulgence without the fuss of a crust, allowing the luscious filling to shine.
Unique Flavor: The caramelized top adds a delightful depth that contrasts beautifully with the smooth center, captivating every palate.
Small-Batch Convenience: Perfectly sized for intimate gatherings or a cozy night in, this cheesecake is both satisfying and easy to prepare.
Versatile Toppings: Get creative with your favorite toppings—whether it’s a dollop of whipped cream or a sprinkle of fresh berries, each slice can be personalized to delight.
Elevate your dessert game with this tantalizing treat, and for more cheesecake inspiration, check out our delicious Chocolate Cheesecake Decadent and Pumpkin Cheesecake Balls.
Burnt Basque Cheesecake Ingredients
For the Cheesecake:
- Full-Fat Cream Cheese – Provides richness and creaminess; use block-style for smooth blending.
- Granulated Sugar – Sweetens the cheesecake and helps create that delightful caramelized top.
- Large Eggs – Adds structure and stability; ensure they are at room temperature for better mixing.
- Heavy Cream – Contributes to a luxuriously smooth texture; can be substituted with a lighter cream if desired.
- All-Purpose Flour – Helps to set the cheesecake’s structure; consider gluten-free alternatives for dietary needs.
- Salt – Enhances the sweetness and balances flavors beautifully.
For Optional Toppings:
- Whipped Cream – Adds a cloud-like finish and extra sweetness.
- Fresh Berries – Brightens the dessert with a burst of tartness and color.
- Caramel Sauce – Drizzle for an added layer of indulgence that complements the cheesecake’s flavors.
Enjoy crafting your Burnt Basque Cheesecake, a perfect treat that transforms any occasion into a sweet celebration!
Step‑by‑Step Instructions for Burnt Basque Cheesecake
Step 1: Preheat the Oven
Begin by preheating your oven to 400°F (200°C). This high temperature is essential for creating that signature burnt top while maintaining a creamy center in your Burnt Basque Cheesecake. Make sure your oven rack is positioned in the center for even heat distribution, and have a 9×5 inch loaf pan ready, greased and lined with parchment paper.
Step 2: Blend the Cream Cheese and Sugar
In a large mixing bowl, combine full-fat cream cheese and granulated sugar using an electric mixer on medium speed. Blend until smooth and creamy, scraping down the sides to ensure an even mix, about 2-3 minutes. This step is crucial for achieving the rich texture in your Burnt Basque Cheesecake, so be patient and let the ingredients meld well.
Step 3: Add the Eggs
Next, add the large eggs to the cream cheese mixture one at a time. Mix thoroughly after each addition, ensuring each egg is fully incorporated before adding the next. This will create a smooth batter that’s essential for your cheesecake’s structure. The mixture should look bright and fluffy, indicating you’re on the right track!
Step 4: Fold in Heavy Cream, Flour, and Salt
Gently fold in the heavy cream, all-purpose flour, and salt into your cheesecake batter. Use a spatula to carefully combine all ingredients, ensuring there are no lumps. Aim for a silky and well-blended consistency that will provide an indulgent texture to the Burnt Basque Cheesecake. This should take about 2-3 minutes.
Step 5: Pour the Batter into the Pan
Once the batter is well mixed, pour it into the prepared loaf pan. Use a spatula to smooth the top, ensuring an even surface for baking. This small-batch Burnt Basque Cheesecake will rise and caramelize beautifully, so don’t worry if it seems to fill up the pan almost to the brim!
Step 6: Bake the Cheesecake
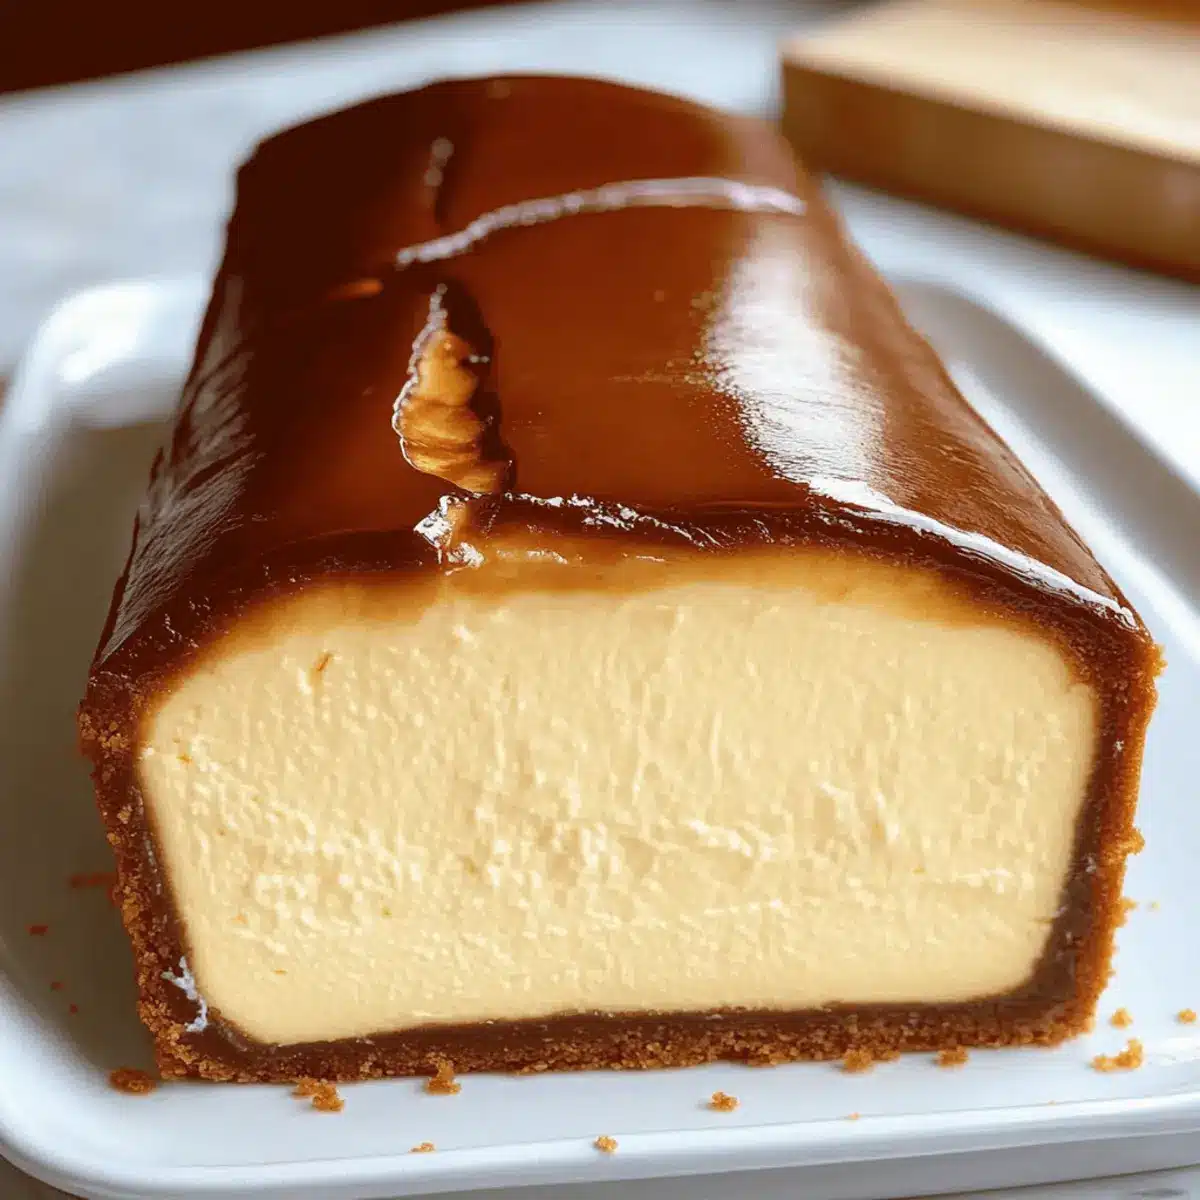
Place the loaf pan in the preheated oven and bake for approximately 45 minutes. Keep an eye on it as it bakes; the top should become a deep golden brown with a slightly jiggly center when done. This visual cue is key in achieving that perfect burnt appearance while maintaining the creamy filling that makes this cheesecake so special.
Step 7: Cool and Chill
After baking, remove the cheesecake from the oven and allow it to cool at room temperature for an hour. This gradual cooling is important to maintain its creamy texture. Once cooled, cover the pan with plastic wrap and refrigerate for at least 4 hours, preferably overnight, to fully set and enhance the flavors of your Burnt Basque Cheesecake before serving.
Burnt Basque Cheesecake Variations
Get ready to add your personal touch to this delightful cheesecake recipe!
-
Flavor Infusion: Add vanilla bean or a splash of almond extract for an aromatic twist. These subtle flavors will elevate the cheesecake’s luxurious profile.
-
Citrus Zing: Incorporate a hint of lemon or orange zest to freshen up the flavor. Just a teaspoon of zest can brighten each bite, making it irresistibly zesty.
-
Gluten-Free Option: Use a gluten-free flour blend in place of all-purpose flour. Your cheesecake won’t lose its creamy goodness, but it’ll cater to dietary needs effortlessly.
-
Nutty Crunch: Add finely chopped nuts like pistachios or almonds as a topping. The added crunch creates a delightful contrast to the creamy texture, giving each slice an extra layer of flavor.
-
Decadent Toppings: Try chocolate shavings or a drizzle of chocolate ganache on top. Rich chocolate complements the caramelized crust, transforming your cheesecake into a heavenly dessert.
-
Fruit Burst: Serve with a homemade berry compote or fresh fruit on the side. The tartness of the berries pairs perfectly with the sweet, creamy cheesecake for a balanced dessert experience.
-
Spiced Variation: Mix in a touch of cinnamon or cardamom for a warm, spiced flavor. This twist adds cozy notes that are perfect for fall gatherings.
-
Creamy Swirls: Swirl in a layer of caramel sauce or nut butter prior to baking for a unique flavor infusion. These creamy additions make for a luscious bite with every forkful.
Feel inspired? Dive into these variations and see how each can transform your Burnt Basque Cheesecake experience and elevate your next dessert table! And for more cheesecake delights, don’t miss our scrumptious Cheesecake Stuffed Apples and dreamy White Chocolate Cheesecake.
Expert Tips for Burnt Basque Cheesecake
-
Use Quality Cream Cheese: Opt for full-fat block cream cheese as it guarantees a rich texture. Avoid spreadable types, which can lead to a grainy cheesecake.
-
Room Temperature Eggs: Ensure your eggs are at room temperature to blend seamlessly in the batter. Cold eggs can create lumps and affect the cheesecake’s consistency.
-
Watch the Bake Time: Keep an eye on the cheesecake in the last few minutes. Perfectly baked, it should have a golden-brown top with a slight jiggle in the center—trust your instincts!
-
Cooling is Key: Allow the cheesecake to cool gradually at room temperature before refrigerating. This helps avoid cracks and maintains that lovely creamy texture we love in a Burnt Basque Cheesecake.
-
Chill Before Serving: For the best flavor and texture, let the cheesecake refrigerate overnight. This patiently deepens its richness and makes each slice a true delight.
Make Ahead Options
These Burnt Basque Cheesecakes are perfect for busy home cooks looking to save time without sacrificing flavor! You can prepare the cheesecake batter up to 24 hours in advance, allowing the flavors to develop beautifully. To do this, simply complete steps 1 through 4 and cover the batter tightly with plastic wrap before refrigerating. When you’re ready to enjoy, pour the batter into the prepared loaf pan and bake as directed. If you have leftovers, the cheesecake can be stored in an airtight container in the refrigerator for up to 5 days, ensuring it’s just as delicious when you’re ready to serve it again. This make-ahead strategy not only simplifies your baking process but also enhances the indulgent experience for everyone!
What to Serve with Irresistible Burnt Basque Cheesecake in a Loaf Pan
Imagine the warmth of your kitchen filled with sweet aromas while indulging in a slice of creamy cheesecake that invites you for more.
- Fresh Berries: Juicy berries like strawberries and blueberries offer a bright, zesty contrast, enhancing the cheesecake’s rich flavors with each bite.
- Whipped Cream: Light and airy, topped generously on each slice, whipped cream adds that luxurious touch that softens the cheesecake’s deep richness beautifully.
- Caramel Sauce: Drizzling homemade or store-bought caramel brings an extra layer of sweetness, creating a delightful flavor harmony that your taste buds will adore.
- Chocolate Shavings: For chocolate lovers, finely shaved dark chocolate elevates the presentation and adds a burst of decadent flavor to your cheesecake experience.
- Mint Leaves: A sprig of fresh mint adds a pop of color and an unexpected freshness, refreshing the palate after each lovely, rich bite.
- Coffee or Espresso: The deep, bitter notes of coffee act as a perfect balance to the cheesecake’s sweetness, making for a cozy, comforting dessert pairing.
- Vanilla Ice Cream: A scoop of vanilla ice cream creates an indulgent treat that melts blissfully alongside your cheesecake, enhancing both textures and flavors.
- Hazelnut Praline: The crunchiness from caramelized hazelnuts introduces a delightful contrast in texture, making each bite of cheesecake more exciting.
- Fruit Compote: A warm fruity compote bursts with flavor and pairs exquisitely, adding moisture and brightness that beautifully contrasts with the cheesecake’s custard-like richness.
- Sparkling Wine: A glass of chilled sparkling wine elevates the whole experience, celebrating the sweet richness of the cheesecake with its refreshing bubbles.
How to Store and Freeze Burnt Basque Cheesecake
Room Temperature: Store uneaten cheesecake at room temperature for up to 2 hours to maintain texture; don’t leave it out longer as it contains dairy.
Fridge: Place the cheesecake in an airtight container and refrigerate for up to 5 days. This helps preserve its creamy goodness while deepening flavors.
Freezer: For longer storage, freeze the cheesecake wrapped tightly in plastic wrap followed by aluminum foil for up to 2 months. Thaw in the fridge overnight before serving.
Reheating: For best texture, let the cheesecake come to room temperature before enjoying it; this will revive its creamy consistency and rich flavor after storage.
Burnt Basque Cheesecake Recipe FAQs
How do I select ripe ingredients for my Burnt Basque Cheesecake?
Absolutely! Use full-fat cream cheese that is smooth and spreadable without any lumps for the best texture. For the eggs, ensure they’re large and at room temperature to blend seamlessly into the batter. Fresh heavy cream should also have a rich aroma without any sourness, which will contribute to that creamy indulgence we love in a cheesecake.
What’s the best way to store Burnt Basque Cheesecake?
Very good question! Once baked, allow the cheesecake to cool completely and then place it in an airtight container. In the refrigerator, it can be stored for up to 5 days. If you want to make it ahead of time, it can be prepared and left in the fridge for up to 24 hours before baking as well, which actually helps deepen the flavors!
Can I freeze Burnt Basque Cheesecake?
Yes, you can! To freeze, wrap the cooled cheesecake tightly in plastic wrap and then in aluminum foil or place it in a freezer-safe container. It will maintain its quality for up to 2 months. When you’re ready to enjoy it, simply thaw in the refrigerator overnight for the best results and serve at room temperature to restore its creamy texture.
What if my Burnt Basque Cheesecake sinks after cooling?
If your cheesecake sinks slightly, don’t worry! That’s completely normal and part of its charm. It’s often due to rapid cooling or the incorporation of air while mixing. To help avoid this, ensure that the cheesecake is cooled gradually at room temperature before refrigerating it. Keeping an eye on the bake time can also contribute to a beautiful rise.
Are there any dietary considerations for this cheesecake?
Absolutely! If anyone has dietary restrictions, feel free to substitute all-purpose flour with a gluten-free alternative to make this cheesecake suitable for those who are gluten intolerant. Additionally, if you’re looking to make it lower in fat, you can replace heavy cream with a lighter version, but keep in mind this may alter the texture slightly.
What are some common toppings, and can they be customized?
Definitely! Toppings can elevate your cheesecake experience. You can add a dollop of whipped cream, scatter fresh berries for a burst of flavor, or drizzle caramel sauce for extra indulgence. The beauty of this Burnt Basque Cheesecake is its versatility; so mix and match your favorites for a personal touch—after all, the more the merrier!
Decadent Burnt Basque Cheesecake for Effortless Indulgence
Ingredients
Equipment
Method
- Preheat your oven to 400°F (200°C) and prepare your 9x5 loaf pan.
- Blend cream cheese and granulated sugar using an electric mixer until smooth and creamy.
- Add eggs one at a time, mixing thoroughly after each addition.
- Fold in heavy cream, flour, and salt until combined without lumps.
- Pour the batter into the prepared loaf pan and smooth the top.
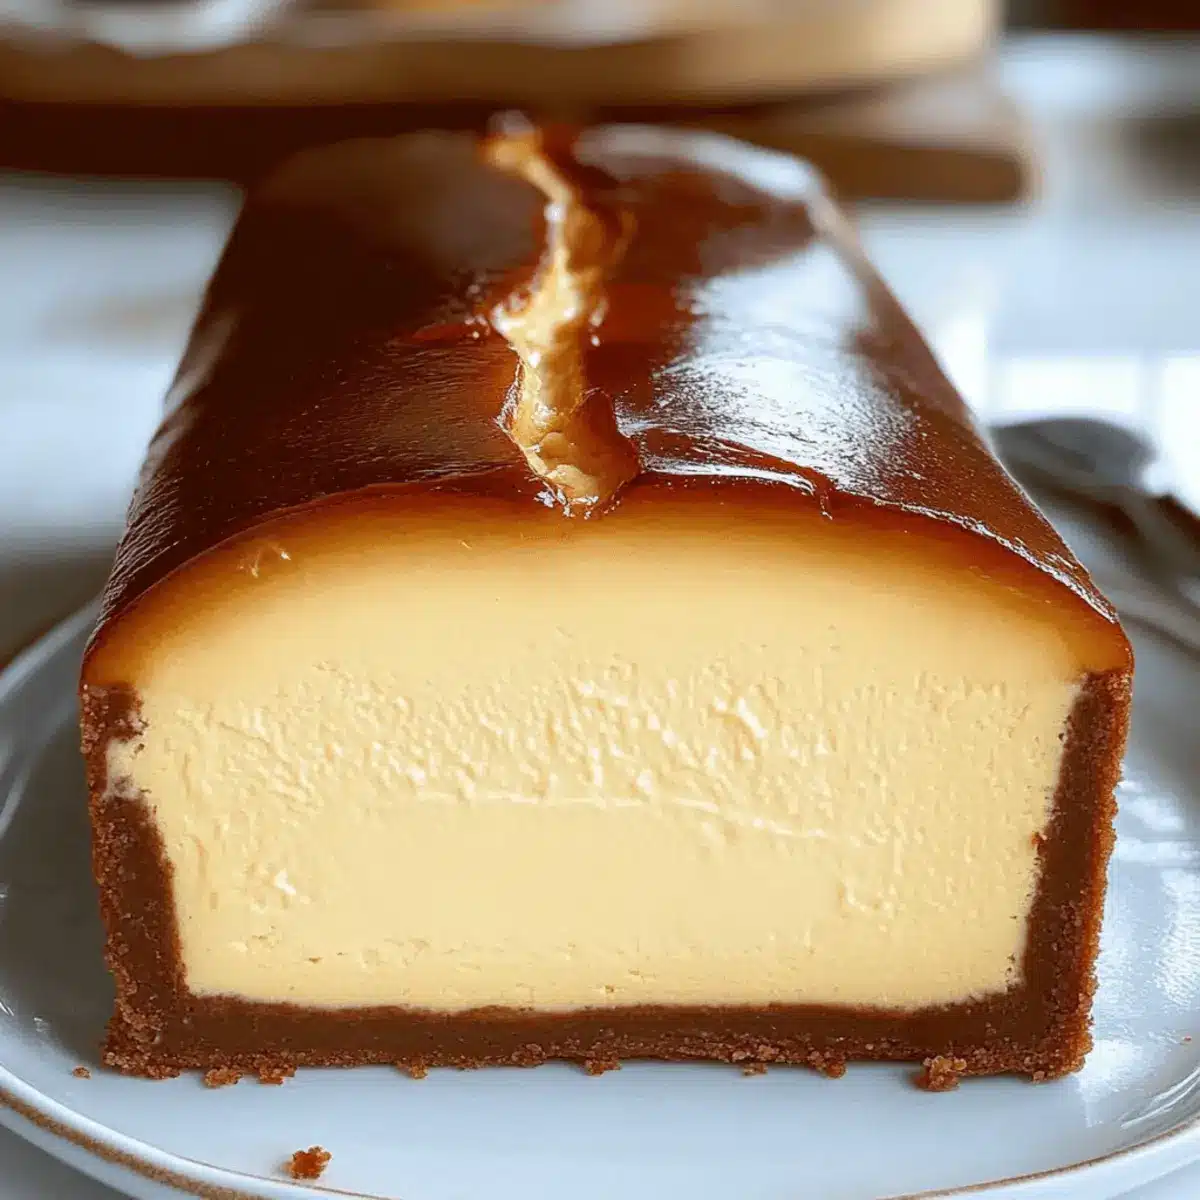
- Bake for approximately 45 minutes until the top is dark brown and the center is slightly jiggly.
- Allow to cool for an hour at room temperature, then refrigerate for at least 4 hours.
Leave a Reply