
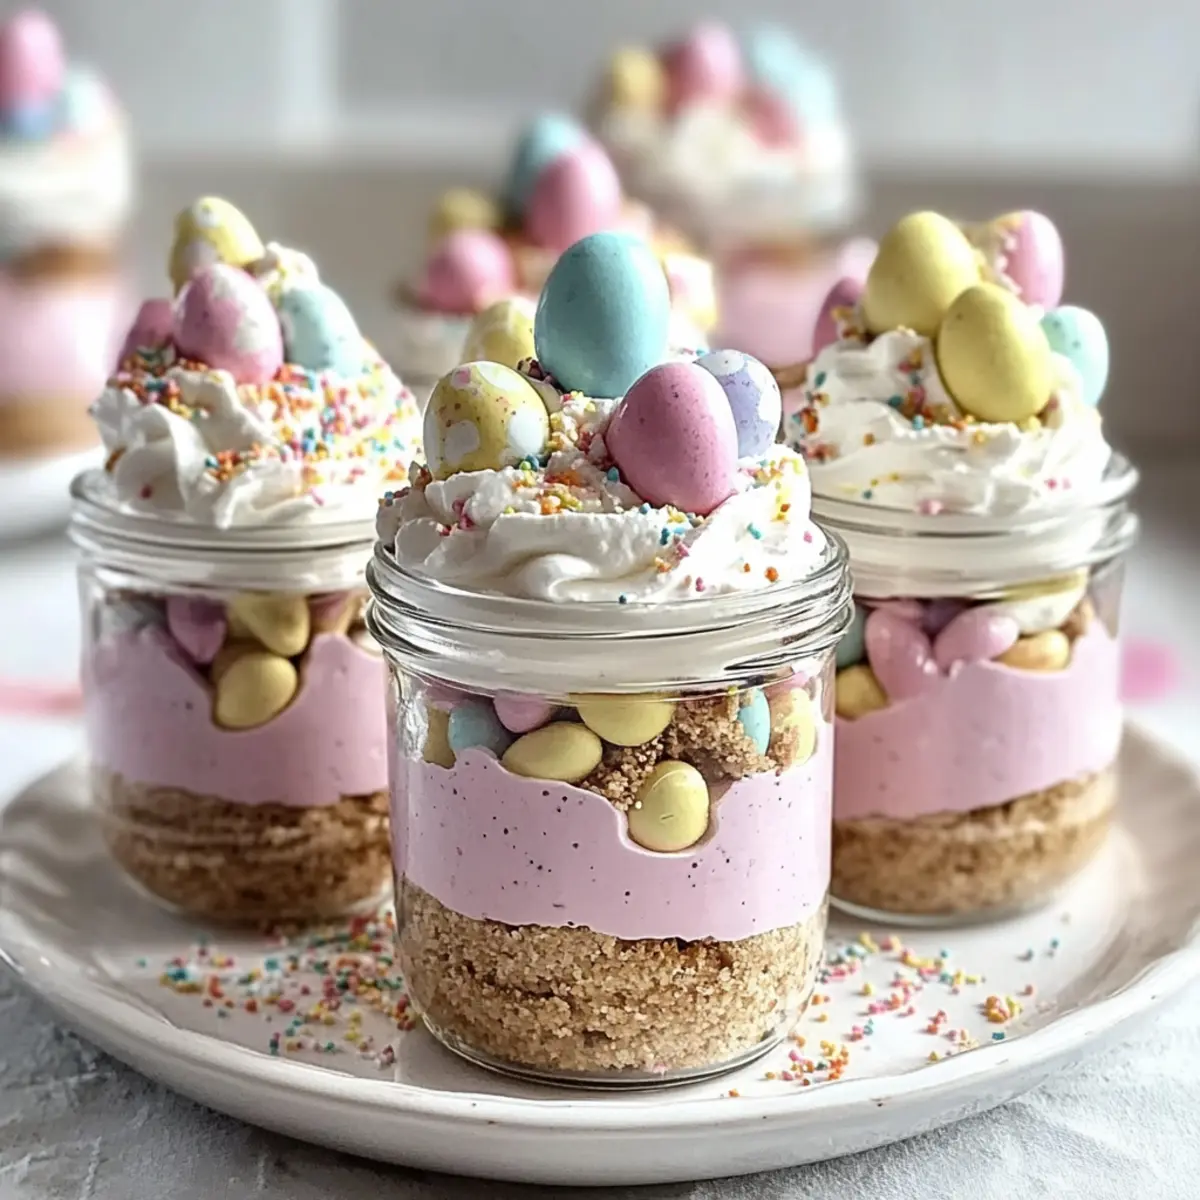
As I carefully unwrapped the pastel-colored candies, I couldn’t help but feel a surge of nostalgia for the joyous spring celebrations of my childhood. These No-Bake Easter Egg Cheesecake Jars capture that same sense of delight in every layer! With their creamy texture and buttery graham cracker crust, they’re not just an easy dessert option, but also an impressive centerpiece for your gatherings. These customizable jars are perfect for those seeking a quick treat that doesn’t skimp on flavor or presentation. Whether you’re a seasoned home chef or someone looking to escape the fast-food rut, this recipe combines simplicity with fun. Ready to dive into a blissful springtime creation? Let’s bring some seasonal cheer to your dessert table!
Why are Easter Egg Cheesecake Jars a must-try?
Irresistible Flavor: These No-Bake Easter Egg Cheesecake Jars are truly a taste sensation, combining creamy cheesecake with a buttery crust for a delightful bite.
Customizable Fun: With options to swap graham cracker crusts for Oreos or add fruit purees, creativity knows no bounds.
Time-Saving Treat: Ready in just minutes, they’ll revolutionize your dessert-making routine. Who has time for baking?
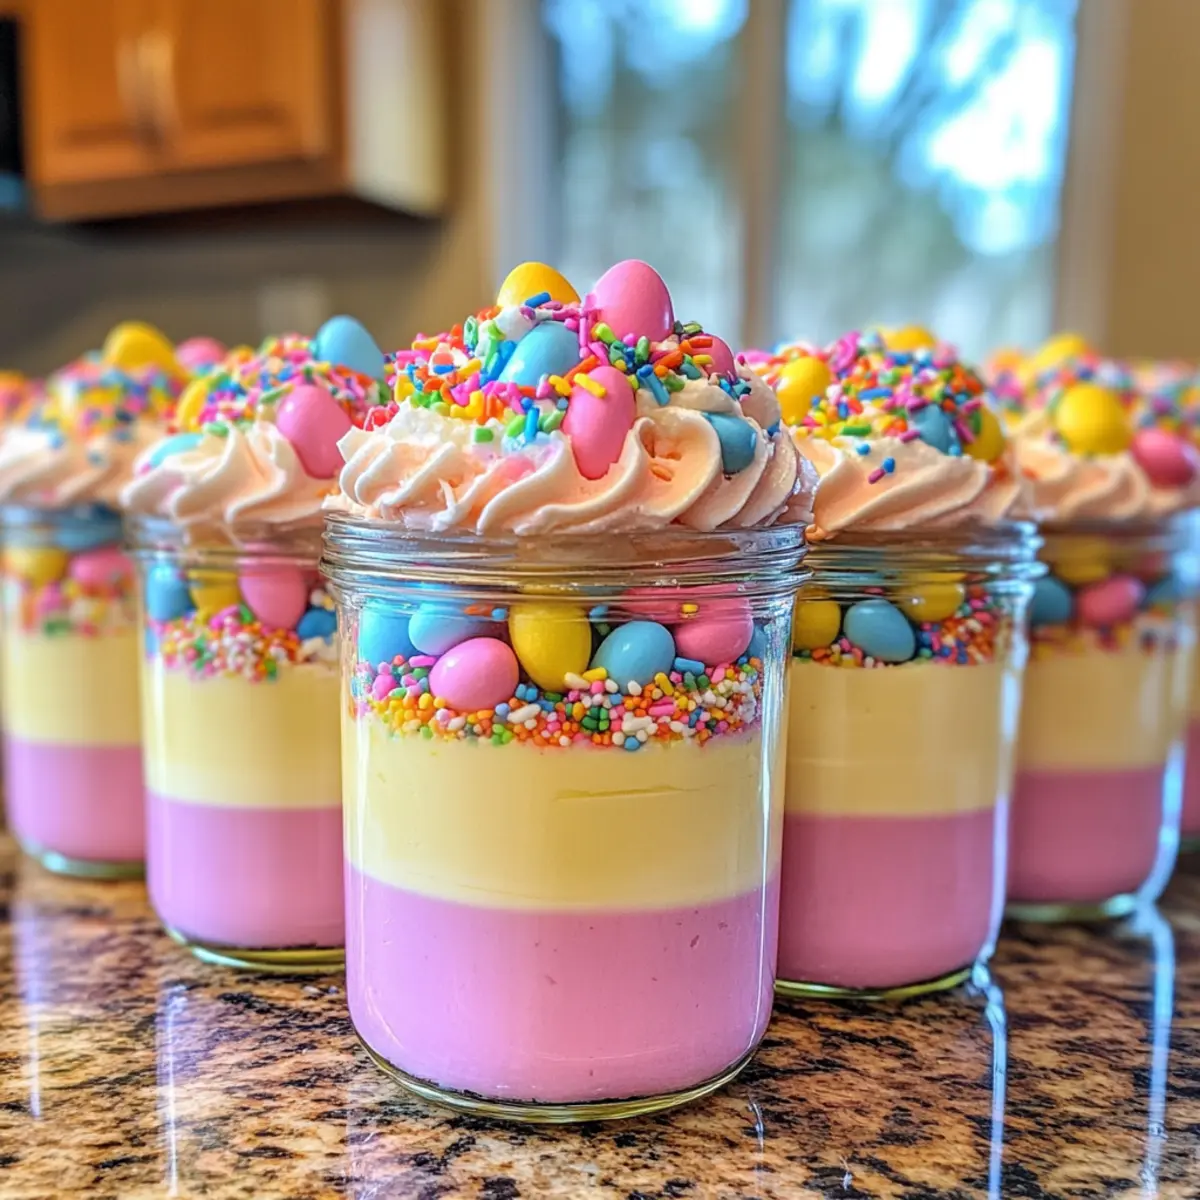
Festive Presentation: The vibrant colors and candy toppings make these jars perfect for spring celebrations. They’re bound to impress!
Nostalgic Touch: Reminiscent of childhood Easters, each jar is a joyful reminder of delightful memories. Serve them chilled to elevate your gatherings, and check out my Sugar Cookie Cheesecake for another easy treat!
Easter Egg Cheesecake Jars Ingredients
-
For the Crust
-
Graham Cracker Crumbs – Provides a crunchy base; swap for crushed Oreos for a fun twist.
-
Granulated Sugar – Adds sweetness to the crust; feel free to adjust based on your taste preferences.
-
Unsalted Butter – Binds the crust together; coconut oil is a great dairy-free substitute.
-
For the Cheesecake Filling
-
Cream Cheese – Creates a rich, creamy texture; ensure it’s softened to mix smoothly.
-
Powdered Sugar – Sweetens the filling; reducing it will give a less sugary cheesecake.
-
Vanilla Extract – Enhances flavor; try almond extract for a unique twist.
-
Heavy Cream – Whipped to fluffy perfection; a plant-based cream can work for dairy-free options.
-
For Color (Optional)
-
Pink Gel Food Coloring – Adds a lovely pastel hue; freeze-dried strawberry powder can be a natural alternative.
-
For Garnishing
-
Whipped Cream – Topping of choice; homemade is best, but store-bought works too.
-
Pastel Candy Eggs – Decorative and playful; chocolate eggs can be a great alternative.
-
Rainbow or Pastel Sprinkles – For that extra festive touch; consider using edible glitter instead.
Prepare these ingredients to dive into the delightful experience of creating your own Easter Egg Cheesecake Jars!
Step‑by‑Step Instructions for Easter Egg Cheesecake Jars
Step 1: Prepare the Crust
In a medium bowl, combine 1 and 1/2 cups of graham cracker crumbs, 1/4 cup of granulated sugar, and 1/2 cup of melted unsalted butter. Mix well until the mixture resembles damp sand that holds its shape when pressed. This will create a sturdy base for your Easter Egg Cheesecake Jars.
Step 2: Create the Base
Spoon the crust mixture evenly into the bottom of clear jars, pressing it down firmly with the back of a spoon or your fingers to form an even layer. Aim for about 1/4 inch thick. Once done, set the jars aside while you prepare the creamy cheesecake filling.
Step 3: Make the Cheesecake Filling
In a large mixing bowl, beat 16 ounces of softened cream cheese until it is smooth and fluffy—this takes about 2-3 minutes of mixing on medium speed. Scrape down the sides of the bowl as needed to ensure even blending. This creamy base will be the star of your Easter Egg Cheesecake Jars!
Step 4: Sweeten the Mixture
Add in 1/2 cup of powdered sugar and 1 teaspoon of vanilla extract to the whipped cream cheese. Continue to mix until the ingredients are combined and the filling becomes airy. Take a moment to enjoy the sweet aroma of the vanilla as it blends in, creating a delicious flavor profile.
Step 5: Whip the Cream
In a separate chilled bowl, whip 1 cup of heavy cream until stiff peaks form—this usually takes about 3-5 minutes at high speed. The whipped cream will add a delightful lightness to your filling, so be sure not to overwhip. Fold the whipped cream gently into the cheesecake mixture in two additions for a fluffy texture.
Step 6: Color the Filling
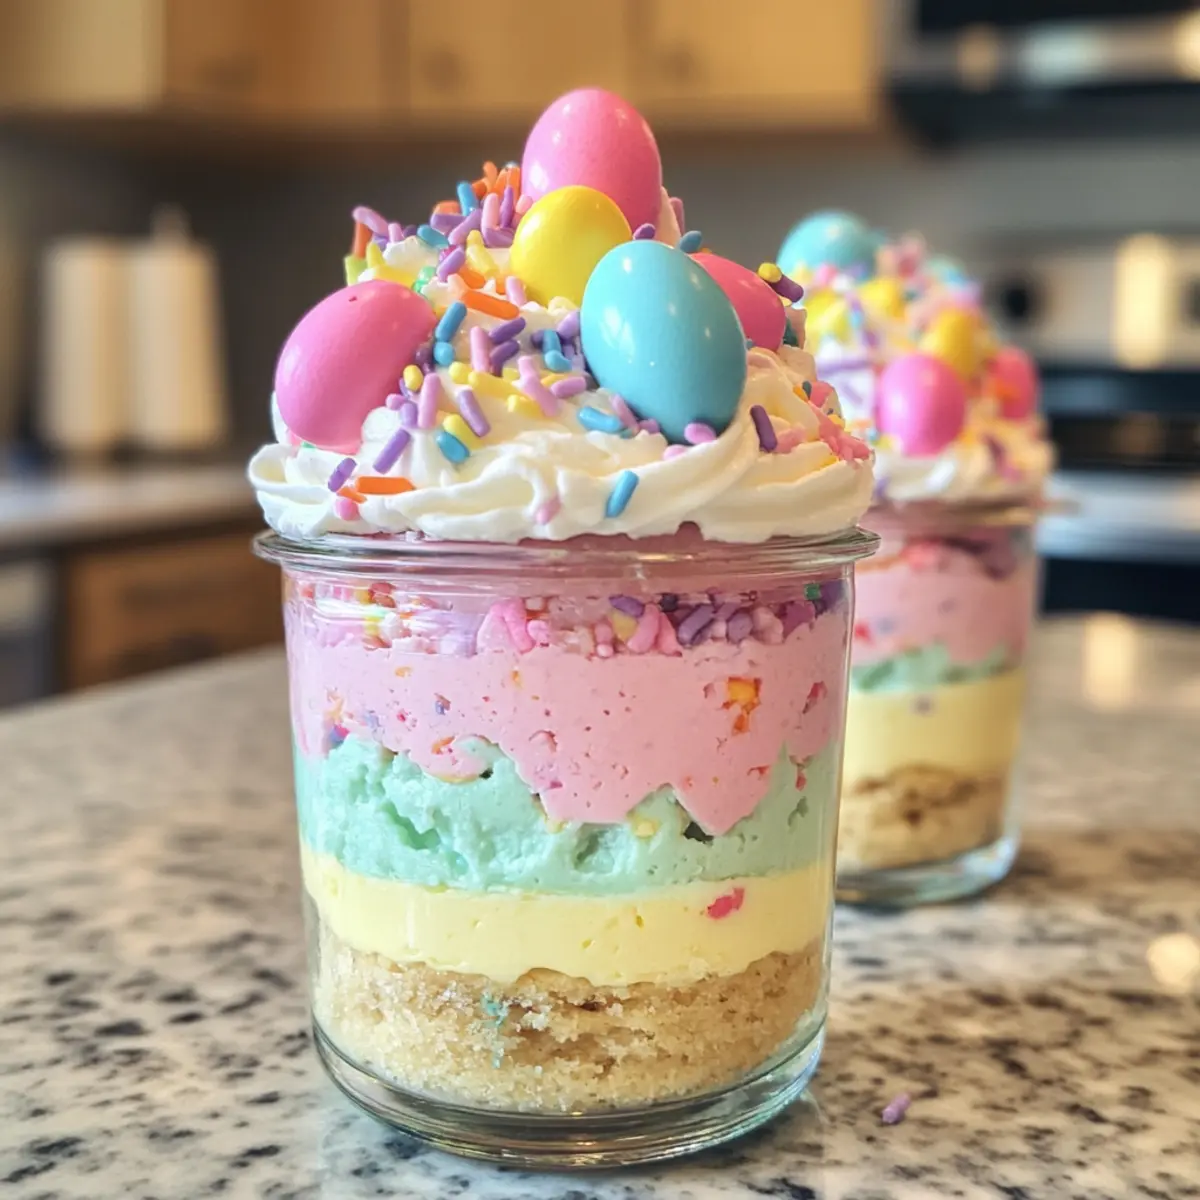
Divide the cheesecake filling into two bowls, keeping one bowl plain and adding a few drops of pink gel food coloring to the other. Mix gently until the color is evenly distributed. This will give you a stunning two-tone effect in your Easter Egg Cheesecake Jars—perfect for spring!
Step 7: Layer the Cheesecake
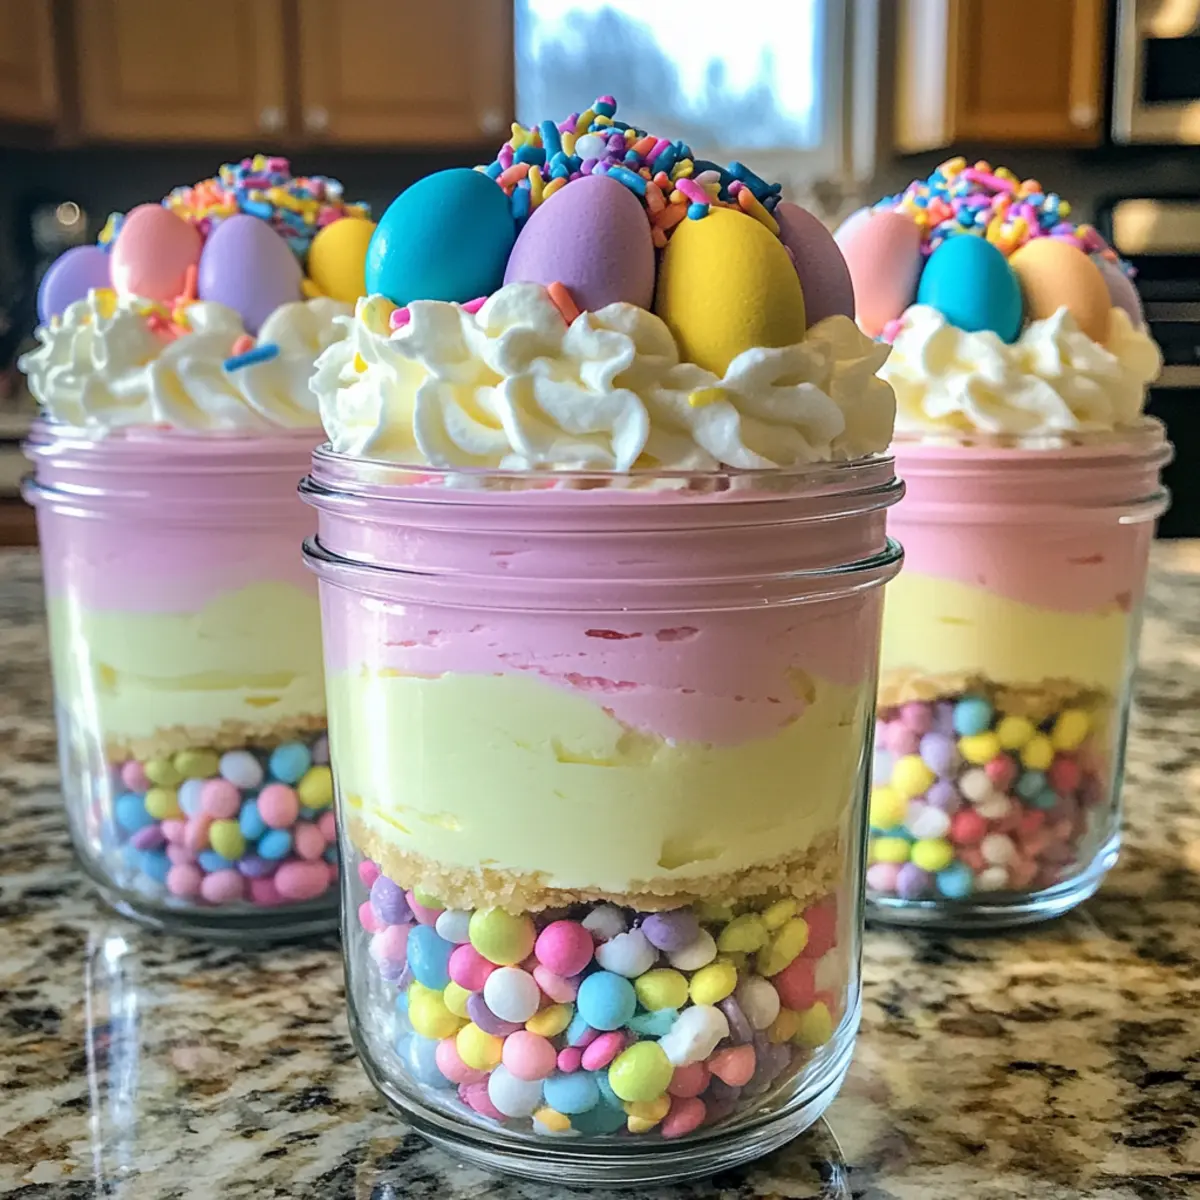
Using a piping bag or a spoon, carefully layer the pink cheesecake filling into the jars, starting with the edges for a beautiful presentation. Follow this with the plain cheesecake filling, alternating until the jars are filled to the top. Aim for a neat look while showcasing those lovely colors.
Step 8: Chill and Set
Cover the jars with plastic wrap and refrigerate for at least 2 hours or until the cheesecake layers are firm. Chilling is crucial for achieving the right texture, ensuring that your Easter Egg Cheesecake Jars maintain their shape and taste delightful when served.
Step 9: Add Toppings
Just before serving, top each jar with a generous dollop of whipped cream. Sprinkle pastel candy eggs and rainbow sprinkles over the whipped cream for a festive touch. This final step adds a pop of color and fun, making your desserts a delightful centerpiece for any spring celebration.
Expert Tips for Easter Egg Cheesecake Jars
-
Choose Quality Ingredients: Using high-quality cream cheese and fresh vanilla extract elevates the flavor of your Easter Egg Cheesecake Jars significantly, making them irresistible.
-
Room Temperature Cream Cheese: Ensure your cream cheese is at room temperature for smooth blending; cold cream cheese can lead to lumps in your filling.
-
Chill for Best Results: Don’t skip chilling! Letting the jars set in the refrigerator for at least 2 hours enhances texture and flavor, ensuring a perfect dessert presentation.
-
Creative Layering: For a more decorative finish, use a piping bag to layer your fillings. This technique creates a beautiful effect and adds to the visual appeal of your jars.
-
Garnish Wisely: Add your whipped cream and toppings just before serving to maintain their texture and freshness; this way, they stay fluffy and vibrant!
-
Experiment with Flavors: Feel free to customize your cheesecake by adding fruit purees or flavored extracts, ensuring your Easter Egg Cheesecake Jars are uniquely yours!
Easter Egg Cheesecake Jars Variations
Feel free to get creative with these Easter Egg Cheesecake Jars and personalize them to suit your taste buds!
-
Dairy-Free: Substitute cream cheese and heavy cream with cashew cream or silken tofu blended until smooth for a plant-based version. Your guests won’t even notice the difference!
-
Chocolate Lover’s Dream: Replace graham cracker crumbs with crushed Oreos for a chocolatey crust that adds depth to your dessert. Don’t forget to sprinkle some cocoa powder into the cheesecake mixture for an extra chocolate boost!
-
Fruit-Flavored: Incorporate fruit purees like strawberry or raspberry into the cheesecake filling for a refreshing burst of flavor. This twist adds both color and a tangy contrast to the creamy base.
-
Nutty Delight: Add chopped nuts like pistachios or almonds into the crust for an added crunch. It’ll bring an interesting texture to your jars, making each bite uniquely satisfying!
-
Spicy Kick: For those who crave spice, fold in a pinch of cinnamon or nutmeg into the cheesecake mixture. This warming spice adds a lovely depth and makes your jars feel cozy and inviting.
-
Sugar-Free: Use a sugar alternative like Stevia or erythritol instead of granulated sugar to make the dessert low-sugar or diabetic-friendly without sacrificing taste.
-
Natural Colors: Instead of food coloring, use natural options like beet juice for pink or spinach puree for green layers. This is a wholesome option that makes your jars vibrant in a nutritious way!
-
Seasonal Swaps: Try using pumpkin or apple pie filling in place of the regular cheesecake layer for a festive fall twist. You could also make a summer version with lemon or lime flavor for those warm months.
Feel free to explore these options! For more delightful variations, you might want to try my Chocolate Cheesecake Decadent or the seasonal Pumpkin Cheesecake Balls. Happy baking!
Make Ahead Options
These Easter Egg Cheesecake Jars are perfect for busy home cooks looking to save time without sacrificing flavor! You can prepare the jars up to 24 hours in advance by making the crust and cheesecake filling. Simply create the layers as directed, but refrigerate them covered until you’re ready to serve. To maintain quality, keep the jars tightly sealed in the refrigerator, avoiding exposure to air which can affect the texture. When you’re ready to impress your guests, just top with whipped cream and your choice of colorful toppings, making them just as delightful as if they were freshly made! Enjoy the convenience and the compliments!
What to Serve with Easter Egg Cheesecake Jars
Indulge in a playful array of side dishes and drinks that perfectly complement these delightful no-bake treats, elevating your celebration even further.
-
Fresh Fruit Salad: A vibrant mix of seasonal fruits adds a refreshing contrast to the rich cheesecake. Juicy flavors enhance your dessert experience beautifully.
-
Crispy Vanilla Cookies: These delicate, crispy cookies offer a delightful crunch that pairs well with the creamy cheesecake jars. A perfect contrast in textures!
-
Mini Chocolate Bunnies: Chocolate treats provide a sweet, nostalgic nod to Easter festivities. Their mix of rich taste and whimsical shape delights all ages.
-
Lemonade Spritzer: A bubbly, zesty drink breaks through the richness of the cheesecake. It refreshes and adds a touch of sparkle to your gathering.
-
Carrot Cake Bites: These moist, spiced bites bring the flavors of Easter into the mix, complementing the cheesecake’s sweetness while providing gratifying richness.
-
Coconut Macaroons: Chewy and lightly sweet, these delightful treats enhance the tropical notes in your cheesecake. Their texture creates a harmonious dessert experience.
How to Store and Freeze Easter Egg Cheesecake Jars
-
Fridge: Store the jars in the refrigerator for up to 3 days. Ensure they are covered tightly with plastic wrap or a lid to maintain freshness and prevent them from absorbing odors.
-
Freezer: You can freeze the cheesecake jars before adding toppings for up to 2 months. Wrap them well in plastic wrap and then foil to protect against freezer burn. Thaw in the fridge overnight before serving.
-
Reheating: Although these jars are best enjoyed chilled, if you prefer, allow them to sit at room temperature for about 15 minutes before serving for a softer, creamier texture.
-
Whipped Cream Storage: If you have any leftover whipped cream, store it separately in an airtight container in the fridge for up to 2 days. Add it fresh to the tops of your Easter Egg Cheesecake Jars just before serving for the best results!
Easter Egg Cheesecake Jars Recipe FAQs
How do I choose ripe ingredients for my cheesecake jars?
Absolutely! For the best flavor and texture, ensure your cream cheese is at room temperature and soft. Fresh heavy cream should be properly chilled and not nearing its expiration date. If using fruit purees, opt for ripe fruits as they bring natural sweetness—think bananas with spots, strawberries that are bright red, and peaches that yield slightly to pressure.
How should I store my Easter Egg Cheesecake Jars?
Very! Store your cheesecak jars in the refrigerator, tightly covered with plastic wrap or a lid, for up to 3 days. It’s essential to keep them stored well to maintain their delightful creaminess and to prevent any strange odors from affecting the dessert.
Can I freeze my Easter Egg Cheesecake Jars?
Of course! You can freeze the cheesecake jars before adding the whipped cream and toppings for up to 2 months. First, wrap each jar tightly in plastic wrap, followed by aluminum foil to prevent freezer burn. When you’re ready to enjoy them, simply thaw the jars in the refrigerator overnight, then add your toppings fresh just before serving!
What if my cheesecake filling is too thick or lumpy?
No worries! If your cheesecake filling turns out too thick, you can add a little more heavy cream while mixing until it reaches your desired smoothness. For lumpy filling, ensure that your cream cheese is at room temperature to avoid lumps. Mixing for an extra minute or two should also help achieve that dreamily smooth texture!
Are there any dietary considerations for this recipe?
Yes! While this recipe is rich and creamy, it’s versatile for dietary needs. You can make it dairy-free by swapping cream cheese for a plant-based alternative (like cashew cream or a non-dairy cream cheese) and using coconut cream to whip up your heavy cream. Always check for allergens, especially with toppings like sprinkles, which can contain gluten or dairy!
How long can I keep toppings for my jars?
Great question! If you have leftover whipped cream, store it separately in an airtight container in the refrigerator for up to 2 days. It’s best to add toppings like whipped cream and candies just before serving to ensure they remain light and fresh, keeping your Easter Egg Cheesecake Jars at their best!
Delightful Easter Egg Cheesecake Jars for Spring Celebrations
Ingredients
Equipment
Method
- In a medium bowl, combine graham cracker crumbs, granulated sugar, and melted butter. Mix until resembling damp sand.
- Spoon the crust mixture into jars, pressing down to form an even layer.
- Beat softened cream cheese until smooth and fluffy. Scrape down the bowl as needed.
- Add powdered sugar and vanilla extract, then mix until airy.
- In a separate bowl, whip heavy cream until stiff peaks form. Fold into cheesecake mixture.
- Divide filling into two bowls; color one with pink gel food coloring.
- Layer pink and plain cheesecake filling into the jars, starting at the edges.
- Cover jars and refrigerate for at least 2 hours to set.
- Top with whipped cream, pastel candy eggs, and sprinkles before serving.
Leave a Reply