
As I stepped into my kitchen one hectic morning, I realized I needed a breakfast solution that could keep pace with my busy schedule. Enter the microwave poached egg, a game changer that brings both speed and elegance to your table. With just a quick burst of heat, you can achieve the perfect poached egg—no swirling water or messy pans required. This delightful method not only makes for a quick breakfast but is also protein-rich, giving you a nourishing start to your day. Imagine topping your beloved avocado toast or a hearty grain bowl with a beautifully runny yolk, all in about two minutes. Curious about how easy it can be? Let’s jump into the steps to master this simple yet impressive breakfast staple!
Why are Microwave Poached Eggs a Game Changer?
Speedy Cooking: In just two minutes, you can serve perfectly poached eggs, making it a fantastic option for busy mornings.
No Fuss Required: Say goodbye to the mess of traditional poaching; this method is all about simplicity.
Protein-Packed: Each egg offers a wholesome source of protein, making it a deliciously nutritious breakfast choice.
Versatile Topping: From avocado toast to ramen, these eggs elevate any meal, adding elegance and flavor.
Gourmet Feel: Impress yourself and others with restaurant-quality poached eggs from your own microwave!
With these delightful features, you’ll find yourself turning to microwave poached eggs time and again—perfectly soft, satisfying, and oh-so-easy to make!
Microwave Poached Egg Ingredients
-
For the Egg
-
1 large egg – The star of the dish offering rich flavor and protein; fresh eggs yield the best results.
-
For Cooking
-
Cold water – Creates the ideal cooking environment, ensuring the egg is fully submerged for even cooking.
-
Kosher salt – Enhances flavor; this is optional and can be left out for a low-salt diet.
With these simple ingredients, you’re just moments away from enjoying a perfectly poached egg using the microwave method. Get ready to savor that delightful runny yolk!
Step‑by‑Step Instructions for Microwave Poached Eggs
Step 1: Prepare the Egg
Start by cracking a large egg into a microwave-safe bowl. Make sure the bowl has enough height and width to allow the egg to float away from the edges. Next, fill the bowl with cold water, ensuring the water level is at least twice the height of the egg. This will create the cooking medium necessary for your microwave poached egg.
Step 2: Cover and Microwave
Place the bowl in the microwave and cover it with a microwave-safe plate or a loose lid to prevent splatters while allowing steam to escape. Microwave on high for approximately 60 seconds. Keep an eye on the egg; you should see the whites starting to firm up while the yolk remains runny, indicating a perfectly poached egg.
Step 3: Check for Doneness
After 60 seconds, carefully remove the bowl from the microwave (it will be hot!). Check the doneness of your egg; the whites should be fully set but not rubbery, and the yolk should still jiggle slightly. If the egg isn’t quite done, return the bowl to the microwave and heat in 10-15 second intervals until cooked to your desired doneness.
Step 4: Remove the Egg
Using a slotted spoon, gently lift the poached egg from the water. This will help drain excess water, keeping your breakfast dish tidy. If you wish, place the egg on paper towels briefly to absorb any remaining moisture, ensuring your microwave poached egg maintains its elegant presentation when served.
Step 5: Serve and Enjoy
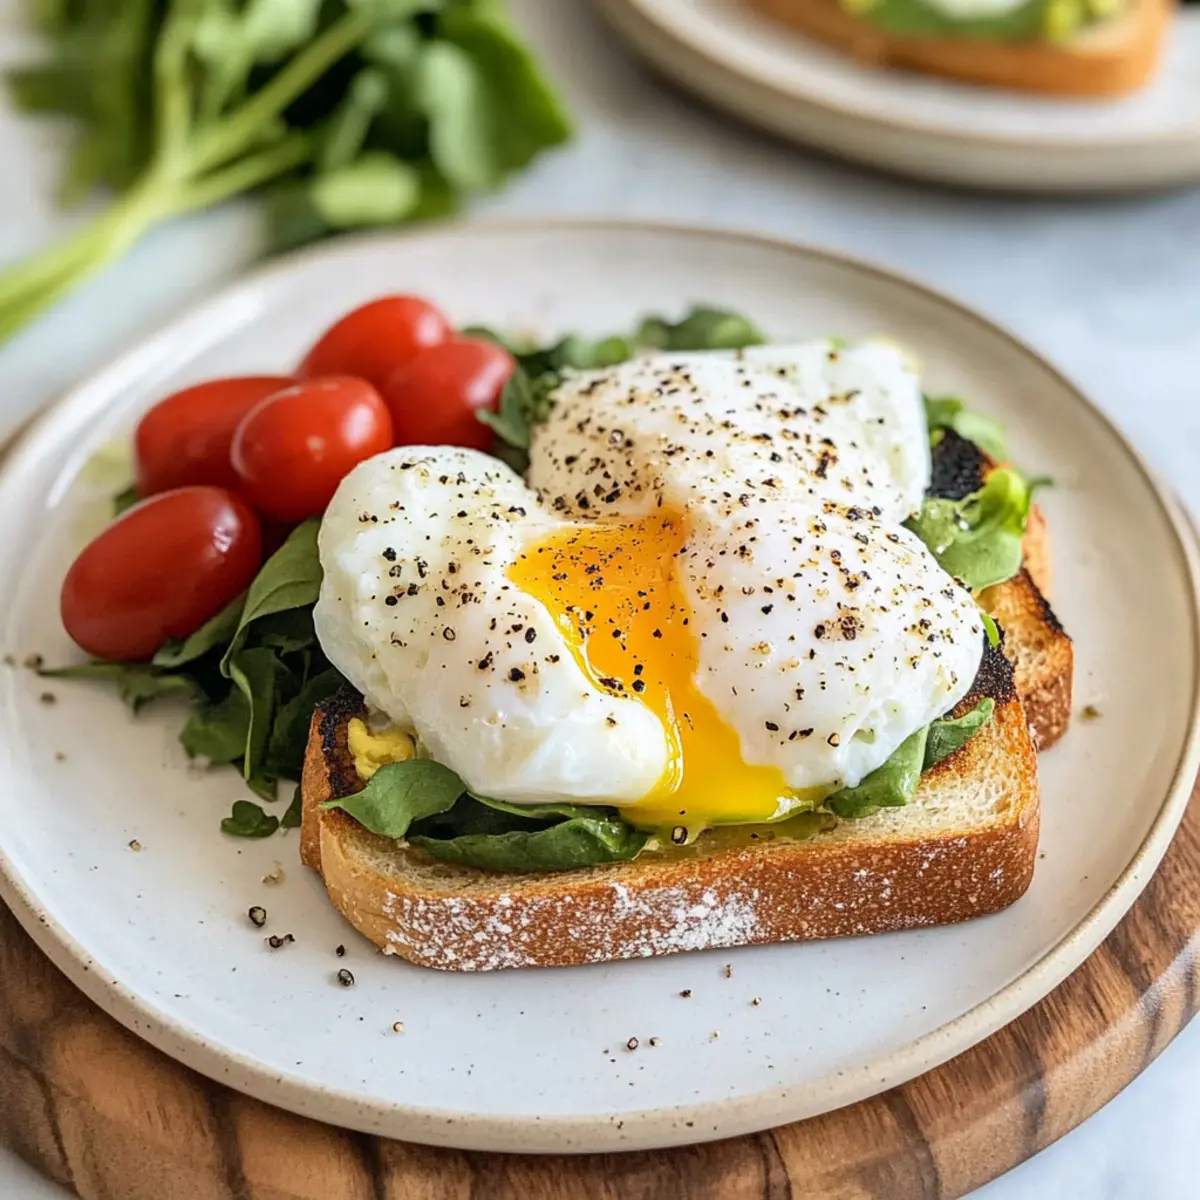
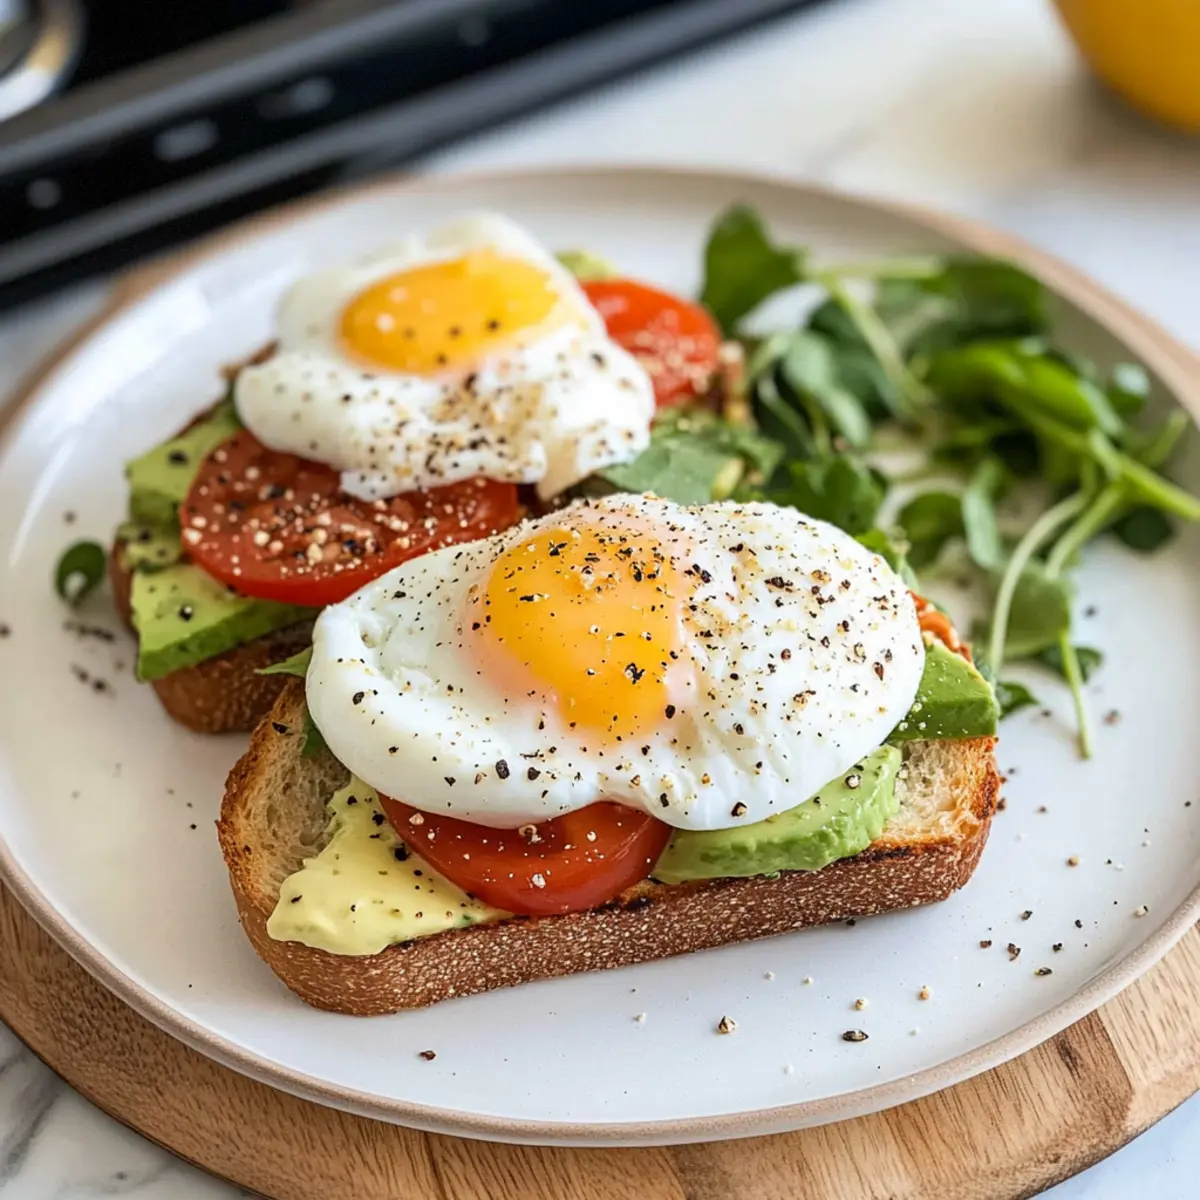
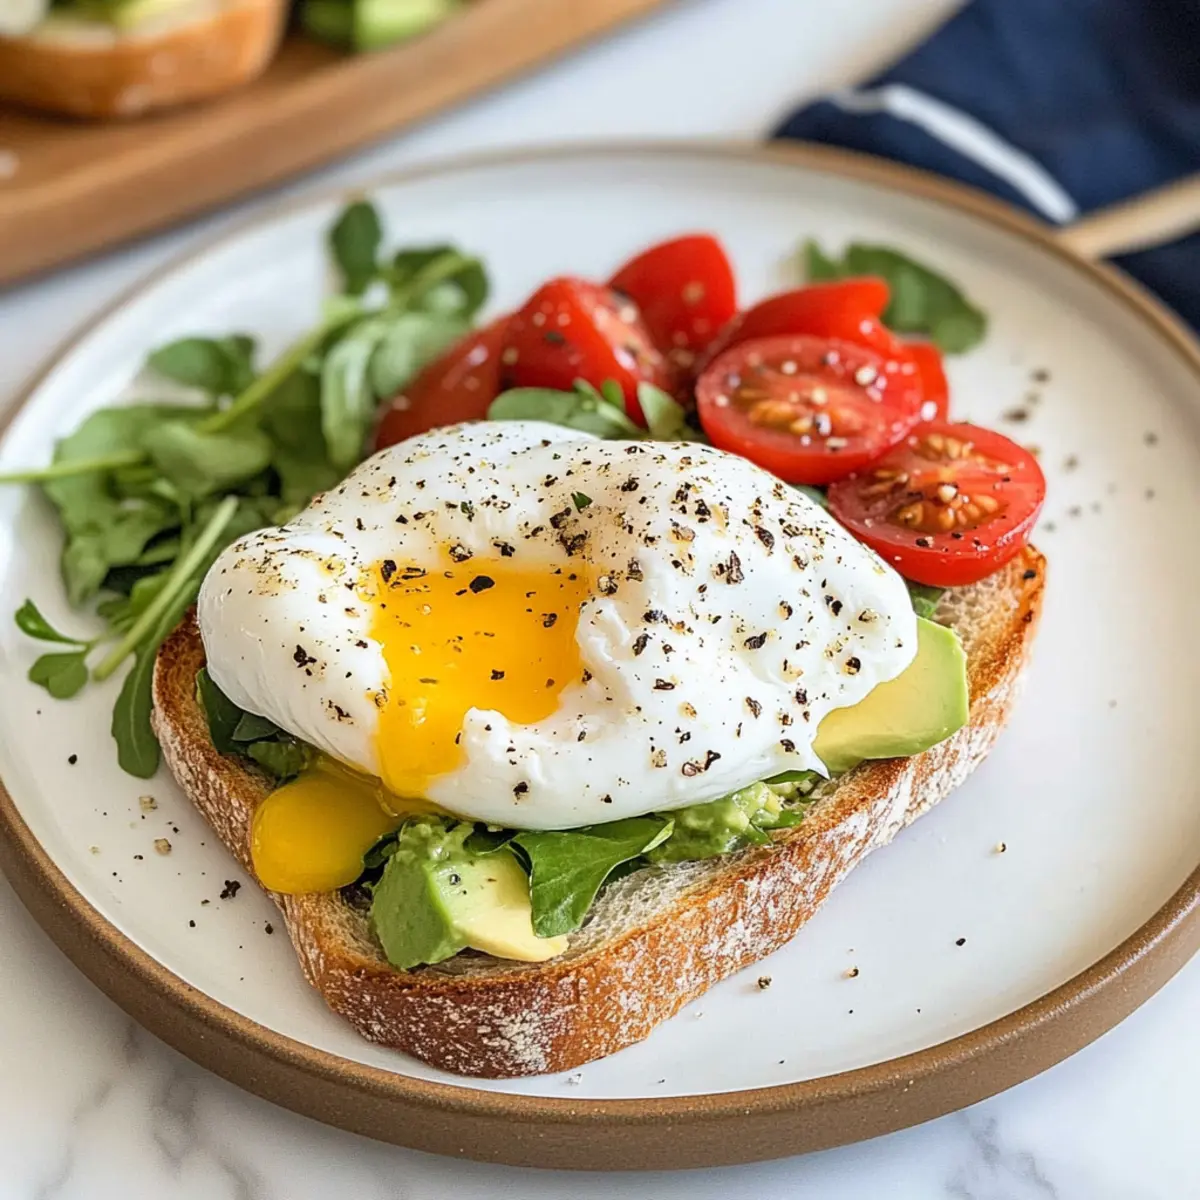
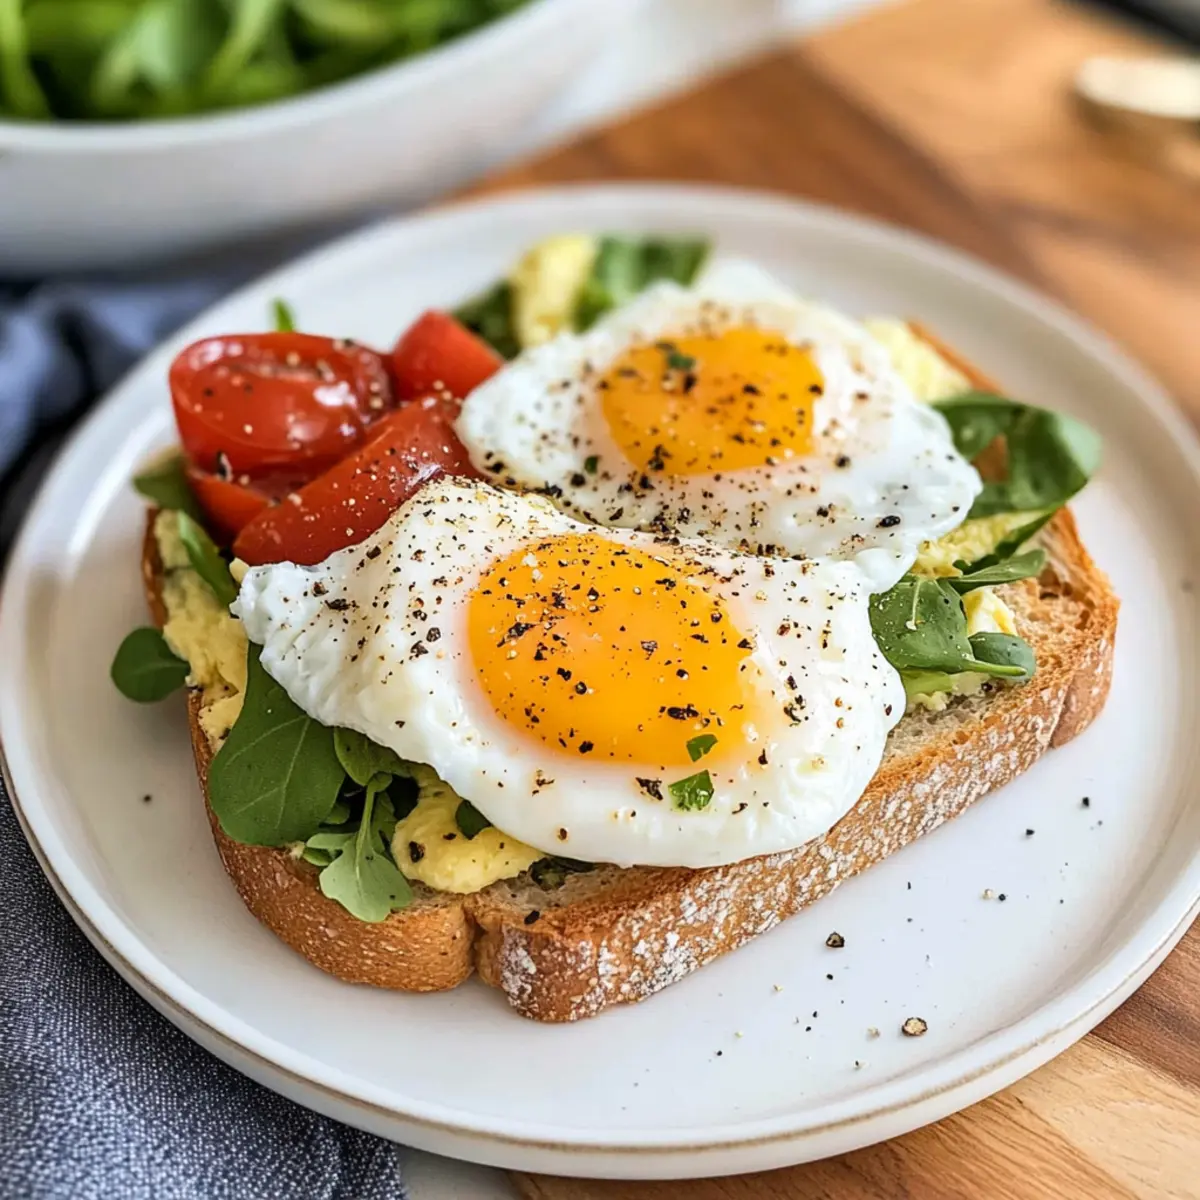
Your microwave poached egg is now ready to elevate your meal! Serve it atop toasted bread, like avocado toast, or incorporate it into a grain bowl. Feel free to sprinkle a pinch of kosher salt for extra flavor, enhancing the creamy richness of your perfectly poached egg. Enjoy this quick, delicious, and protein-packed breakfast!
Microwave Poached Egg Variations & Substitutions
Feel free to get creative with your microwave poached egg—there are endless ways to customize this dish and make it uniquely yours!
-
Dairy-Free: Swap out traditional toppings with avocado or a sprinkle of nutritional yeast for creamy richness without dairy.
-
Herbed Delight: Add fresh herbs like dill or chives to your poached egg water for an aromatic twist that elevates flavor seamlessly.
-
Spice It Up: For an exciting kick, drizzle your egg with sriracha or sprinkle with red pepper flakes before serving. It transforms the ordinary into the extraordinary!
-
Mediterranean Flair: Top with feta cheese, olives, and cherry tomatoes to give your poached egg a refreshing Mediterranean character—perfect on a bed of greens or in a grain bowl.
-
Boozy Boost: Create a brunch-worthy moment by adding a splash of champagne vinegar to the water for slight tanginess; it’s a classy twist that brightens the dish!
-
Savory Sesame: Incorporate toasted sesame oil into your cooking water for an umami flavor that pairs beautifully with Asian-inspired meals like miso soup or ramen.
-
Chef’s Touch: Use a mixture of soy sauce and mirin as a drizzling sauce after cooking; together they create a savory and slightly sweet finish that brings the dish to life.
-
Nutritious Boost: Add spinach or kale to the bowl before microwaving for an extra nutritional punch—just give those greens a quick wilt before serving!
Unlock the full potential of your microwave poached egg by experimenting with these delightful variations. And if you’re feeling adventurous, check out how to incorporate your poached egg into a delicious avocado toast or discover creative ways to include it in your favorite ramen. The options are limitless, and the flavors are sure to shine!
Make Ahead Options
These Microwave Poached Eggs are perfect for meal prep enthusiasts looking to simplify busy mornings! You can crack the eggs into microwave-safe bowls and cover them with cold water, then refrigerate them for up to 24 hours. When you’re ready to enjoy your breakfast, just pop the bowl in the microwave for about 60 seconds, adjusting if necessary based on your microwave’s wattage. To maintain the quality of your eggs, keep the water at twice the height of the eggs and avoid tightly covering the bowls; this helps prevent steam build-up. With this make-ahead approach, you’ll have delicious, perfectly poached eggs ready at a moment’s notice!
Storage Tips for Microwave Poached Eggs
-
Fridge: Store any leftover microwave poached eggs in an airtight container for up to 3-5 days. This keeps them fresh and ready for a quick meal later.
-
Reheating: To reheat, gently place the egg in hot water for 20-30 seconds or microwave on low power in short bursts. This preserves the delicate texture without overcooking.
-
Avoid Freezing: It’s not recommended to freeze poached eggs, as the texture may change upon thawing. Enjoy them fresh for the best experience!
-
Presentation Tips: If reheating, consider draining excess water before serving to maintain the elegant appearance of your perfectly poached egg.
Expert Tips for Microwave Poached Eggs
-
Egg Freshness Matters: Always use fresh eggs for the best texture and flavor; less fresh eggs may result in runny whites.
-
Microwave Timing: Adjust cooking time based on your microwave wattage—start with 60 seconds and add in small increments for perfect doneness.
-
Prevent Splatter: Cover the bowl loosely—tight covers can trap steam and cause the egg to explode.
-
Slotted Spoon Advantage: Use a slotted spoon to lift your egg from the water, minimizing excess moisture and ensuring a clean presentation.
-
Experiment with Toppings: Get creative with your microwave poached egg—try adding herbs, cheese, or avocado for an extra flavor boost!
With these tips, you’ll be able to create microwave poached eggs that are consistently perfect every time!
What to Serve with Microwave Poached Eggs
Elevate your breakfast experience with delightful pairings that complement the velvety texture of poached eggs.
-
Avocado Toast: The creaminess of avocado beautifully complements the runny yolk, making each bite a creamy delight.
-
Sautéed Spinach: Fresh and slightly wilted greens add a nutritious crunch; their earthy flavor heightens the meal’s complexity.
-
Toasted English Muffins: A warm, crispy base for your egg; perfect for soaking up that delicious yolk, creating a brunch favorite.
-
Smoked Salmon: Rich and luxurious, the smokiness contrasts with the egg’s softness, making it a sophisticated choice for breakfast.
-
Roasted Sweet Potatoes: Sweet and slightly caramelized, they provide a sweet counterpoint to the savory egg, along with a satisfying texture.
-
Fresh Fruit Salad: A refreshing side featuring seasonal fruits; the natural sweetness balances the richness of the poached egg perfectly.
-
Herbed Quinoa Bowl: Nutritious and filling, quinoa provides a nutty texture and flavor that pairs wonderfully with poached eggs for a balanced meal.
-
Black Coffee or Green Tea: These two drinks offer a complimentary bitter contrast, heightening your breakfast experience while keeping it light and energizing.
Microwave Poached Eggs Recipe FAQs
How do I select the best eggs for poaching?
Absolutely! For the best results, always choose fresh eggs; fresh eggs have firmer whites that hold together better when cooked. You can check the freshness by placing the egg in a bowl of water; if it sinks, it’s fresh. If it stands upright or floats, it’s best to avoid using that egg.
How should I store leftovers of microwave poached eggs?
You can keep leftover microwave poached eggs in an airtight container in the refrigerator for up to 3-5 days. Make sure the container is sealed properly to maintain freshness. When you’re ready to enjoy your eggs again, gently reheat them either in hot water for 20-30 seconds or in the microwave on low power to avoid overcooking.
Can I freeze poached eggs?
I recommend against freezing poached eggs. While it’s technically possible, the texture may change and become rubbery once thawed. For the best flavor and quality, enjoying them fresh is ideal! If you want to make-ahead meals, poach the eggs and store them in the fridge instead.
What should I do if my poached egg isn’t cooked properly?
If your poached egg isn’t cooked to your liking, simply return it to the microwave. Heat it in 10-15 second increments until the whites are fully set but still tender. Keeping an eye on it is key—cooking times may vary based on your microwave wattage, so adjust accordingly!
Are microwave poached eggs safe for pets or specific dietary considerations?
Yes, plain poached eggs are safe for dogs and cats in moderation, providing a great protein boost. However, always consult your vet about introducing new foods to your pet’s diet. For those with dietary restrictions, note that eggs are an allergen for some, so always ensure they are safe for your meal plan.
How can I make my poached egg more flavorful?
Getting creative with your toppings is a fantastic way to add flavor! Sprinkle herbs such as chives or dill, or add a pinch of kosher salt after cooking. You could also serve your poached egg with a drizzle of olive oil or a dash of hot sauce for an extra kick. The more the merrier when it comes to enhancing that delicious runny yolk!
Microwave Poached Egg: Perfectly Soft in Just 2 Minutes
Ingredients
Equipment
Method
- Start by cracking a large egg into a microwave-safe bowl. Make sure the bowl has enough height and width to allow the egg to float away from the edges. Next, fill the bowl with cold water, ensuring the water level is at least twice the height of the egg.
- Place the bowl in the microwave and cover it with a microwave-safe plate or a loose lid to prevent splatters while allowing steam to escape. Microwave on high for approximately 60 seconds.
- After 60 seconds, carefully remove the bowl from the microwave. Check the doneness of your egg; the whites should be fully set but not rubbery, and the yolk should still jiggle slightly. If needed, return the bowl to the microwave and heat in 10-15 second intervals until cooked to your desired doneness.
- Using a slotted spoon, gently lift the poached egg from the water to drain excess water. If you wish, place the egg on paper towels to absorb any remaining moisture.
- Your microwave poached egg is now ready to serve! Top it on toasted bread or incorporate it into a grain bowl, and enjoy!
Leave a Reply