
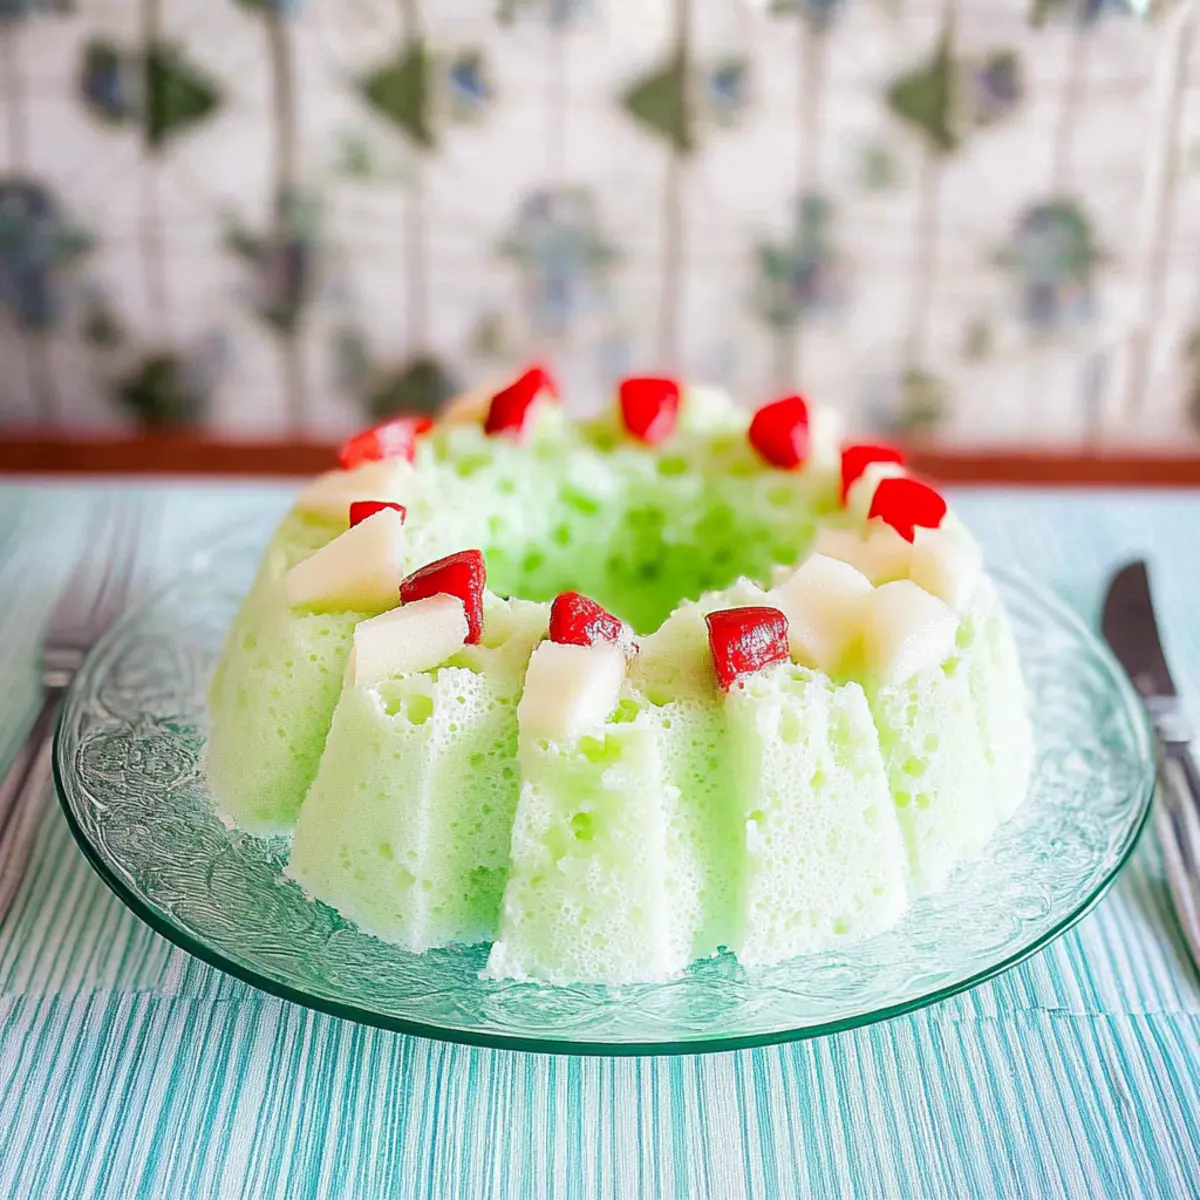
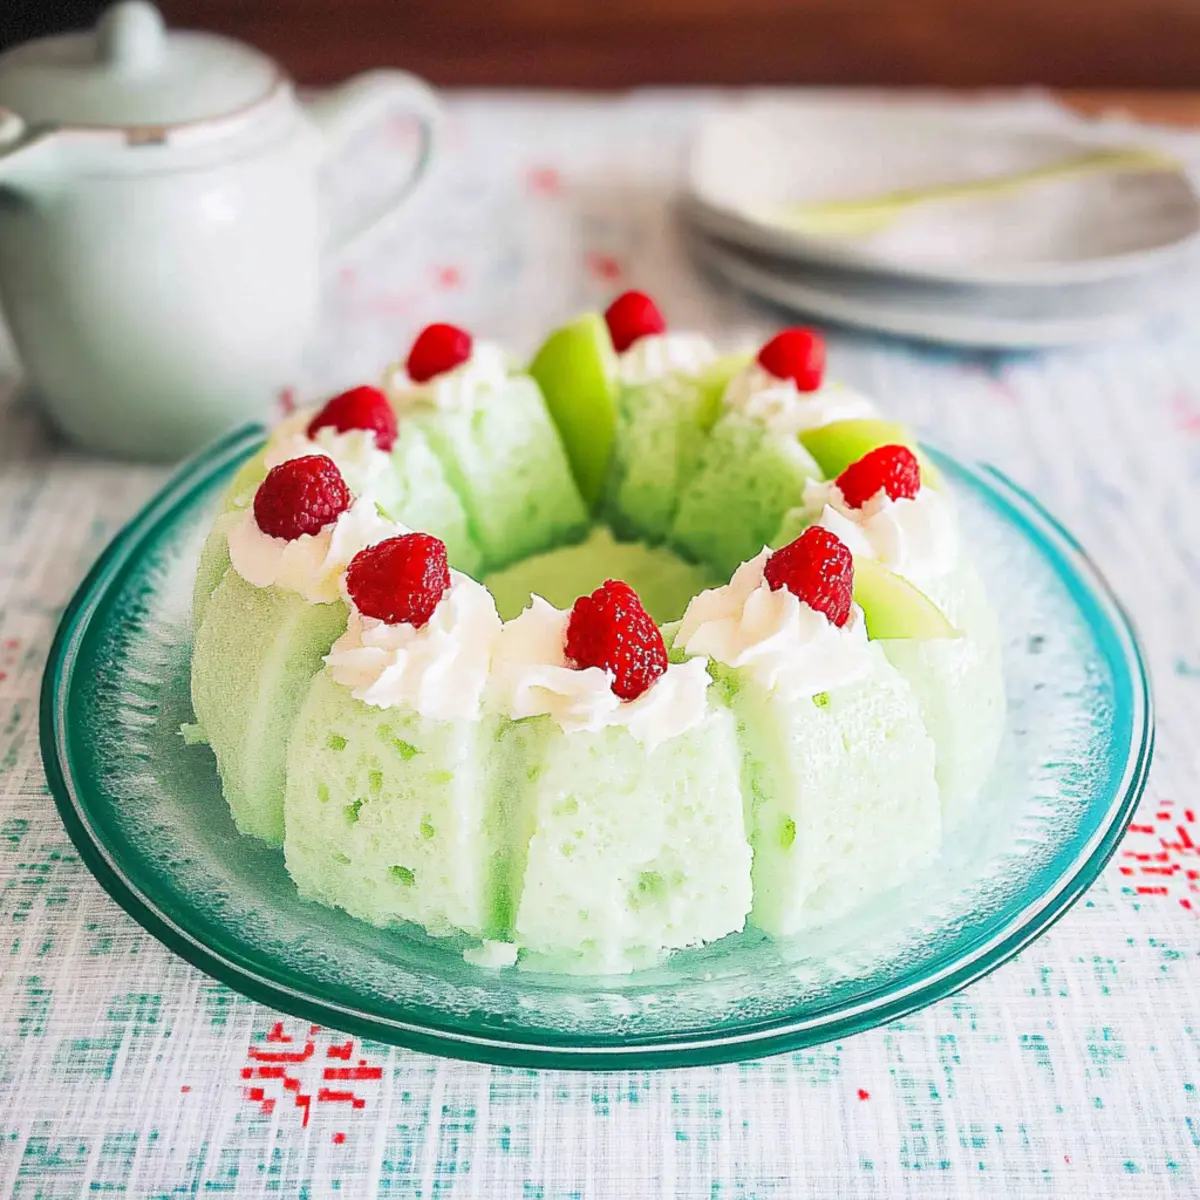
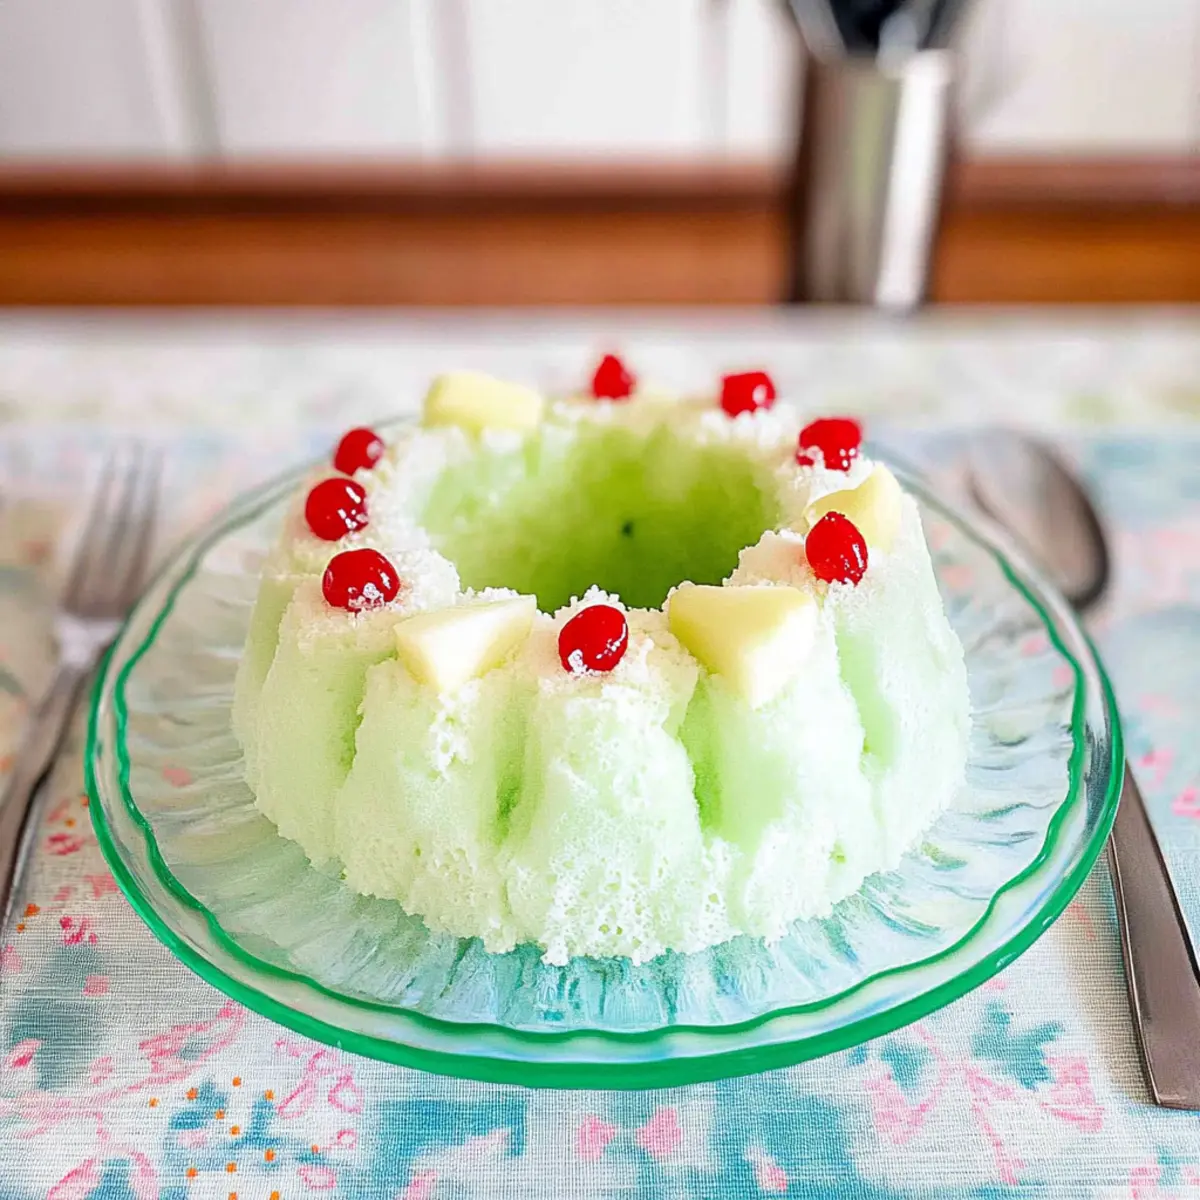
There’s something truly magical about flipping through an old family recipe book, isn’t there? Nestled among the classic dishes lies a gem that takes me back to nostalgic gatherings: the Retro Sea Foam Salad with Lime and Pear. This beloved dessert salad combines zesty lime with a creamy texture and sweet morsels of canned pears, creating a delightful treat that’s easy to whip up and perfect for any occasion. It’s not just a feast for the taste buds—it’s also a quick win for busy home chefs who want to impress without the fuss. Whether it graces your holiday table or adds a light touch to a summer meal, this refreshing dessert is sure to spark joy and fond memories. Are you ready to enchant your loved ones with this vintage delight?
Why is Retro Seafoam Salad so special?
Nostalgic Charm: This Retro Sea Foam Salad is a trip down memory lane, reminding us of warm family gatherings and childhood celebrations.
Quick to Prepare: With minimal effort, you can create a beautiful dessert that impresses at any occasion.
Creamy Delight: The luscious combination of cream cheese and lime brings a refreshingly unique flavor.
Versatile Treat: Perfect as a side for Thanksgiving or a light summer dessert, it fits seamlessly into any meal.
Make-Ahead Friendly: Prepare it up to two days in advance for effortless entertaining; just chill and serve! If you love delicious, crowd-pleasing dishes, you might also enjoy this Brussels Sprout Salad for your next gathering.
Retro Seafoam Salad Ingredients
• Here’s everything you need to bring this nostalgic dessert to life!
For the Salad
- Canned Pear Halves (28 oz.) – Provides sweetness and moisture. Note: Do not drain the juice, as it’s crucial for this Retro Seafoam Salad.
- Lime Flavored Jell-O® Mix (3 oz.) – Adds zesty flavor and acts as a gelling agent.
- Cream Cheese (8 oz.) – Creates a rich, creamy texture. Note: Ensure it’s softened to room temperature for easy mixing.
- Heavy Cream (2 tbsp) – Enhances the smoothness and richness of the salad.
- Frozen Whipped Topping (3 cups) – Lightens the salad while adding a fluffy texture. Note: Make sure it’s fully thawed before use.
Step‑by‑Step Instructions for Retro Sea Foam Salad
Step 1: Prepare the Pear Juice
Begin by measuring 1 cup of the juice from the canned pear halves into a microwave-safe glass measuring cup. Heat the juice in the microwave on high for about 1-2 minutes, or until it reaches a rolling boil, to ensure the right temperature for dissolving the gelatin.
Step 2: Dissolve the Gelatin
Once the pear juice is boiling, remove it from the microwave and quickly sprinkle the lime flavored Jell-O® mix over the top of the hot juice. Stir vigorously until the gelatin is completely dissolved and the mixture is smooth, then set aside to cool slightly while you prepare the cream cheese.
Step 3: Beat the Cream Cheese
In a large mixing bowl, combine the softened cream cheese and heavy cream. Using a hand mixer or stand mixer, beat the mixture on medium speed until it transforms into a creamy and smooth consistency, which should take about 2-3 minutes. This step is crucial for achieving that delightful texture in your Retro Sea Foam Salad.
Step 4: Combine Gelatin and Cream Cheese
Gradually add the slightly cooled gelatin mixture into the creamy blend of cream cheese and heavy cream. Continue mixing on low speed until fully incorporated, ensuring there are no lumps, and the mixture is uniform in color and consistency.
Step 5: Chill Until Thickened
Cover the mixing bowl with plastic wrap and place it in the refrigerator. Allow the mixture to chill for about 40-50 minutes, checking occasionally. You want it to thicken slightly but not set completely, providing the perfect texture for the next step in creating your Retro Sea Foam Salad.
Step 6: Fold in Pears and Topping
While waiting for the mixture to thicken, use a fork to mash the remaining canned pear halves in a separate bowl. Once the gelatin mixture has thickened, gently fold the mashed pears and the thawed whipped topping into it. This will add delicious fruitiness and lightness to your salad, making it an irresistible treat.
Step 7: Mold and Refrigerate
Pour the mixed salad gently into a mold or decorative bowl, smoothing the top with a spatula. Cover the mold with plastic wrap and return it to the refrigerator for at least 2-3 hours. The Retro Sea Foam Salad needs this time to set and hold its shape for a beautiful presentation.
Step 8: Unmold and Serve
When you’re ready to serve, dip the mold in warm water for about 5 seconds to loosen it. Carefully invert it onto a serving plate, tapping gently if necessary. The Retro Sea Foam Salad should slide out smoothly, displaying its luscious green hue and fluffy texture.
Make Ahead Options
These Retro Sea Foam Salad preparations are ideal for busy cooks looking to save time! You can prepare the entire salad up to 2 days in advance. Simply follow the recipe instructions until step 6, then cover the mixing bowl and refrigerate it until thickened. Once mixed with the mashed pears and whipped topping, carefully pour the salad into a mold, cover it securely, and refrigerate. To maintain its fluffy texture and vibrant color, avoid freezing the salad. When ready to serve, just unmold and enjoy this nostalgic treat that’s just as delicious as when freshly made!
What to Serve with Retro Sea Foam Salad?
Creating a delightful meal doesn’t stop with dessert; consider these charming accompaniments to elevate your Retro Sea Foam Salad experience.
-
Zesty Grilled Chicken: Tender, marinated chicken grilled to perfection adds a savory contrast to the creamy and sweet salad. The citrus notes in the chicken echo the lime flavor of the salad, creating an enticing pairing.
-
Fresh Vegetable Platter: A mix of crunchy, colorful veggies serves as a refreshing contrast, balancing the creamy texture of the salad for a wholesome experience. Pair it with a simple dip to enhance those fresh flavors.
-
Crispy Garlic Bread: The crunchy, buttery goodness of garlic bread is an indulgent side that pairs beautifully with the lightness of the dessert salad. Its savory element will keep taste buds hopping between bites of the Retro Sea Foam Salad.
-
Tropical Fruit Salad: A side of seasonal tropical fruits adds bright colors and natural sweetness, complementing the flavors in the salad while providing a refreshing burst of juiciness. Think pineapple, mango, and kiwi for extra zing!
-
Chilled Sparkling Lemonade: A glass of sparkling lemonade brings a bubbly zest that enhances the lime notes of the salad, making each bite and sip utterly refreshing on warm days.
-
Chocolate-Dipped Strawberries: For a sweet twist, these chocolatey gems offer a luxurious finish, bringing a delightful contrast to the zesty salad. Their rich chocolate flavor pairs magically with the sweetness of the pears in the salad.
-
Vanilla Ice Cream: A scoop of creamy vanilla ice cream adds a luscious experience, providing a rich counterpart to the vibrant and fluffy Retro Sea Foam Salad, making each bite feel indulgent.
-
Mint Mojito: A cooling mint mojito features refreshing mint and zesty lime, playing off the flavors in the salad. Its effervescence and herbaceous notes create a perfect drink to sip alongside this delightful dessert.
Expert Tips for Retro Sea Foam Salad
-
Choose the Right Pears: Use high-quality canned pears to enhance the sweetness and moisture of your Retro Sea Foam Salad. Avoid pears packed in syrup for a lighter option.
-
Perfect Gelatin Dissolving: Ensure the pear juice is at a rolling boil before adding the Jell-O®. This helps the gelatin dissolve completely, avoiding any lumps in your salad.
-
Soften the Cream Cheese: Allow the cream cheese to reach room temperature before mixing. This prevents lumps and ensures a smooth, creamy texture that’s essential for the salad.
-
Check Thicken Time: Refrigerate the gelatin mixture until it thickens but hasn’t fully set; around 40-50 minutes works best. This is crucial for the ideal consistency in your Retro Sea Foam Salad.
-
Be Gentle When Folding: When combining in the mashed pears and whipped topping, be gentle. This folding technique maintains the lightness and fluffiness of the salad while blending in flavors.
-
Presentation Matters: Use a vintage Tupperware mold for an eye-catching presentation. A beautiful mold not only enhances the visual appeal but also captures that nostalgic feeling at gatherings.
Retro Sea Foam Salad Variations
Get ready to play with flavors and textures as you customize this delightful dessert salad!
- Gelatin Flavor: Experiment with different flavored gelatin like orange or raspberry to create a refreshing twist perfect for summer gatherings.
- Fruit Swap: Try swapping canned pears with other soft fruits, such as peaches or crushed pineapple, for a tropical flair that brightens your dish.
- Low-Calorie Options: Use sugar-free gelatin and light whipped topping for a healthier alternative without compromising on taste.
- Add Nuts: For a delightful crunch, fold in some chopped pecans or walnuts before chilling. This adds a lovely texture contrast.
- Zest Boost: Enhance the lime flavor with some fresh lime zest; it brightens the salad and adds an aromatic note!
- Mousse Variation: For an even creamier version, consider folding in a bit of mascarpone cheese alongside the cream cheese for a richer mouthfeel.
- Layered Dessert: Serve in individual cups, layering the salad with crushed graham crackers for a delightful texture combo.
- Spicy Kick: For a surprising twist, add a pinch of cayenne pepper to the pear mixture, creating a delightful contrast with the sweetness.
Feel free to enjoy this captivating dish alongside a light meal, or for something else equally refreshing, check out my Brussels Sprout Salad for a unique side!
How to Store and Freeze Retro Sea Foam Salad
-
Fridge: Store any leftovers in an airtight container in the refrigerator for up to 3 days to keep the Retro Sea Foam Salad fresh and flavorful.
-
Freezer: For longer storage, freeze the salad in a freezer-safe container for up to 2 months. Keep in mind that the texture may change upon thawing, so it’s best enjoyed fresh.
-
Reheating: The Retro Sea Foam Salad is typically served cold, so there’s no need to reheat. Just thaw in the refrigerator overnight before serving if frozen.
-
Make-Ahead: This delightful dessert can be prepared 2 days in advance. Just cover and chill until you’re ready to serve, making it perfect for stress-free entertaining!

Retro Sea Foam Salad Recipe FAQs
What type of pears should I use for the Retro Sea Foam Salad?
Absolutely! I recommend using high-quality canned pears packed in juice rather than syrup for a lighter, fresher flavor. Look for pears that are firm and not overly mushy to ensure they maintain some structure in the salad.
How should I store leftover Retro Sea Foam Salad?
To store any leftovers, simply place the Retro Sea Foam Salad in an airtight container in the refrigerator. It will stay fresh and flavorful for up to 3 days. Just be sure to keep it sealed to prevent it from absorbing any other odors!
Can I freeze Retro Sea Foam Salad?
Yes! You can freeze the Retro Sea Foam Salad for up to 2 months. Just pour it into a freezer-safe container. When you’re ready to enjoy it, thaw it in the refrigerator overnight. Be aware that the texture may change slightly upon thawing, but it should still be delicious.
What should I do if the salad doesn’t set properly?
No worries! If your Retro Sea Foam Salad is not setting as expected, it might have been due to the gelatin not dissolving completely or not chilling long enough. To salvage it, you can reheat the entire mixture gently on the stove, re-dissolve some additional gelatin in boiling water (1 tbsp at a time), and then blend it back into the salad mixture. Refrigerate again until set.
Is the Retro Sea Foam Salad suitable for people with dietary restrictions?
Yes, but you’ll want to be mindful of your guests’ dietary needs! This dessert contains dairy (cream cheese and whipped topping), so it may not be suitable for those with lactose intolerance or dairy allergies. You can look for dairy-free cream cheese and whipped topping as alternatives to accommodate these dietary restrictions.
Retro Seafoam Salad: A Creamy, Zesty Nostalgic Delight
Ingredients
Equipment
Method
- Prepare the pear juice by measuring 1 cup from the canned pear halves and heating it in the microwave until boiling.
- Remove the pear juice from the microwave and sprinkle the lime flavored Jell-O® mix over it. Stir until dissolved and set aside to cool.
- In a mixing bowl, beat the softened cream cheese and heavy cream until creamy and smooth (about 2-3 minutes).
- Gradually add the cooled gelatin mixture to the creamy blend, mixing until fully incorporated without lumps.
- Cover the bowl and refrigerate for 40-50 minutes until thickened slightly but not fully set.
- Mash the remaining canned pears in a separate bowl, then gently fold them along with the thawed whipped topping into the gelatin mixture.
- Pour the mixture into a mold or bowl, smooth the top, cover, and refrigerate for at least 2-3 hours to set.
- To serve, dip the mold in warm water for a few seconds, then invert onto a serving plate.
Leave a Reply